Code Your Way
Week 13 - Last Chance Workshops
It’s crazy how each time I add or change something, a new problem appears︎ But overall, I’m happy that I managed to solve them all (of course with the help of Ellen). My code is way more clear than before and I organized all the booleans and functions in a way that they are orderly.
What I’ve learned this week:
one last problem:
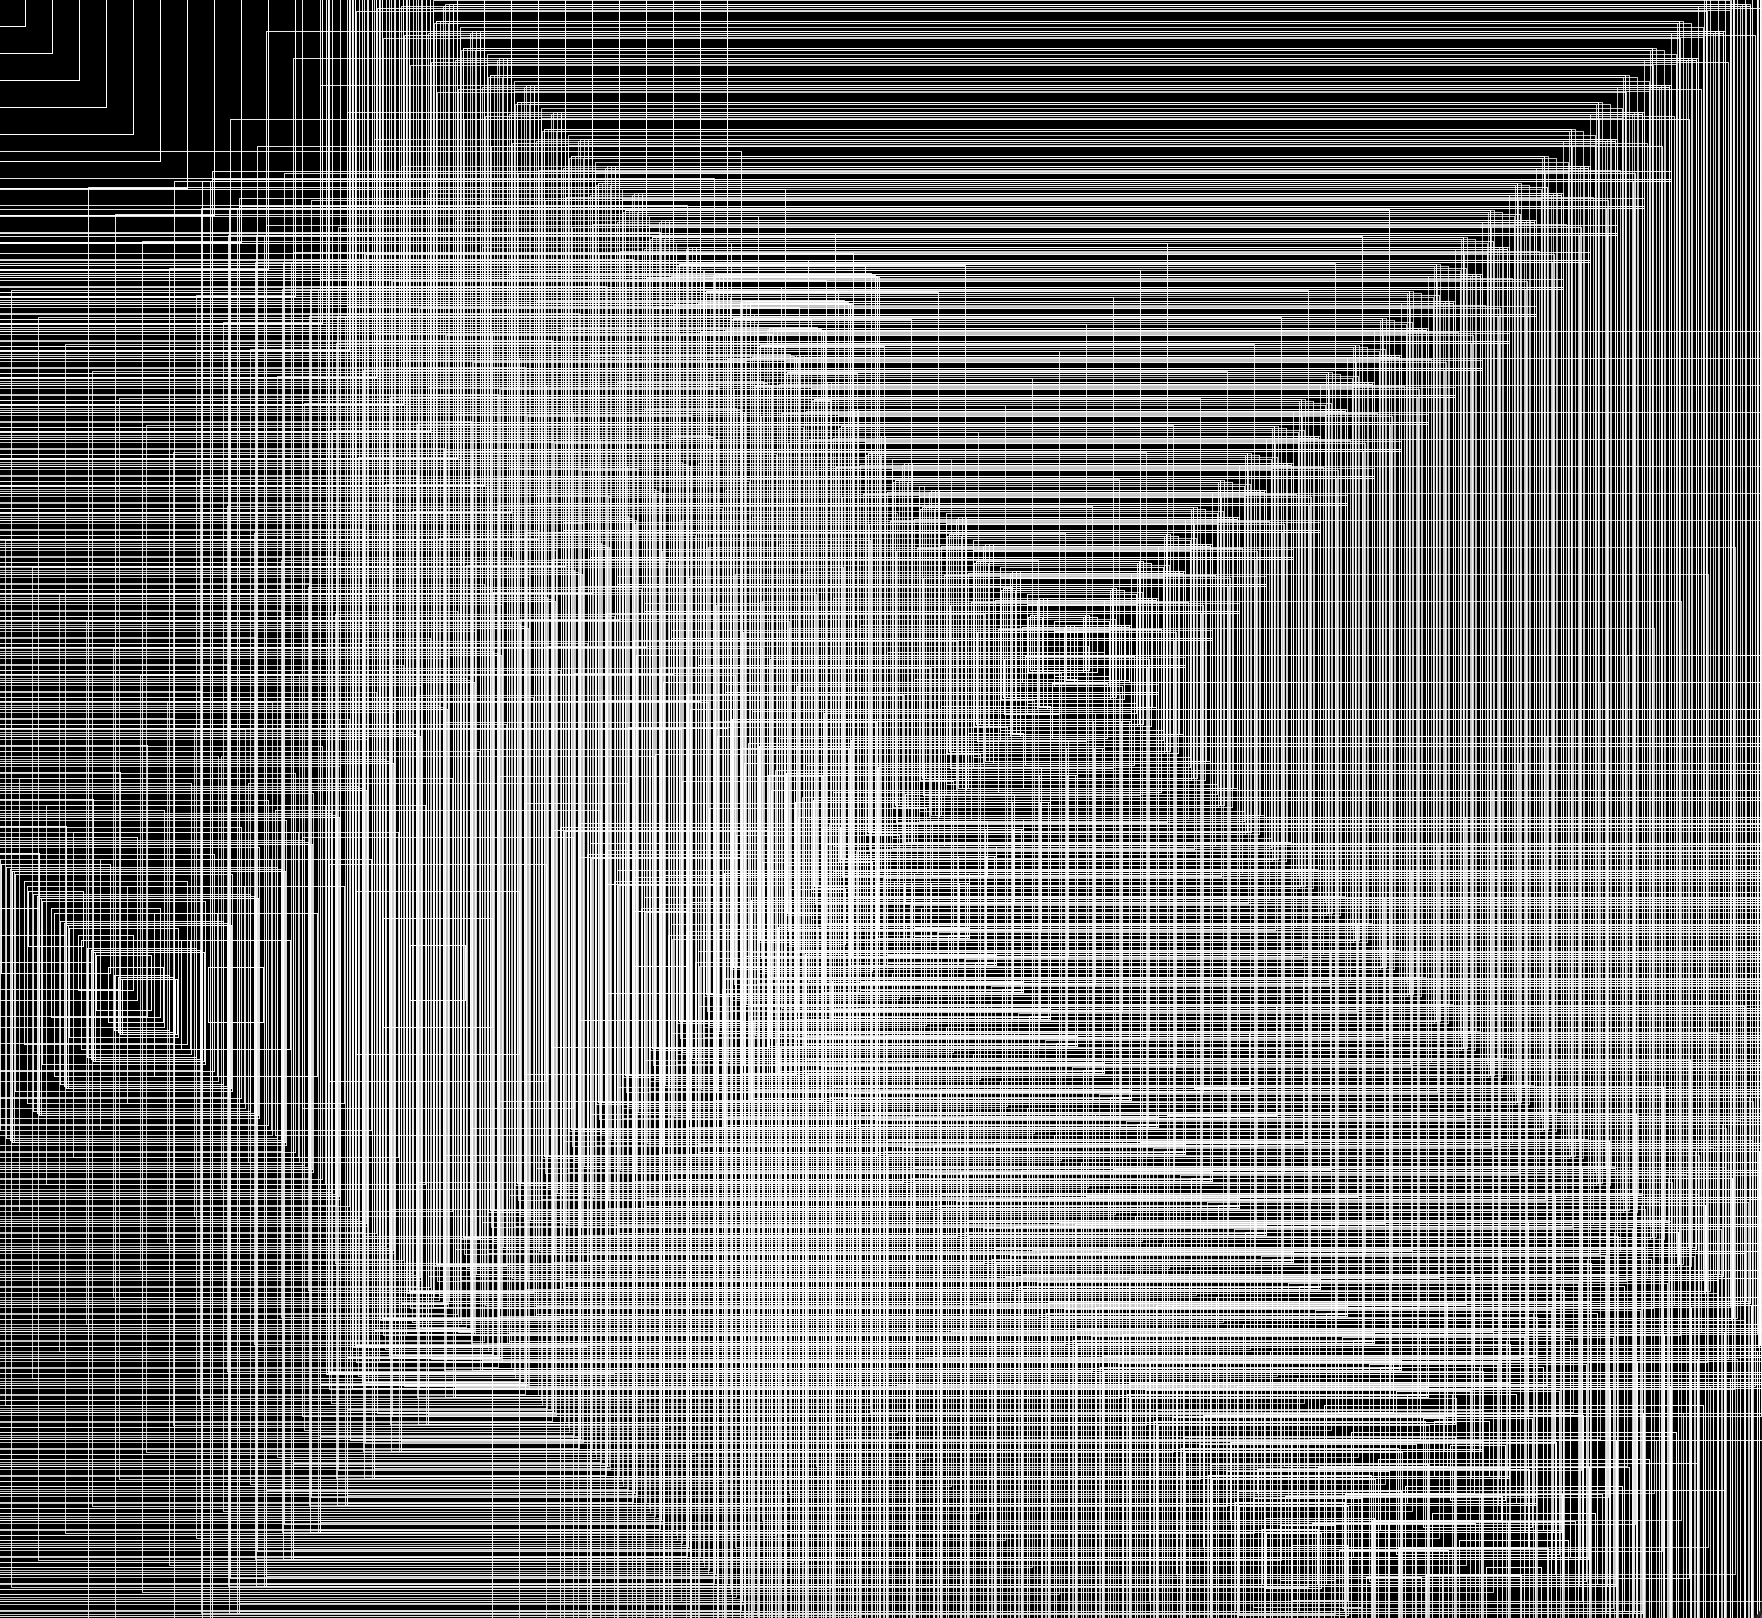
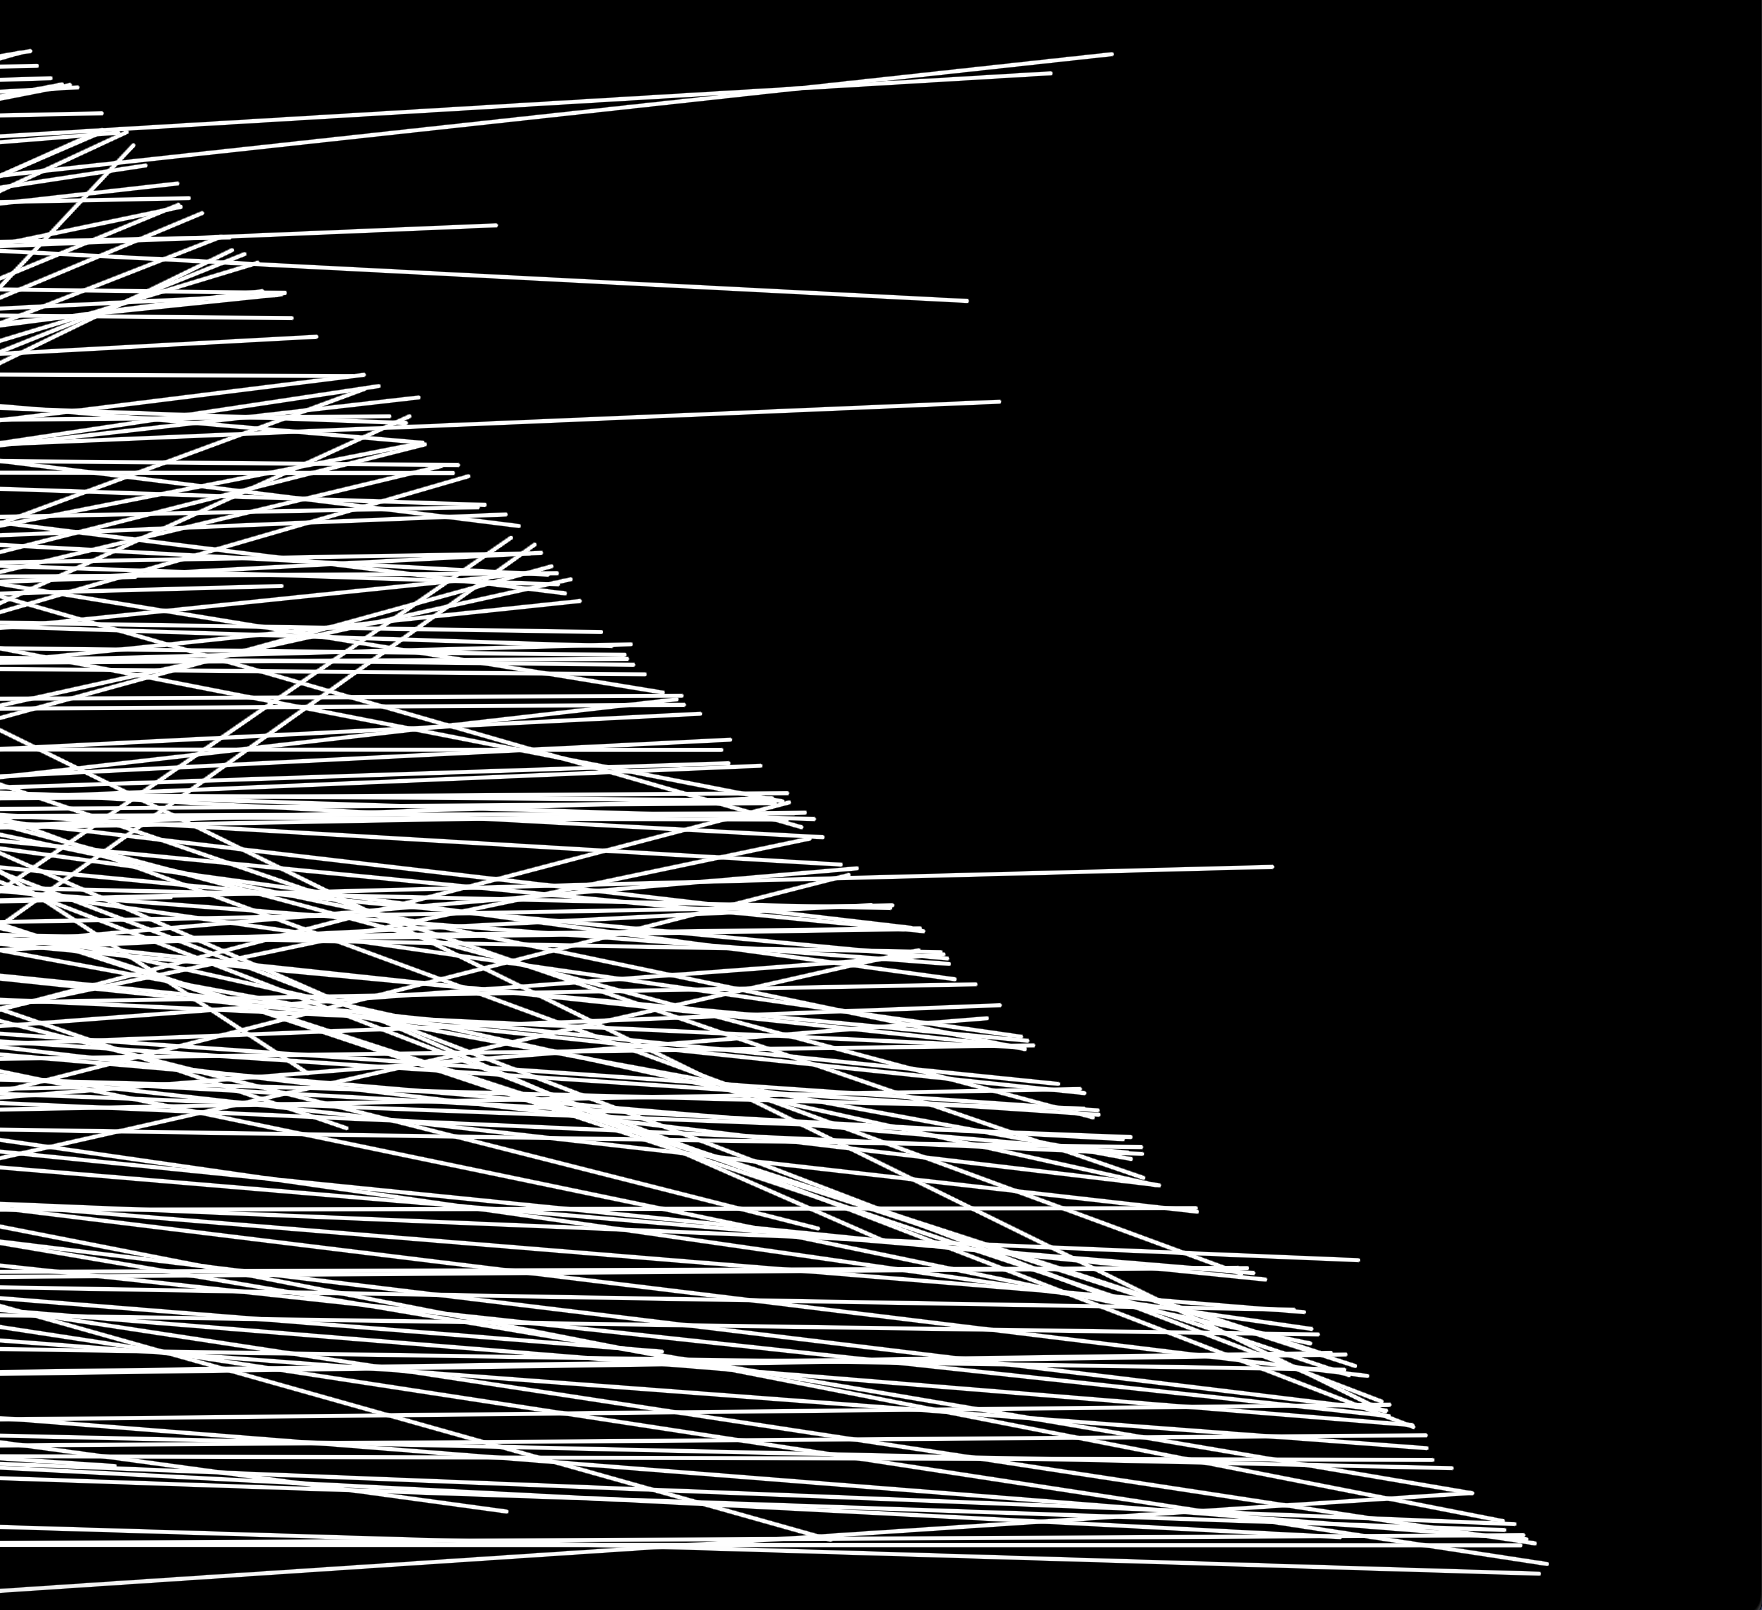
Before my one last problem, I had this issue where I would press enter to skip the instructions but I would see img rather than img1. After adding a new boolean to this the problem was solved. Once I thought that I was done, cropping feature was causing problems. I was cropping img1 but it was showing me img. Apparently, the problem was the cropTiles function. I added my new boolean into that functions and now it’s working!
function cropTiles() {
tileWidth = width / tileCountY;
tileHeight = height / tileCountX; imgTiles = [];
for (var gridY = 0; gridY < tileCountY; gridY++) {
for (var gridX = 0; gridX < tileCountX; gridX++) {
if (randomMode) {
cropX = int(random(mouseX - tileWidth / 2, mouseX + tileWidth / 2));
cropY = int(random(mouseY - tileHeight / 2, mouseY + tileHeight / 2)); }
cropX = constrain(cropX, 0, width - tileWidth);
cropY = constrain(cropY, 0, height - tileHeight);
if (firstImage) {
imgTiles.push(img.get(cropX, cropY, tileWidth, tileHeight));
} else {
imgTiles.push(img1.get(cropX, cropY, tileWidth, tileHeight));
} }
![]()
![]()
Here’s the sketch: https://editor.p5js.org/zelifergin/full/9sk_afwhK
Week 12 - Individual Meetings
Notes from Ellen:
Office hour with Ellen:
Video feature works better when we Go Live in vs code. It’s less laggy.
SelectMode is causing problems because it’s being constantly drawn in draw. + Mousemoved is always working (unless we contrain the moves)
There’s definitely a logic problem going on.
--
I created a problem on my own and now it’s time to solve this logic problem.
At the moment I have 3 modes:
Ideally, I want:
Hopefully, this should solve the problem. But you never know....
I created the welcome screen and by clicking the buttons, where’re moving on to introMode:
P5 sketch
Week 11 - Two week Timeline
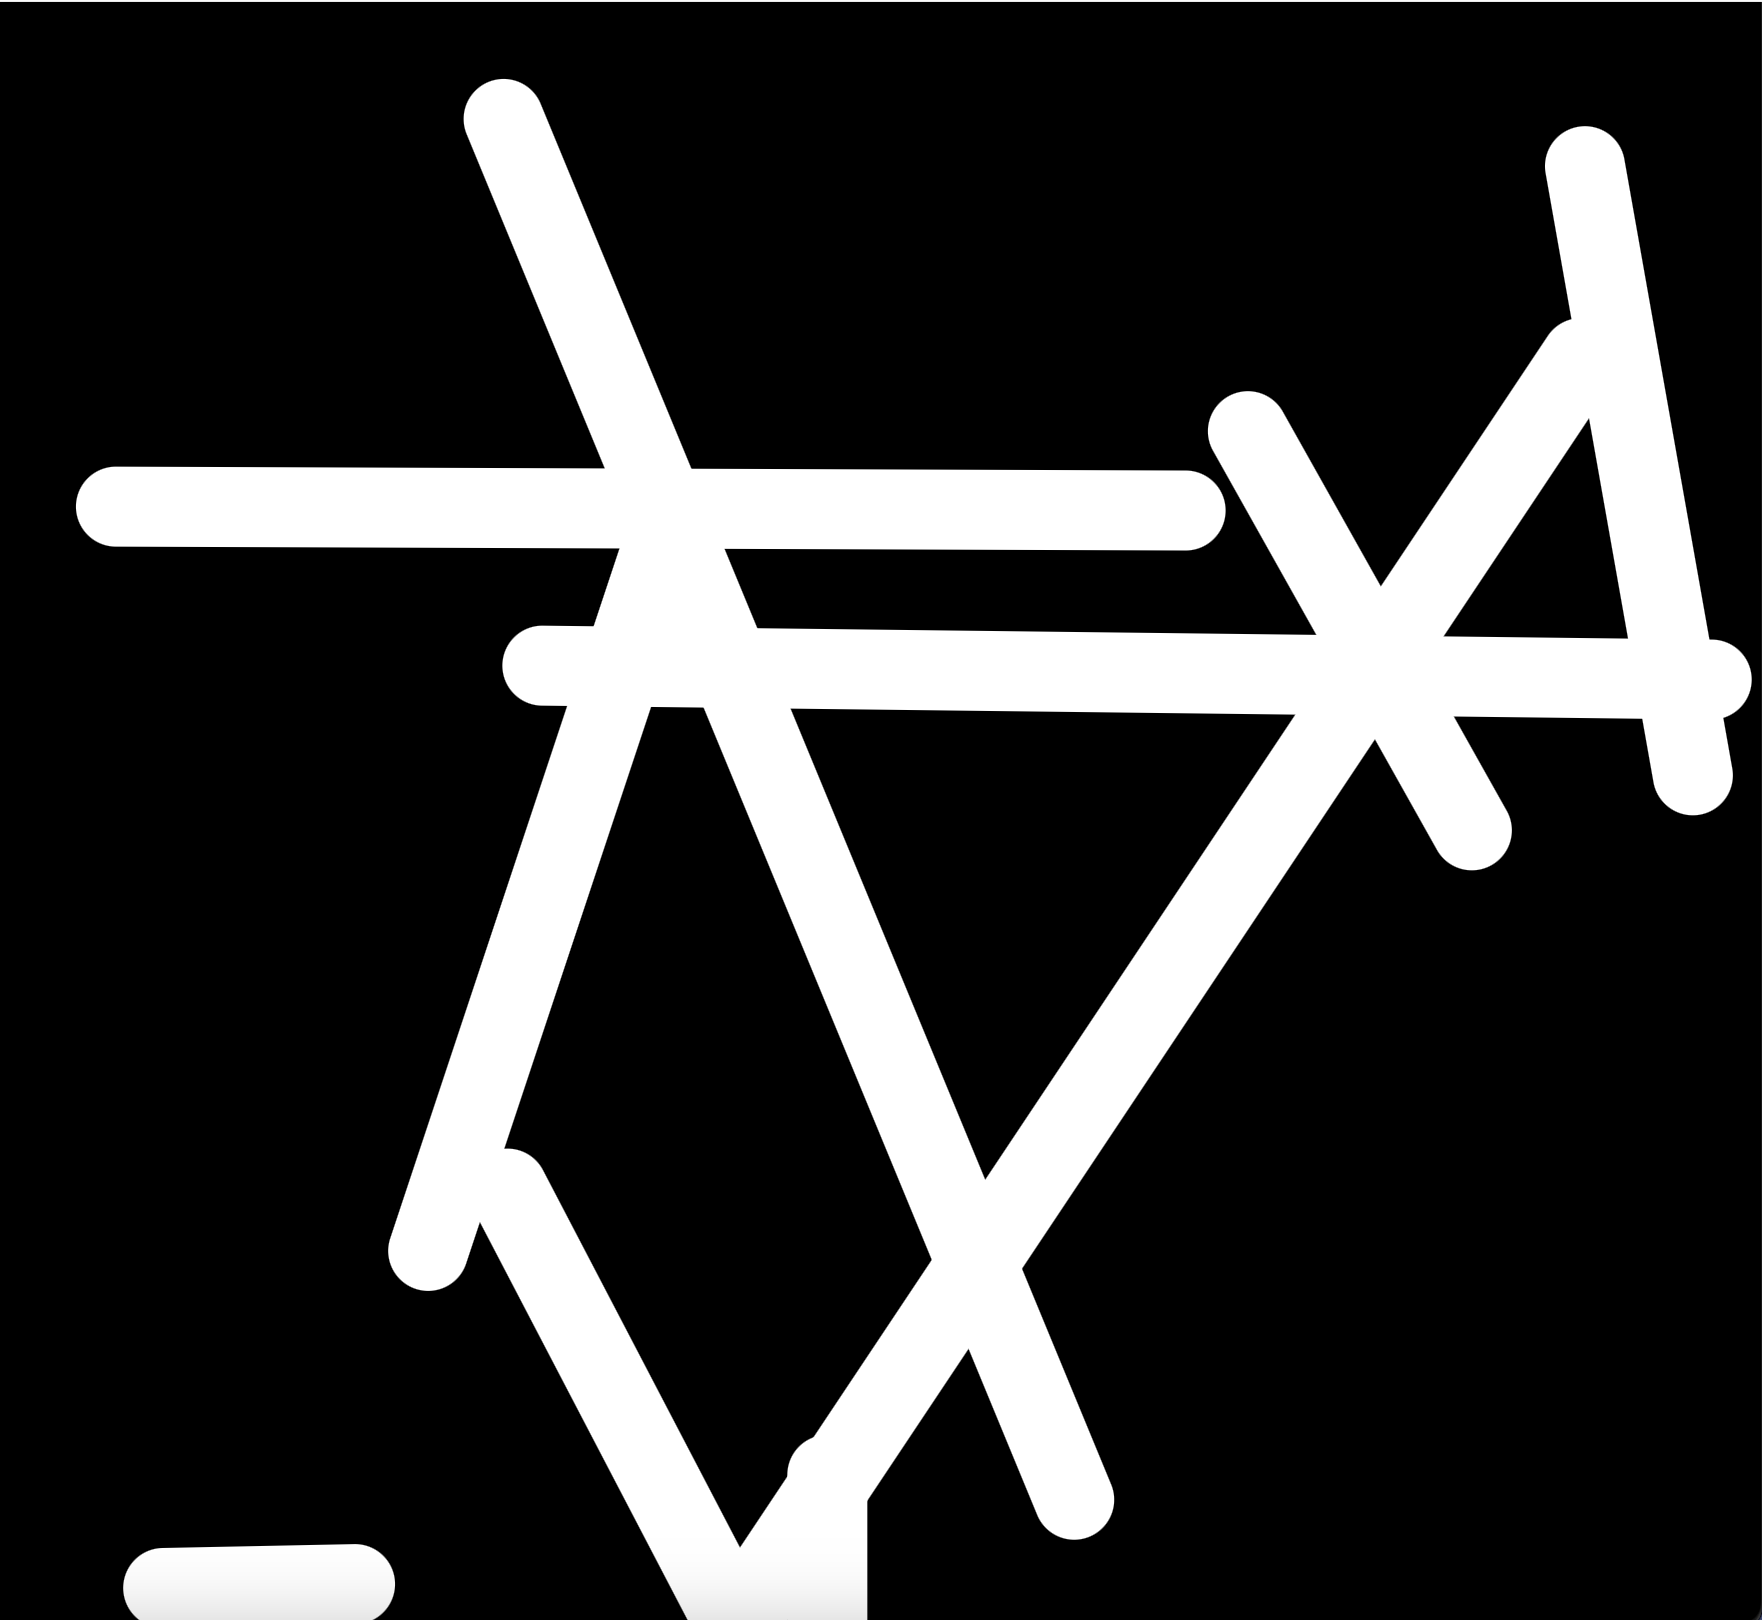
User Testing with live camera feature
Rather than an image, I wanted to try out the sketch using a video capture. The effect is totally different than having a static image. Unfortunately, I run into issues while usertesting it.
Problem #1
![]()
![]()
![]()
Dongsoo’s idea was to have multiple images to choose from. I’m thinking of adding a camera option as well. People can try different images or experiment with their video.
I’m definitely moving slowly than I expected. So far, I was able to specifically work on 1 sketch in detail and experiemented a bunch of others.
Two-Week Timeline
Week 10 - User Testing
Feedback from last class:
This week, I spent some time thinking about the feedback. People wanted me to have a html built in text underneath the image but visually I didn’t like that effect. I didn’t want people to see those information while moving the mouse around, thus, I built an additional screen at the beginning. People can start by reading the prompt and then explore the image.
This took me a while to logically understand and code. The order was important.
What everybody did first was to click somewhere around the image. Since this was the case, I didn’t specify that mouse click is essential. I want the users to find that on their own. Next step for this sketch is to incorporate the video capture and give people either to move around an image or the built-in camera image.
I created an intro function and called it in draw(). This allowed me to draw it until the mouse was clicked. Now, the sketch starts with a prompt and there’s a layer blur. Once you click, you see the image with its original colors and you can move around with your mouse and explore.
![]()
![]()
Notes from this week’s class:
Week 8 and 9 - Project Proposals / Hello World
p5 Playground is a process and also a product-oriented project.
By completing this project, I want to get better at encoding/decoding and learn about different functions of p5 library. The end goal is to make a small serie of generative design sketches.
Defining “Hello World” Goal
1. Specific
The end goal is to increase code literacy and develop a deeper understanding of creative expression through code. As the user, I will go line-by-line and learn how to code works and affects the designs.
2. Measurable
The main success is being able to explain myself what’s happening in the code. This will lead to an increase in my code literacy. In the end, a total of 5 new iterations will be created through experimentation.
3. Achievable
Compared to last semester, it’s shocking how much I’ve learned. My main motivation is realizing that I can understand a big chunk of each code. I’ll be decoding 5 sketches over this 7-week period, thus, I believe that it’s completely doable.
4. Relevant
Learning new functions, re-calling a syntax etc. will help me with my future code projects. Even in the future, when I have to work with software engineers and web developers, it’s beneficial for me to understand the language.
5. Time-bound
A week is perfect to understand a code in depth. I’ll spend the first week to learn more about the book and read important sections. The other 5 week will be about decoding and modifying. The last week would be polishing everything up and making it ready enough to present.
---
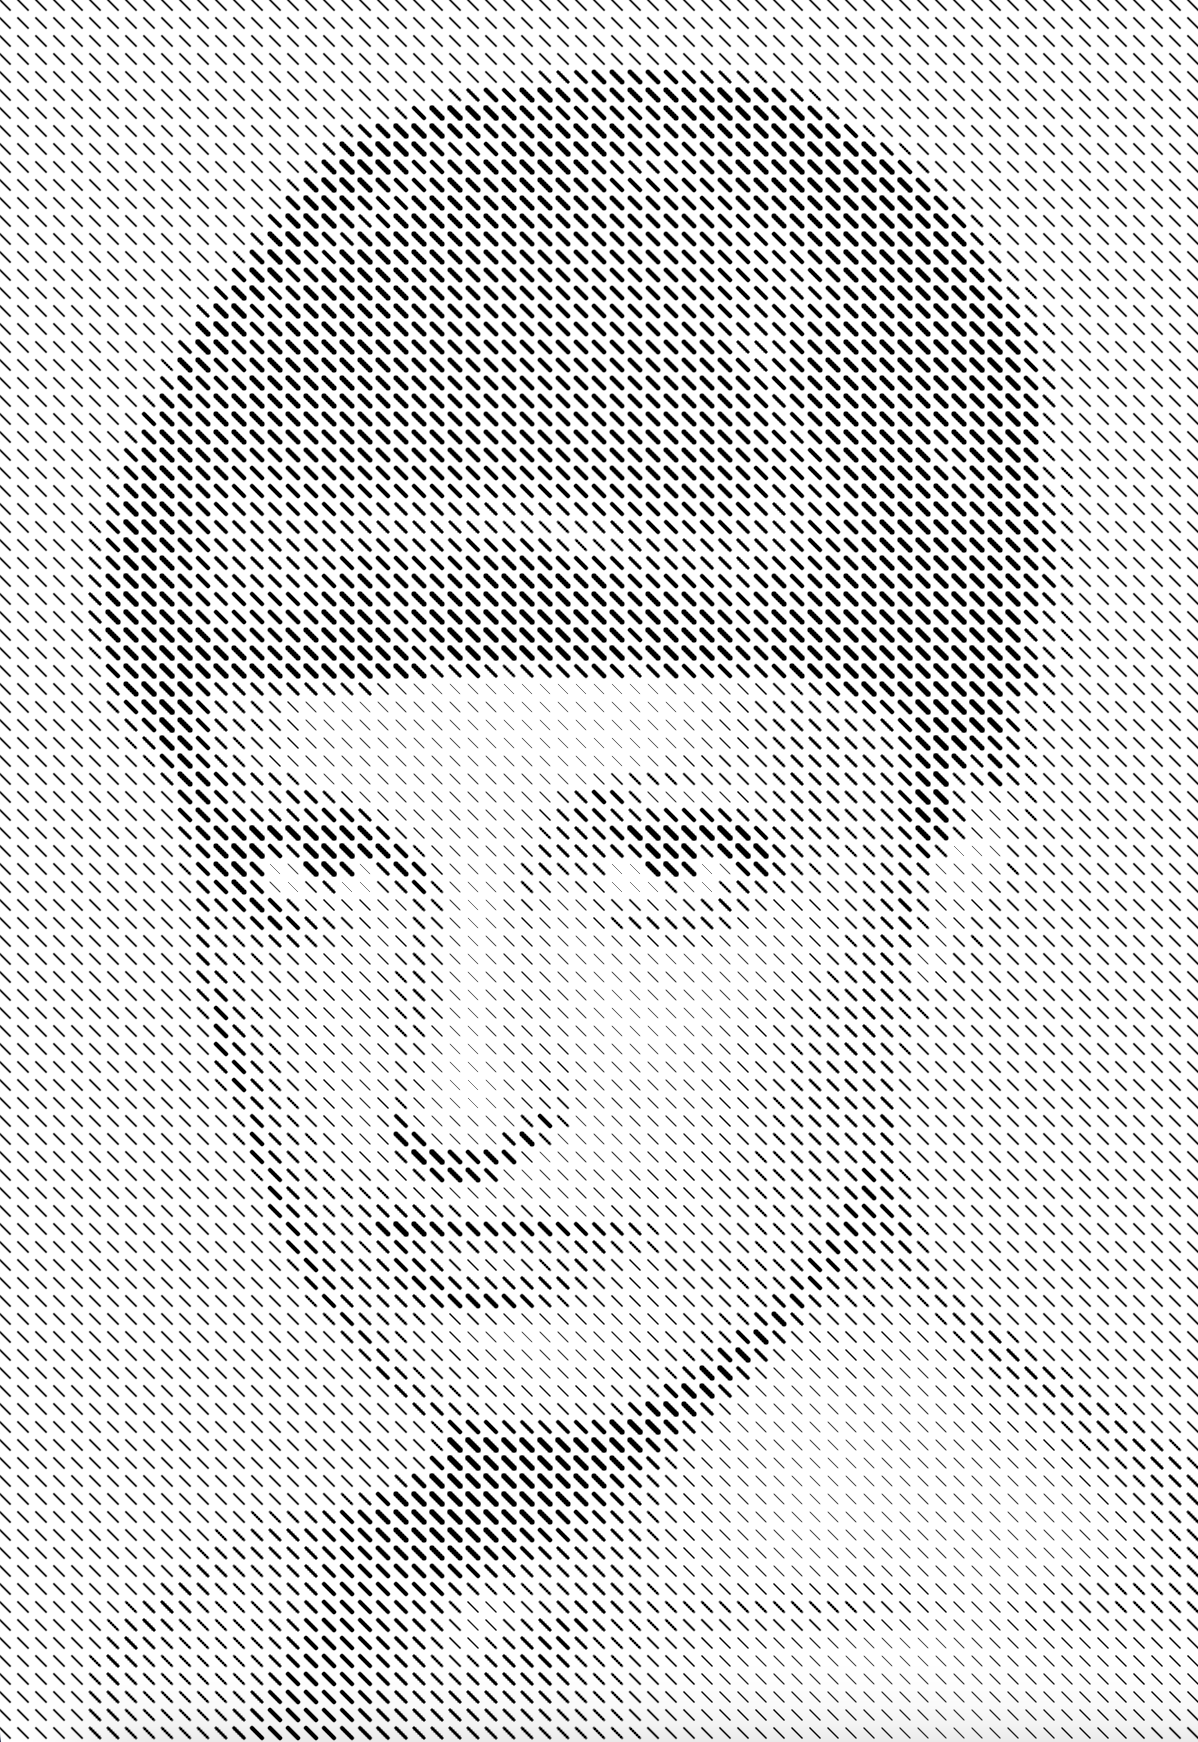
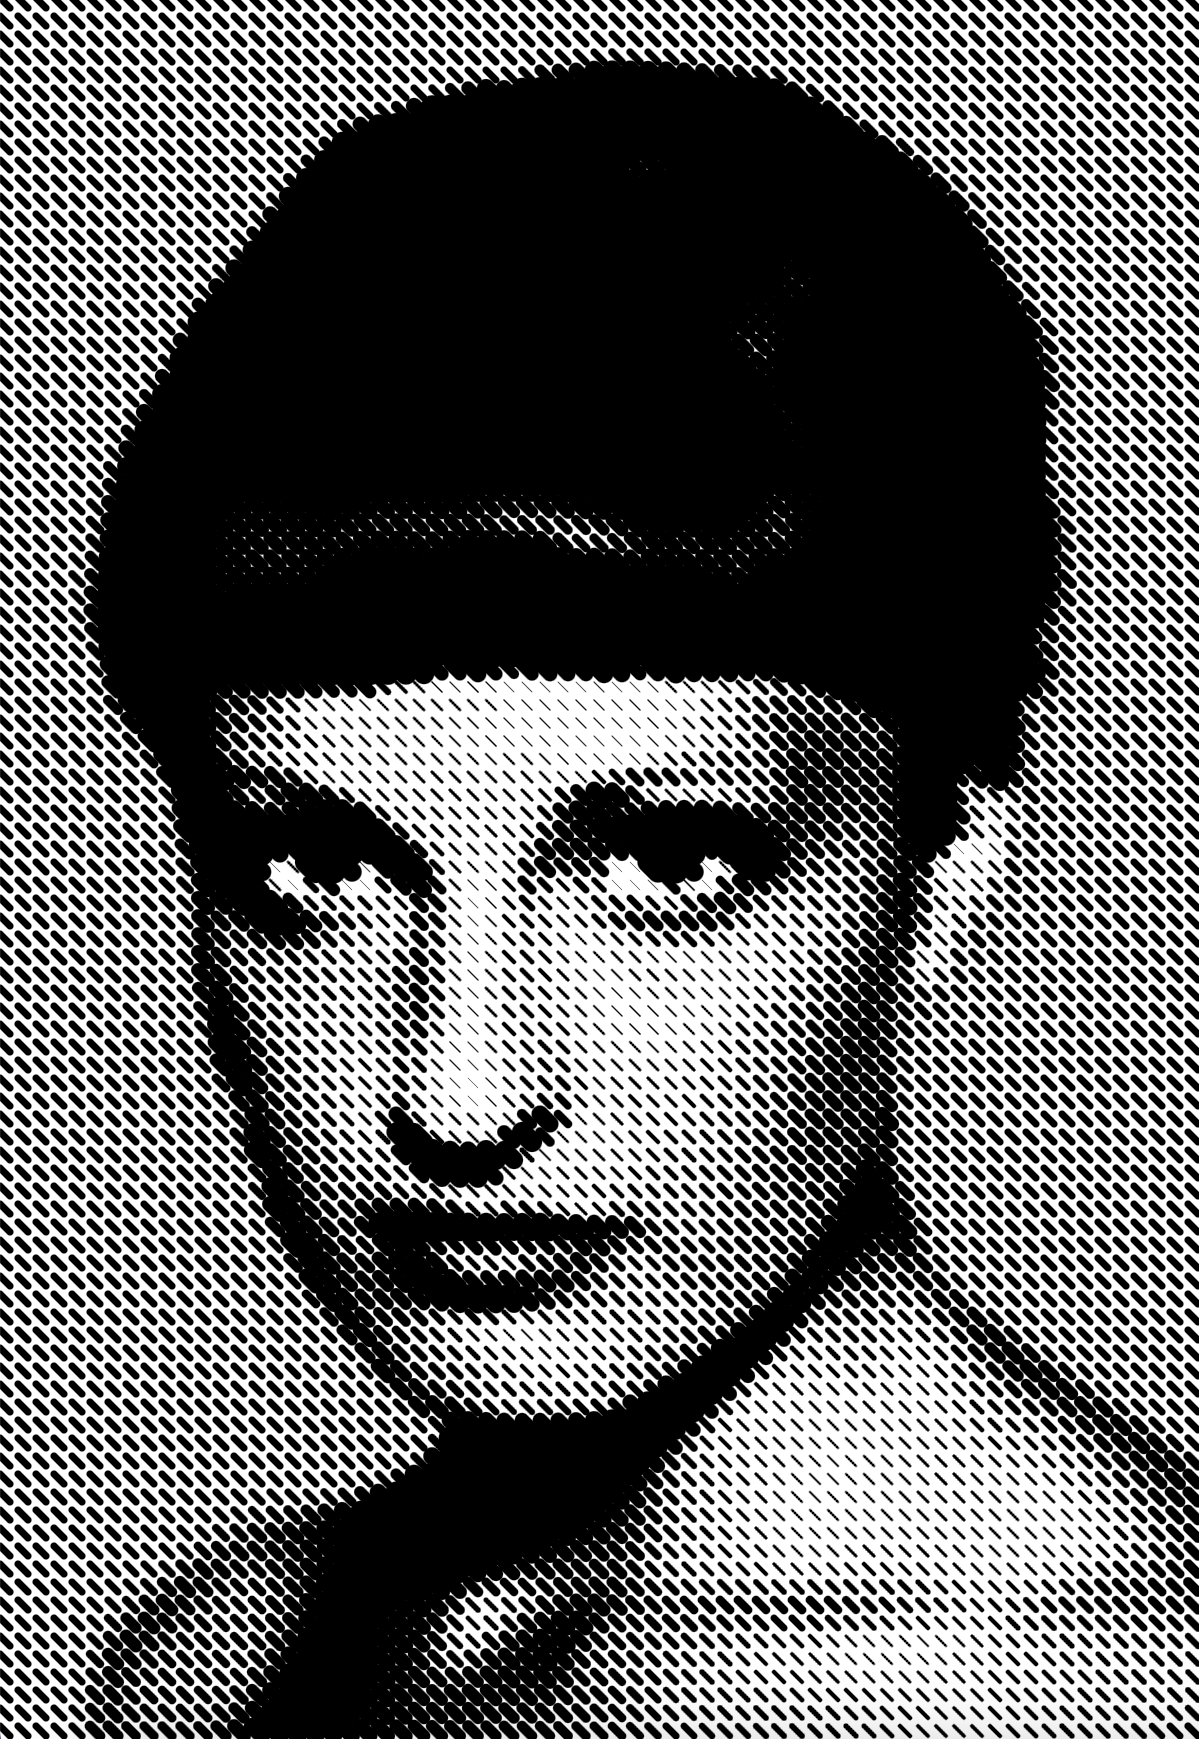
This week, I worked on this sketch from the “Image” lesson: Link to p5 sketch
I added comments to almost each line and explained what it does. Even with just one sketch, I learned about multiple p5 functions:
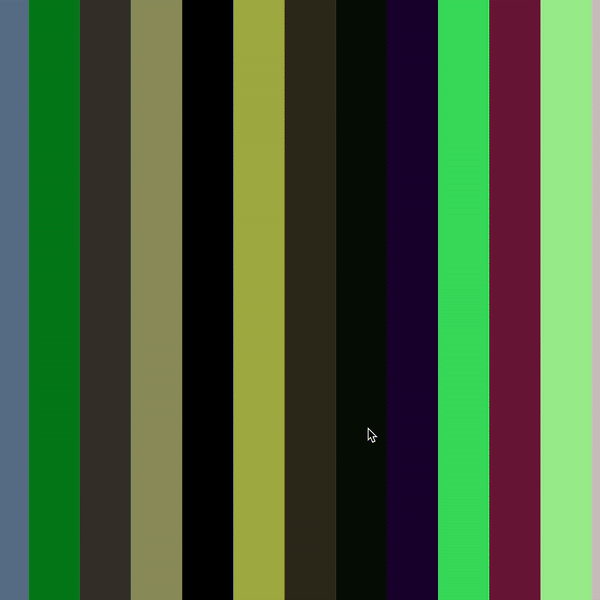
This sketch contains an image. You move your mouse around and click and release the mouse whenever you want to crop the image. When you release your mouse, depending on your grid structure, you’ll see the image clicked area about 16 times. If you press the key “r”, a random selection will be made. With this, rather than seeing the same image multiple times, you’ll get random images that are +- to the selected area. Whenever you move your mouse around, you’ll get back to the initial mode where you move your cursor around.
Understanding the code took quite some time. First, I thought that modifying the sketch would be easier. But, I was wrong, I need to think more creatively and come up with ideas to proceed with the second part. I decided to spend half of my week to creative exploration and the other half to decoding the new sketch.
Thus, this upcoming week, I’ll continue experimenting with the first sketch during the first days of the week and move on to a new sketch.
Week 7 - Project Planning / Software Metaphors
Generative Design: Visualize, Program, and create with p5.js. is teaching how to code was to empower designers and artists through simple but satisfying incremental successes. In four simple lessons, Color, Shape, Type, and Image, users learn to influence their results and to improve them by either varying parameters or by changing entire algorithms.
![]()
FINAL PROJECT: “Generative -p5- Playground” or “Code as Canvas” tbd.
End goal: Increase code literacy and develop a deeper understanding of creative expression through code
This project aims to increase code literacy by experimenting with the concepts in the book Generative Design: Visualize, Program, and create with p5.js. The project will explore the four simple lessons of Color, Shape, Type, and Image, and at least one concept from each lesson will be experimented with. The Image section, in particular, will be explored by using personal photography or the video camera feature with the code. The encoding and decoding technique will be used to create visual designs. This project will enable the development of programming skills and creative expression through code experimentation.
The user of this project is myself, as well as anyone interested in increasing their code literacy through experimentation and creative expression. My experience will involve exploring the four lessons in an immersive and engaging way to create unique visual designs, with an emphasis on creative expression through code. At the end of 7 weeks, new visual designs/assets will be created through experimentation.
![]()
![]()
SKETCHES
Week 6 - Version Control 3 / Refactoring
GITHUB AND TERMINAL
![]()
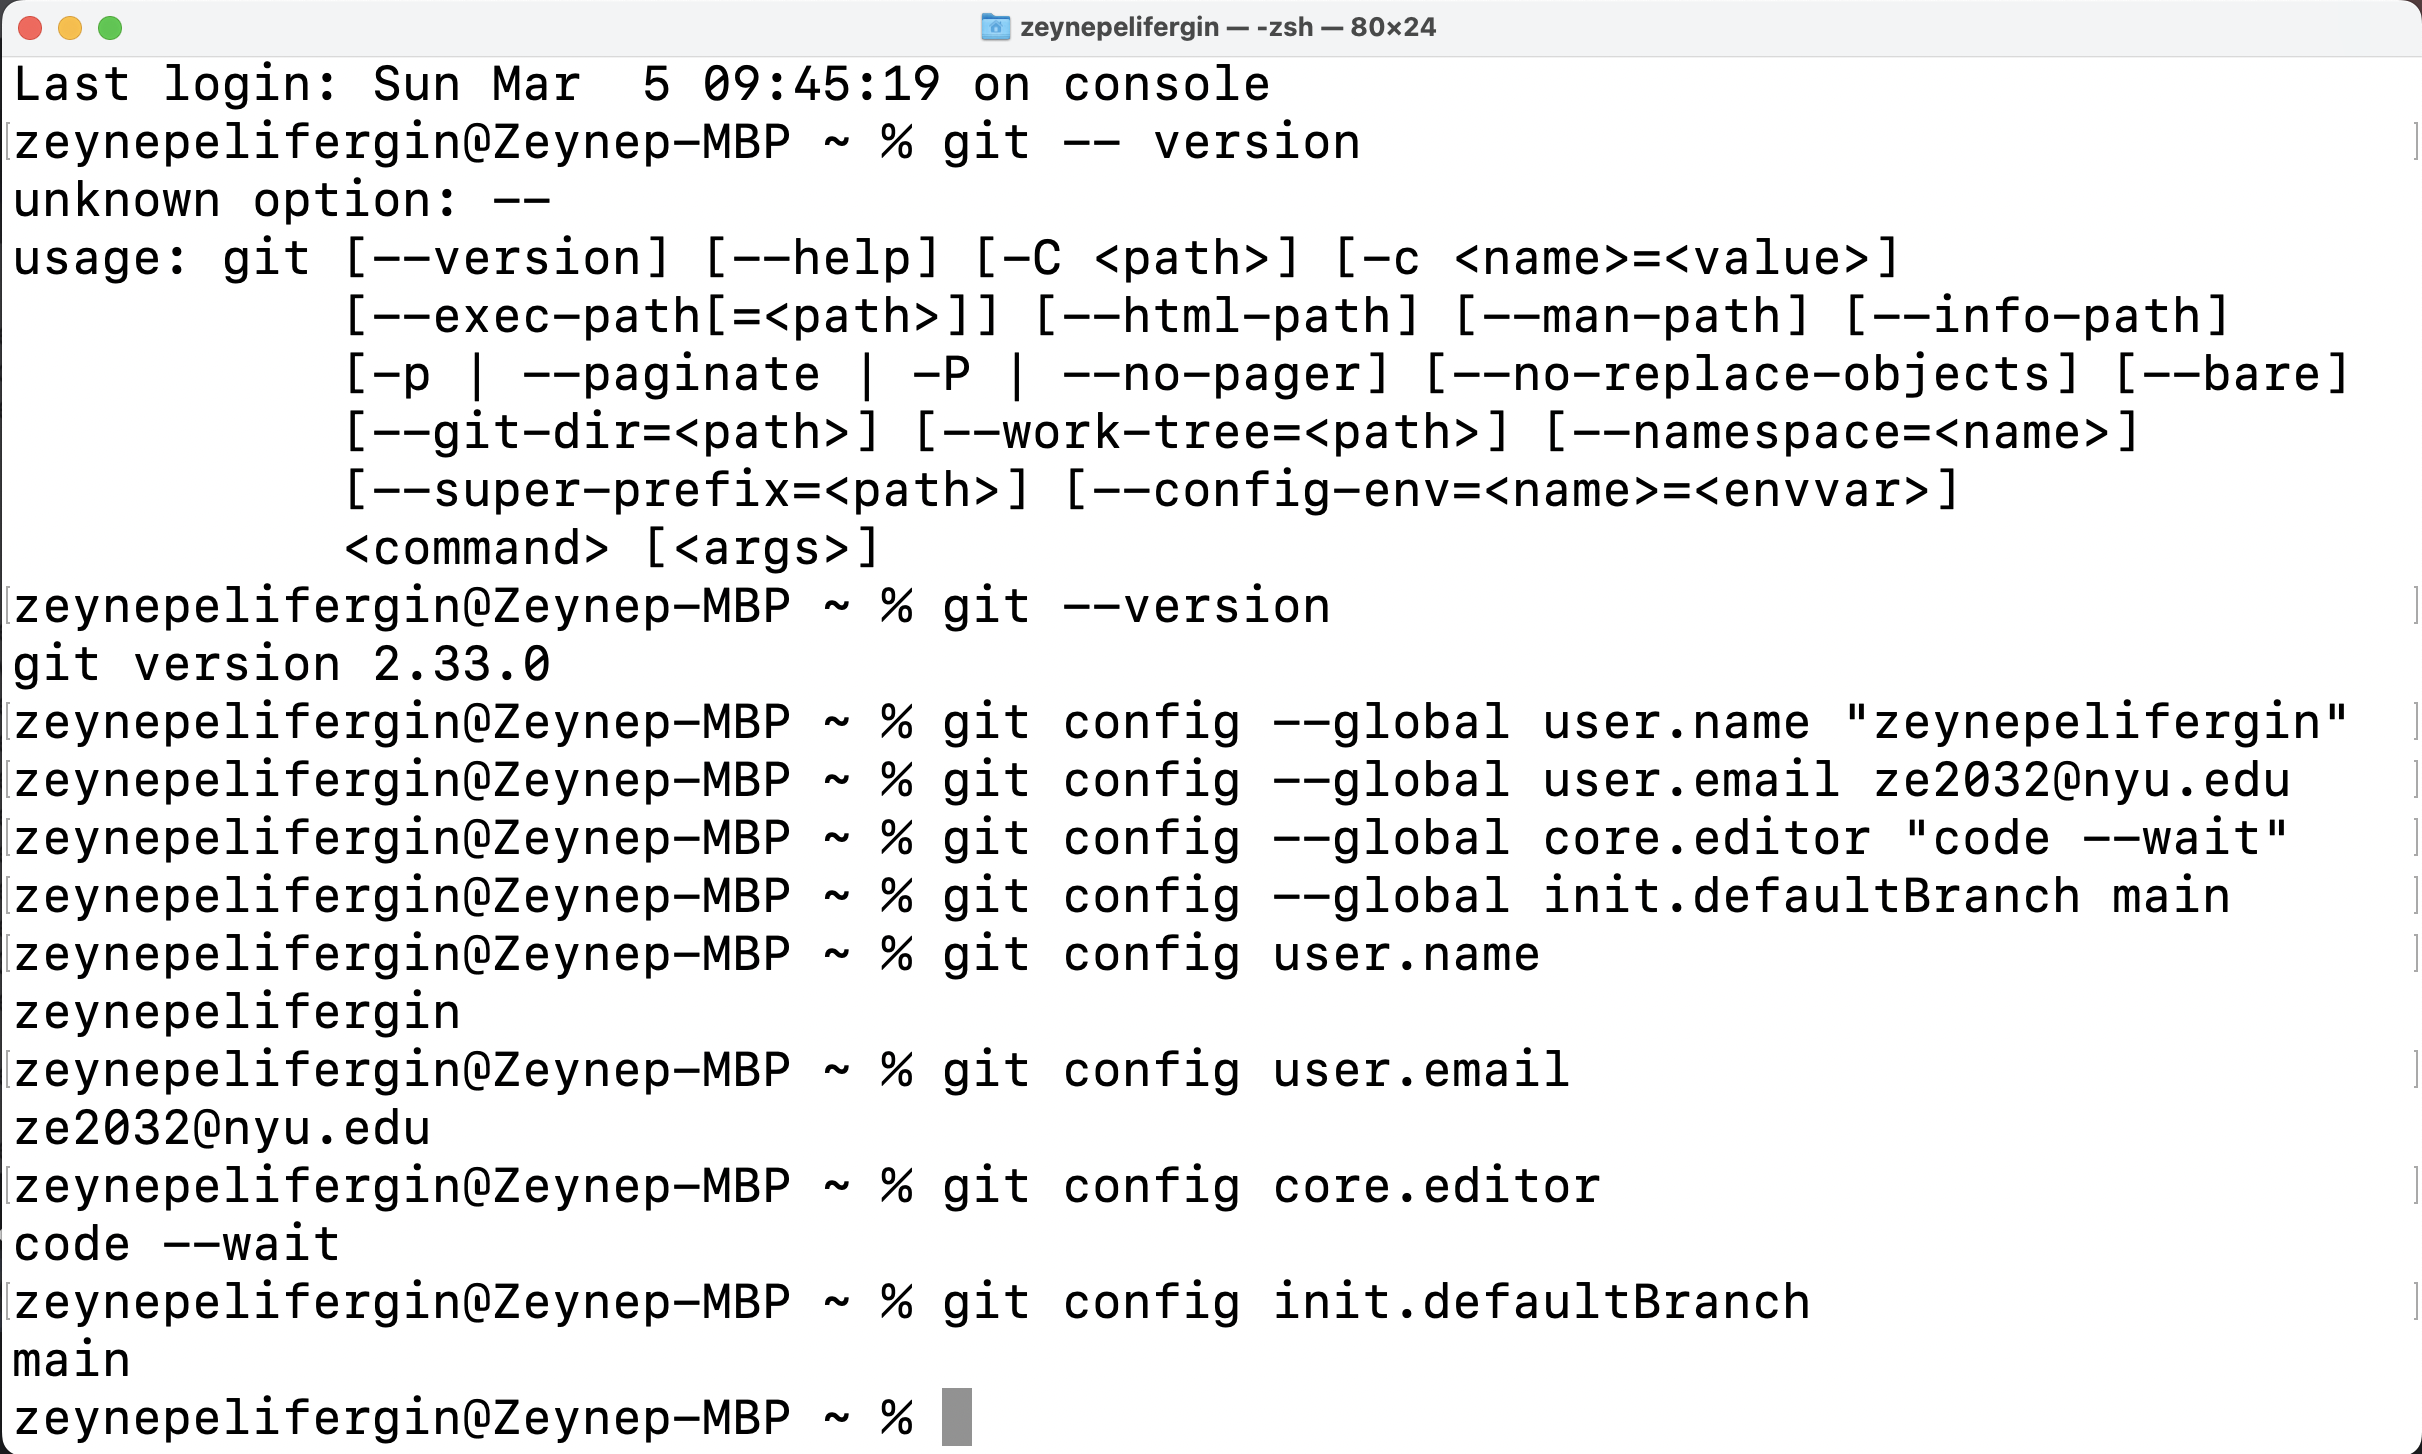
Wohoo! I have a repository in GitHub (finally)! I was saving some code in my notes app in case I lose documents so pushing code into my account will definitely save my life. But, it requires some practice. I still can’t remember the order of things I need to write in order to save-commit the changes.
![]()
- (git add .) The git add command adds a change in the working directory to the staging area. It tells Git that you want to include updates to a particular file in the next commit. However, git add doesn't really affect the repository in any significant way—changes are not actually recorded until you run git commit . After you connect your local repository to a remote repository, local commits are not automatically "saved" in the remote repository. You'll need to
- (git push origin main) Then, after refreshing the page, I can see the changes in Github.
- (git commit -m “xyz”) I used this so write add a message to my change. This way, I can track the changes and it’s easier to locate a code that you’re searching for. Inside the brackets, I can write whatever I want to name the change.
- (git status) This is helpful for me to see the status. The green text signifies that my sketch is modified. This helps me visualize the changes, since everything is happening on a cloud, it’s hard to see what is different etc. I can use this in between committing and pushing the changes/code into GitHub, to see whether everything is successful.
Thank you Ellen for helping me about with everythign related to Github. ︎ I was affraid I would delete/change something that is not supposed to be touched.
--
I tried to create a new repository by following the steps on our class GitHub page. I also have a p5 sketch that is already saved in my desktop folder with the same name as my repository.
![]()
![]()
--
A SEPA
createGraphics() is so fun! Ellen’s paper metaphor made everything more clear in my mind. It’s an additional layer just like the ones I have in Illustrator.
With this, I can create dynamic and more interactive sketches with or without using the webcam. (Note to myself: I need to work in Chrome to be able to use the webcam)
It might work with createGraphics for my project. It would be fun to explore :)
--
REFACTORING AN EXISTING SKETCH
I worked on CYW - W5 - Example 3.The code looks messy and it took me a while to understand, there are quite a few repetition.
I used the demo_project repository to add my code since I couldn’t work the new repository. I successfully commited the changes and it’s visable in GitHub as well.
![]()
By clicking this link, you can reach the github repository. (changes can be seen through history)
Week 5 - Version Control 2 / Parametric Geometries
The “castle” example of this weeks in-class exercise was really fun. Terminal looks really confusing and scary but, the example made it more fun and easy-looking.
Before modifying the sketches in Part 1: Explore and Experiment, I watched Miller’s video to recall parametric equations. Then, I also watched Coding Train videos about polar coordinates. Once I had a better understanding of how those equations were affecting the lines etc, I started experiencing and modiftying the sketches.
PART 1: EXPLORE AND EXPERIMENT
It was interesting to see that once you leave your sketch run at the background, they might turn into a geometric pattern that repeats. They are really soothing, I got hypnotized by watching them change.
![]()
![]()
![]()
![]()
Example 1
Example 2
Example 3
Example 4
Example 5
PART 2: RE/CODE
I’m still having issues downloading git. Apparently, I only have 2 GB space in my 500GB laptop???
Update on that issue: Apparently, desktop version of Google Drive takes an increadibly huge amount of space. After cleaning up my Mac, not I have approx 200 GB space.
Q: I’m using my personal gmail account for p5, but my github account it linked with my nyu gmail. Does it matter which gmail I’m using while trying to commit smtg etc?
![]()
Wow wait almost there! After cleaning up some space, I didn’t need to download git or the Xcode. Git was already uploaded?
![]()
Week 4 - Version Control 1 / Iterative Patterns 2
PART 1: PRACTISE
I started using VS code last week for my other class, Real-Time Social Spaces. Until now, I’m still a bit confused about how it works. Do I need to have a folder for each project I create?
Exercise 1 : Encode
The angle of rotation for the squares increase in the y-axis. It ressembles to a noise motion because I feel like the angle and position of a square is related to the others around itself. There’s a nested loop to create the grid system.
Well, apparently it’s not noise() but random() is being used for the changes in angle.
Click here for fullscreen!
---
Exercise 2 : Encode
Okay, there’s a grid system. Each square have 5 more squares inside. Their size decreases with each new square and their x,y position change. But there’s a relationship with their position because all of them are inclined to the same corner. None of the rectangles overlap. I’m assuming nested loops?
Yes, nested loop indeed. The code had its own mathematical logic, I got the logic but the math itself is hard to visualize. I turned the sketch into a gingham pattern.
Click here for fullscreen!
---
Exercise 3 : Decode
It’s hard to predict how the sketch will look like, but once I saw translate I knew that the drawing will be at the center of the canvas. Since there’s noise(), I imagined a flowy pattern with circles.
Here’s the modified version, Click here for fullscreen!
---
Exercise 4 : Decode
I especially didn’t understand this part of the code. How does to translate work in the same function?
And also, how does this work? drawLine(x, y, step, [0.1, 0.5, 0.9]);
Click here for fullscreen!
---
The recursion video from Coding Train was interesting. Calling the same function inside its own function is a quite interesting idea, and I wasn’t sure if that was something that is doable.
After watching the video, I think that the rectangles are made with the same logic.
---
PART 2: RECODE
Well, I created something but I don’t know how it happened. I guess is there’s some sort of a progression here because the rotation angle increases. You can manipulate the lenght of the line with mouseX and mouseY.
Click here for fullscreen!
Week 3 - Pair Programming / Iterative Patterns 1
The in-class exercise of pair programming was quite fun. I was the driver and Elyana was the navigator. I was happy to see myself write code with a fast pace. After we unscrambled the code, we both remembered the exercise we did in ICM, where the mouse position changed the fill of each rectangle.
Then, we added some random variation to our code. Now, once you’re within the rectangles and you move along the x-axis, the color changes to red. But, to color the first rextangle your mouse should be at the very end and vica versa for the last rectangle. We’re still not quite sure why is that the case.
Here’s the in-class exercise: Colorful rectangles
PART 1: PRACTISE
Review Loops
I think the code was pretty straightforward. Without even looking at the example, I managed to create the grid system. What surprised me was the canvas resized itself even though we didn't call the windowResizes function. I commented out the function and realized that the canvas size doesn’t resize. How is that possible?
I added a random fill to make it more dynamic.
Click here for fullscreen!
---
Encode 1
For this example, I’m guessing that there’s a for loop within a for loop to create the grid system. Some of them are white and others are black, assuming that there might be a random function for fill of the grids.
I was partly right with my predictions.
Click here for fullscreen!
---
Encode 2
I’m still guessing that there’s a nested loop for this example. The y position of the rectangles change when my mouse is pressed. So, there might be a random fucntion or a range that the y-position can differ. How did we get the gap between rectangles? (is it because columnWidth * 0.7?)
I changed the column width and row height values, now they look more like rectangles that are entangled.
Click here for fullscreen!
---
Decode 1
By looking at the code, I assumed that there would be rectangles that are placed within a square by square grid. Since there was translate and angle in between push-pop, I thought that their angles would change.
Warning, flashing lights!
Click here for fullscreen!
---
Decode 2
I truly don’t know what to expect from this code. After seeing imageMode and image(), I thought that we’re going to see an image but I guess not. Apparently, createGraphics() is a function in p5. I’m not sure how it works.
Click here for fullscreen!
PART 2: RECODE
I loved Raphaël de Courville’s work. I especially loved this example: (Link)
![]()
![]()
I lowered the frameRate() to better see the movement. I used translate() and a forLoop to draw lines that rotates around the center. I guess, one of the differences is that the one on the top has a range of min and max values for the length. It seems that the lines move more coherantly. I tried to do that with changing the random fuction and giving it a more smallar range. I don’t know how to make it more similar to the example. :(
Click here for fullscreen!
Week 2 - Debugging/Unpredictability
PART 1: DECODE
My predictions
![]()
![]()
Decode 1
In the example, everything was inside the setup() function. I used my mouse position for x and y position of the square. This allowed me to produce a different effect by drawing squares on top of each other.
Click here for fullscreen!
![]()
![]()
Decode 2
I changed the strokeweights and the their color do give a different appearace.
How does seed variable work in this example? Also, does the following statement mean: if a random number between 0 and 10 is smaller than 8, then execute the code?
Click here for fullscreen!
![]()
![]()
Decode 3
My predictions were partially right for this example. I changed the I stil don’t understand how seed works. I consoled log’ed seed and each time I pressed I got these numbers. The numbers makes sense since they have to be a random value between 0 and 1000 but what do we do with these numbers?
![]()
Click here for fullscreen!
![]()
![]()
Decode 4
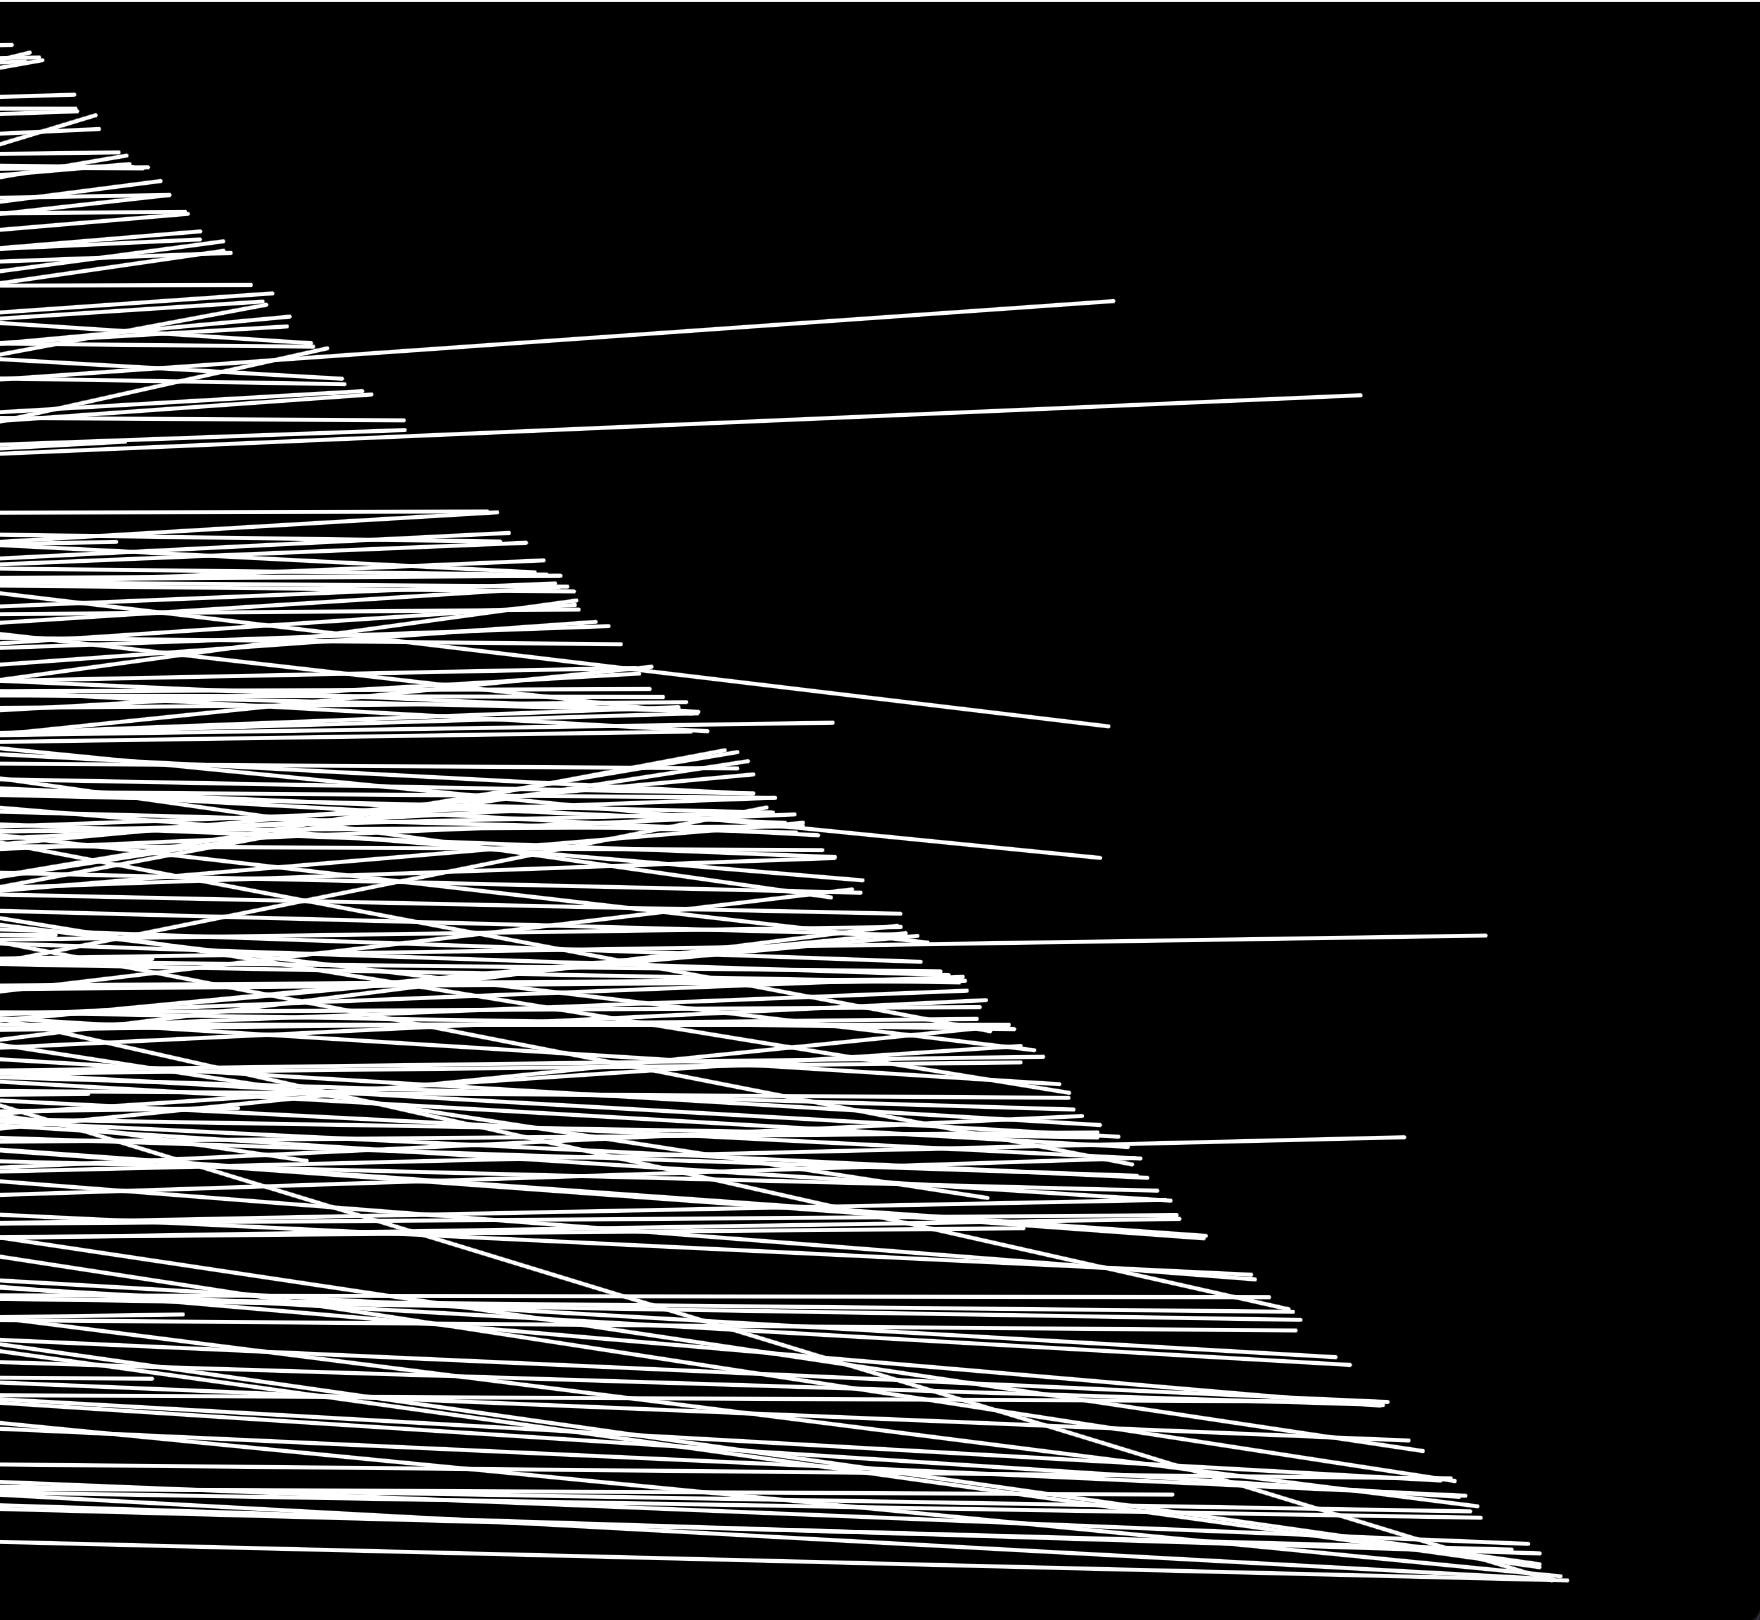
I mixed the start and end numbers so that the points did not touch each other. By doing this, I got individual lines.
Click here for fullscreen!
![]()
![]()
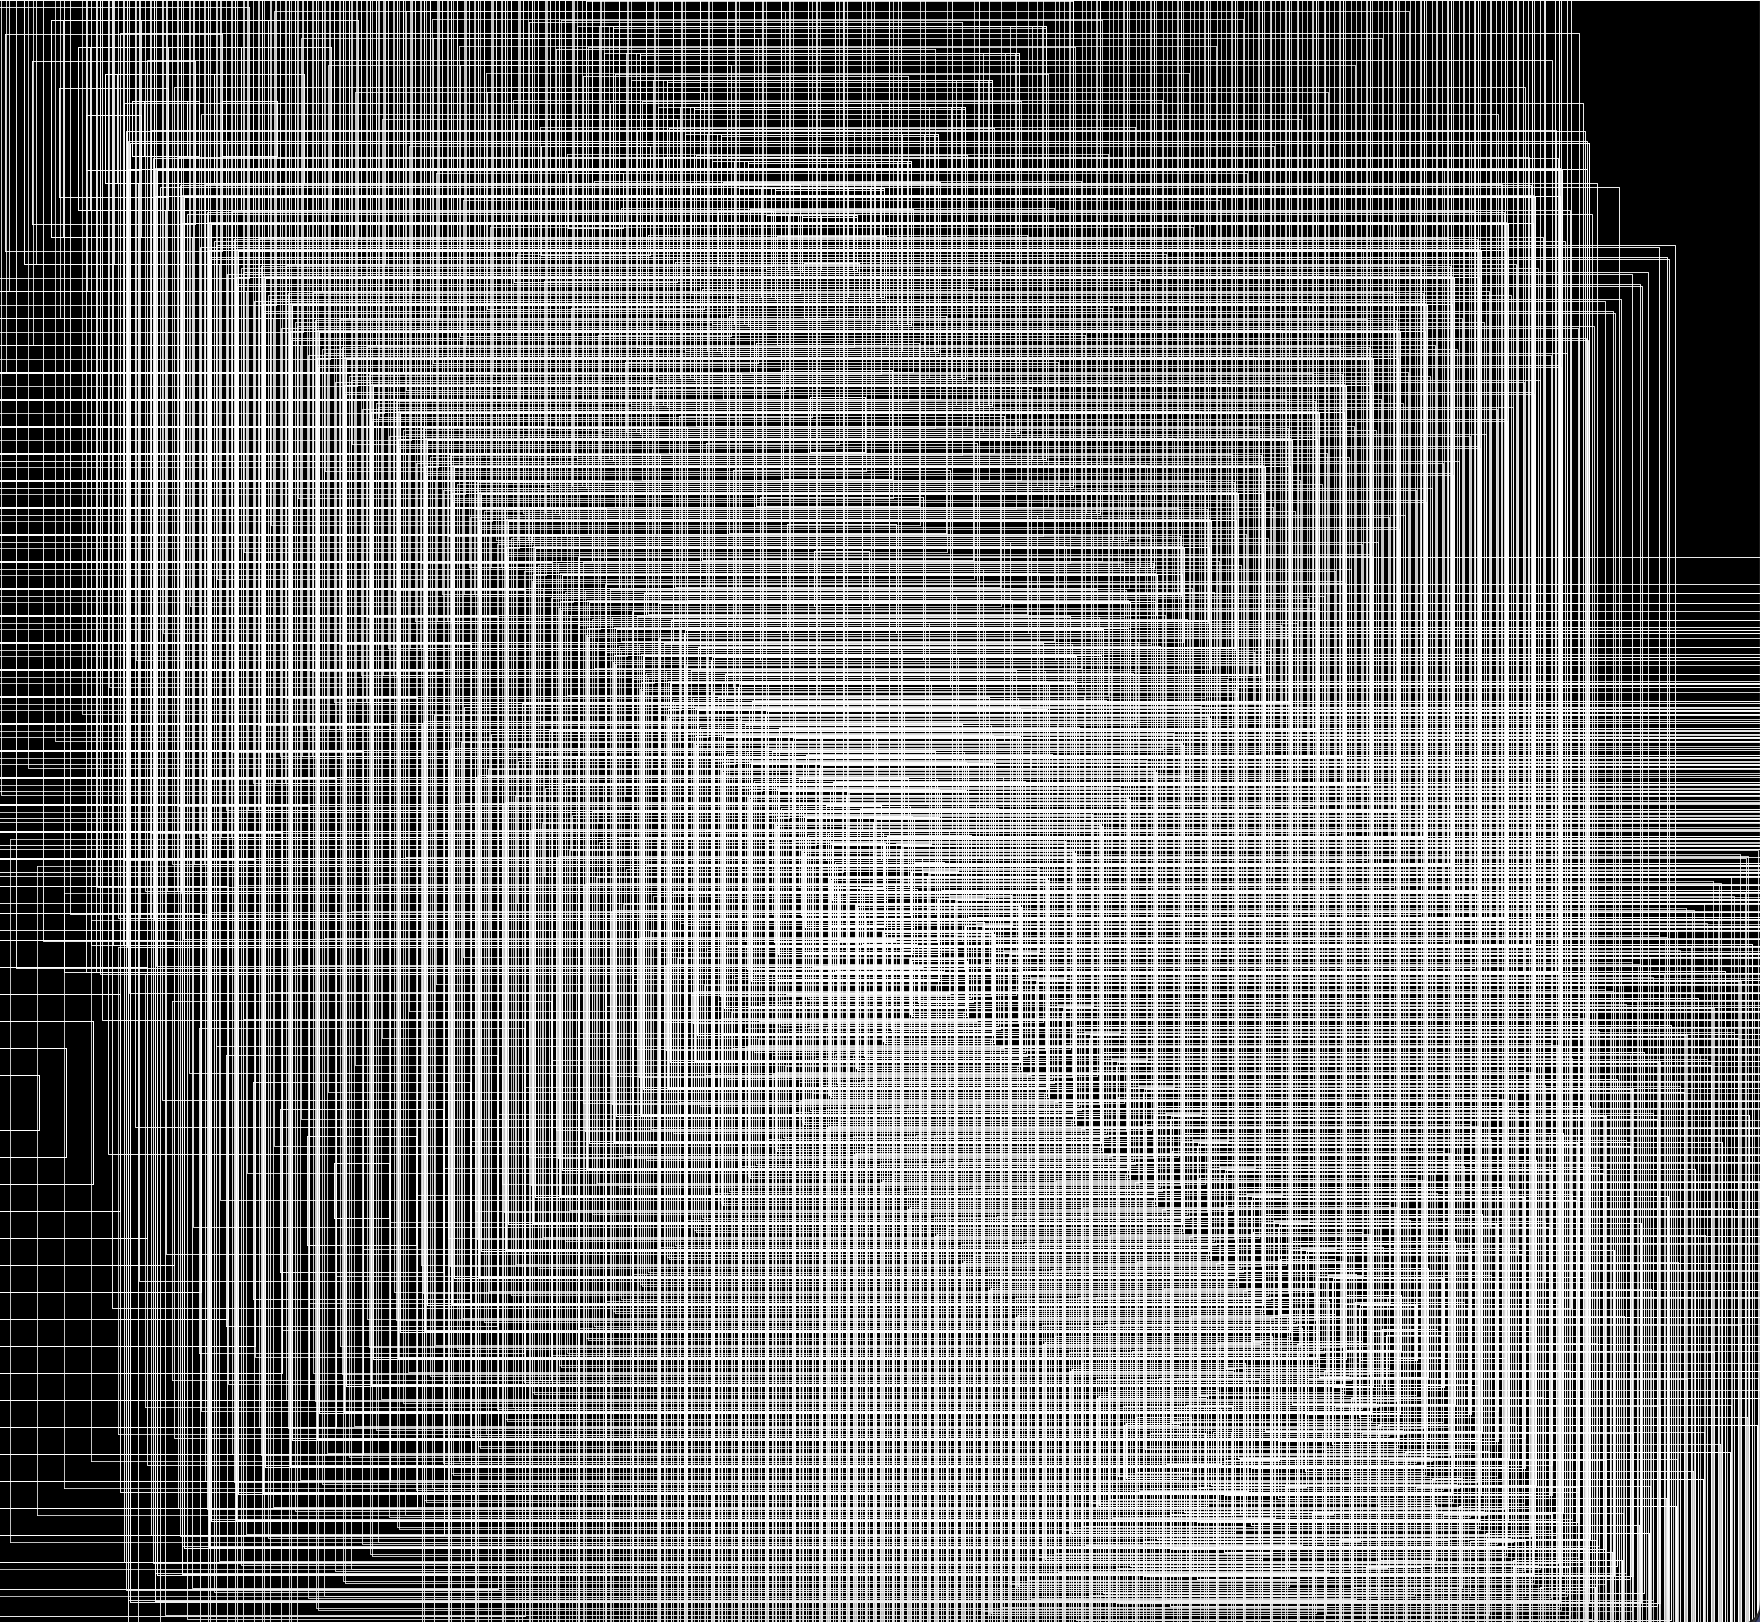
Decode 5
What I learned from the videos:
For this example, I used noise() for the color. It kinda gave a gradient feeling since the color changes are so subtle.
Click here for fullscreen!
![]()
![]()
PART 2: RE/CODE
It took me a while to understand that we have to give a time value to noise, so that we won’t get back the same value. Coding Train videos uses a variable xoff and increase with a value. “Perlin Noise with p5.js by Gene Kogan” uses t as a variable and it increases with small increments.
I used that method and created ellipses. Then, I added rectangles with rounded corners. Their time variable increases with different increments, one is slower than the other and it creates a different visual effect. The image on the left is the example of when there is only ellipses. Both the origin and the radius is determited with noise.
Click here for fullscreen!
![]()
![]()
![]()
Week 1 - Pseudocoding / Looping Animation
PART 2 : ENCODE
Encode 1 consists of a circle, a triangle, and a square. While the square is turning around its center, the other elements stay still. When the square intersects with the other elements, the color of the intersection is reversed (black in this case).
Q: What’s the purpose of the minDimension variable?
To change the appearance, I got rid of the triangle and the circle. Then, by only using the blendMode(DIFFERENCE), the rectangle created a circular shape at the center.
Click here for fullscreen!
![]()
![]()
In Encode 2 a circle is moving from left-to-right (and right-to-left) within a border.I’m not sure if it’s my internet connection or my eyes, but the circle creates an illusion. If I look at it long enough, it seems that it’s slowing down and my eyes can see other circles.
I added the following code, and the circle seems to have an orbital trajectory.
Watching the “Simple Harmonic Motion” reference video helped me a lot to remember sin wave patterns and it’s calculation.
Click here for fullscreen!
![]()
![]()
Encode 3 consists of one circle. The stroke weight increases while the inner black circle gets smaller slowly. The animation is pretty subtle and calming.
To modifty the sketch, I added the frameCount affect and the animation starts with a small circle and it gets bigger proportionally to frameCount.
Q: why does the circle stops getting bigger after reaching a certain point?
Click here for fullscreen!
![]()
![]()
Click here for fullscreen!
![]()
![]()
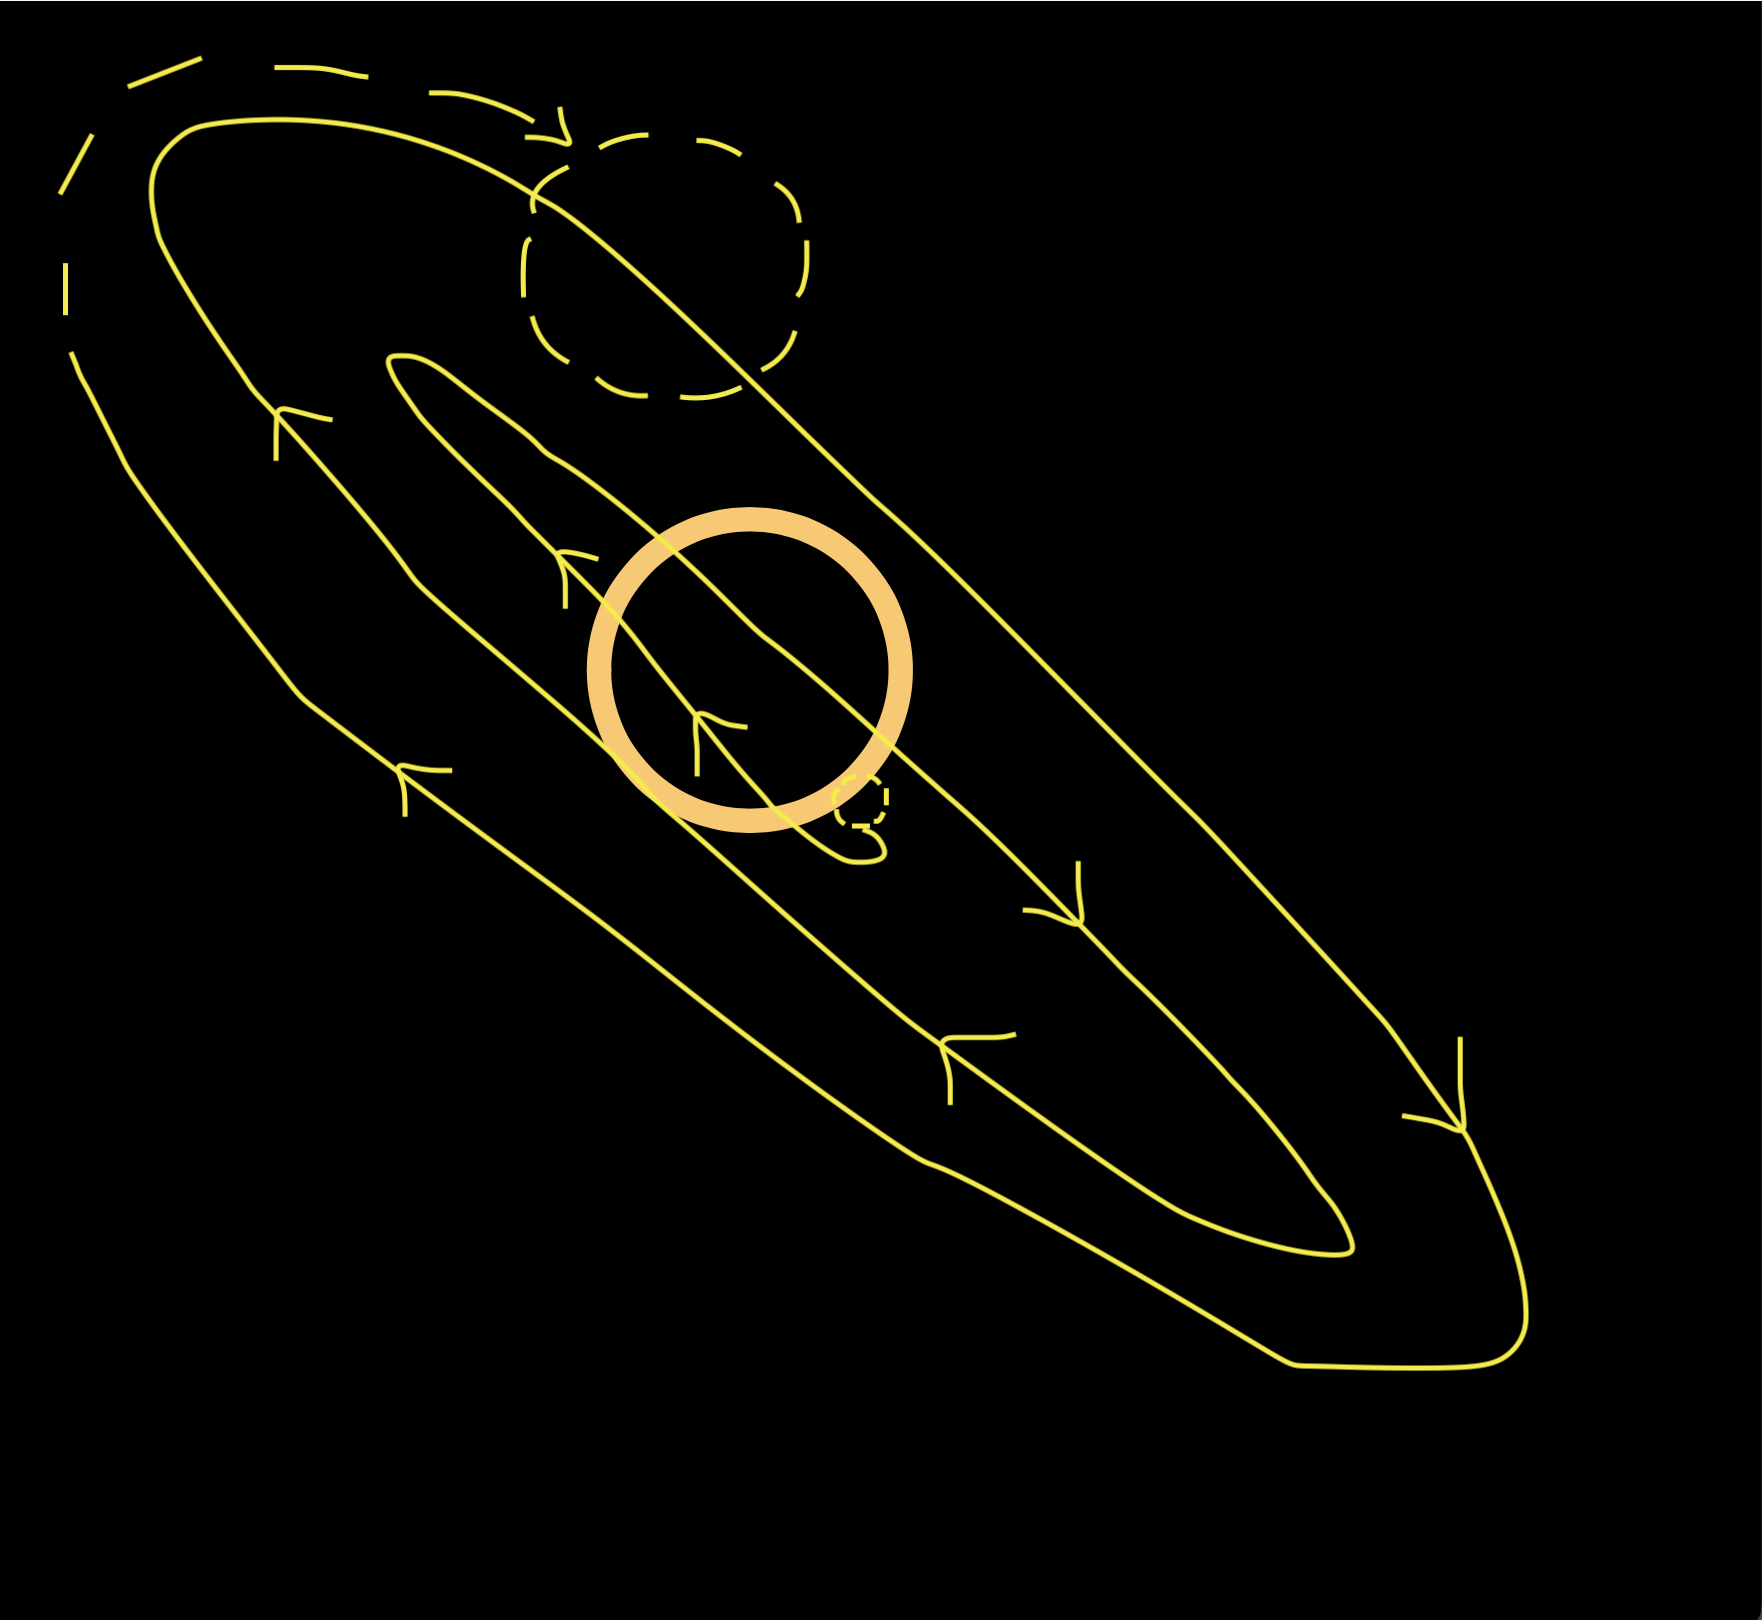
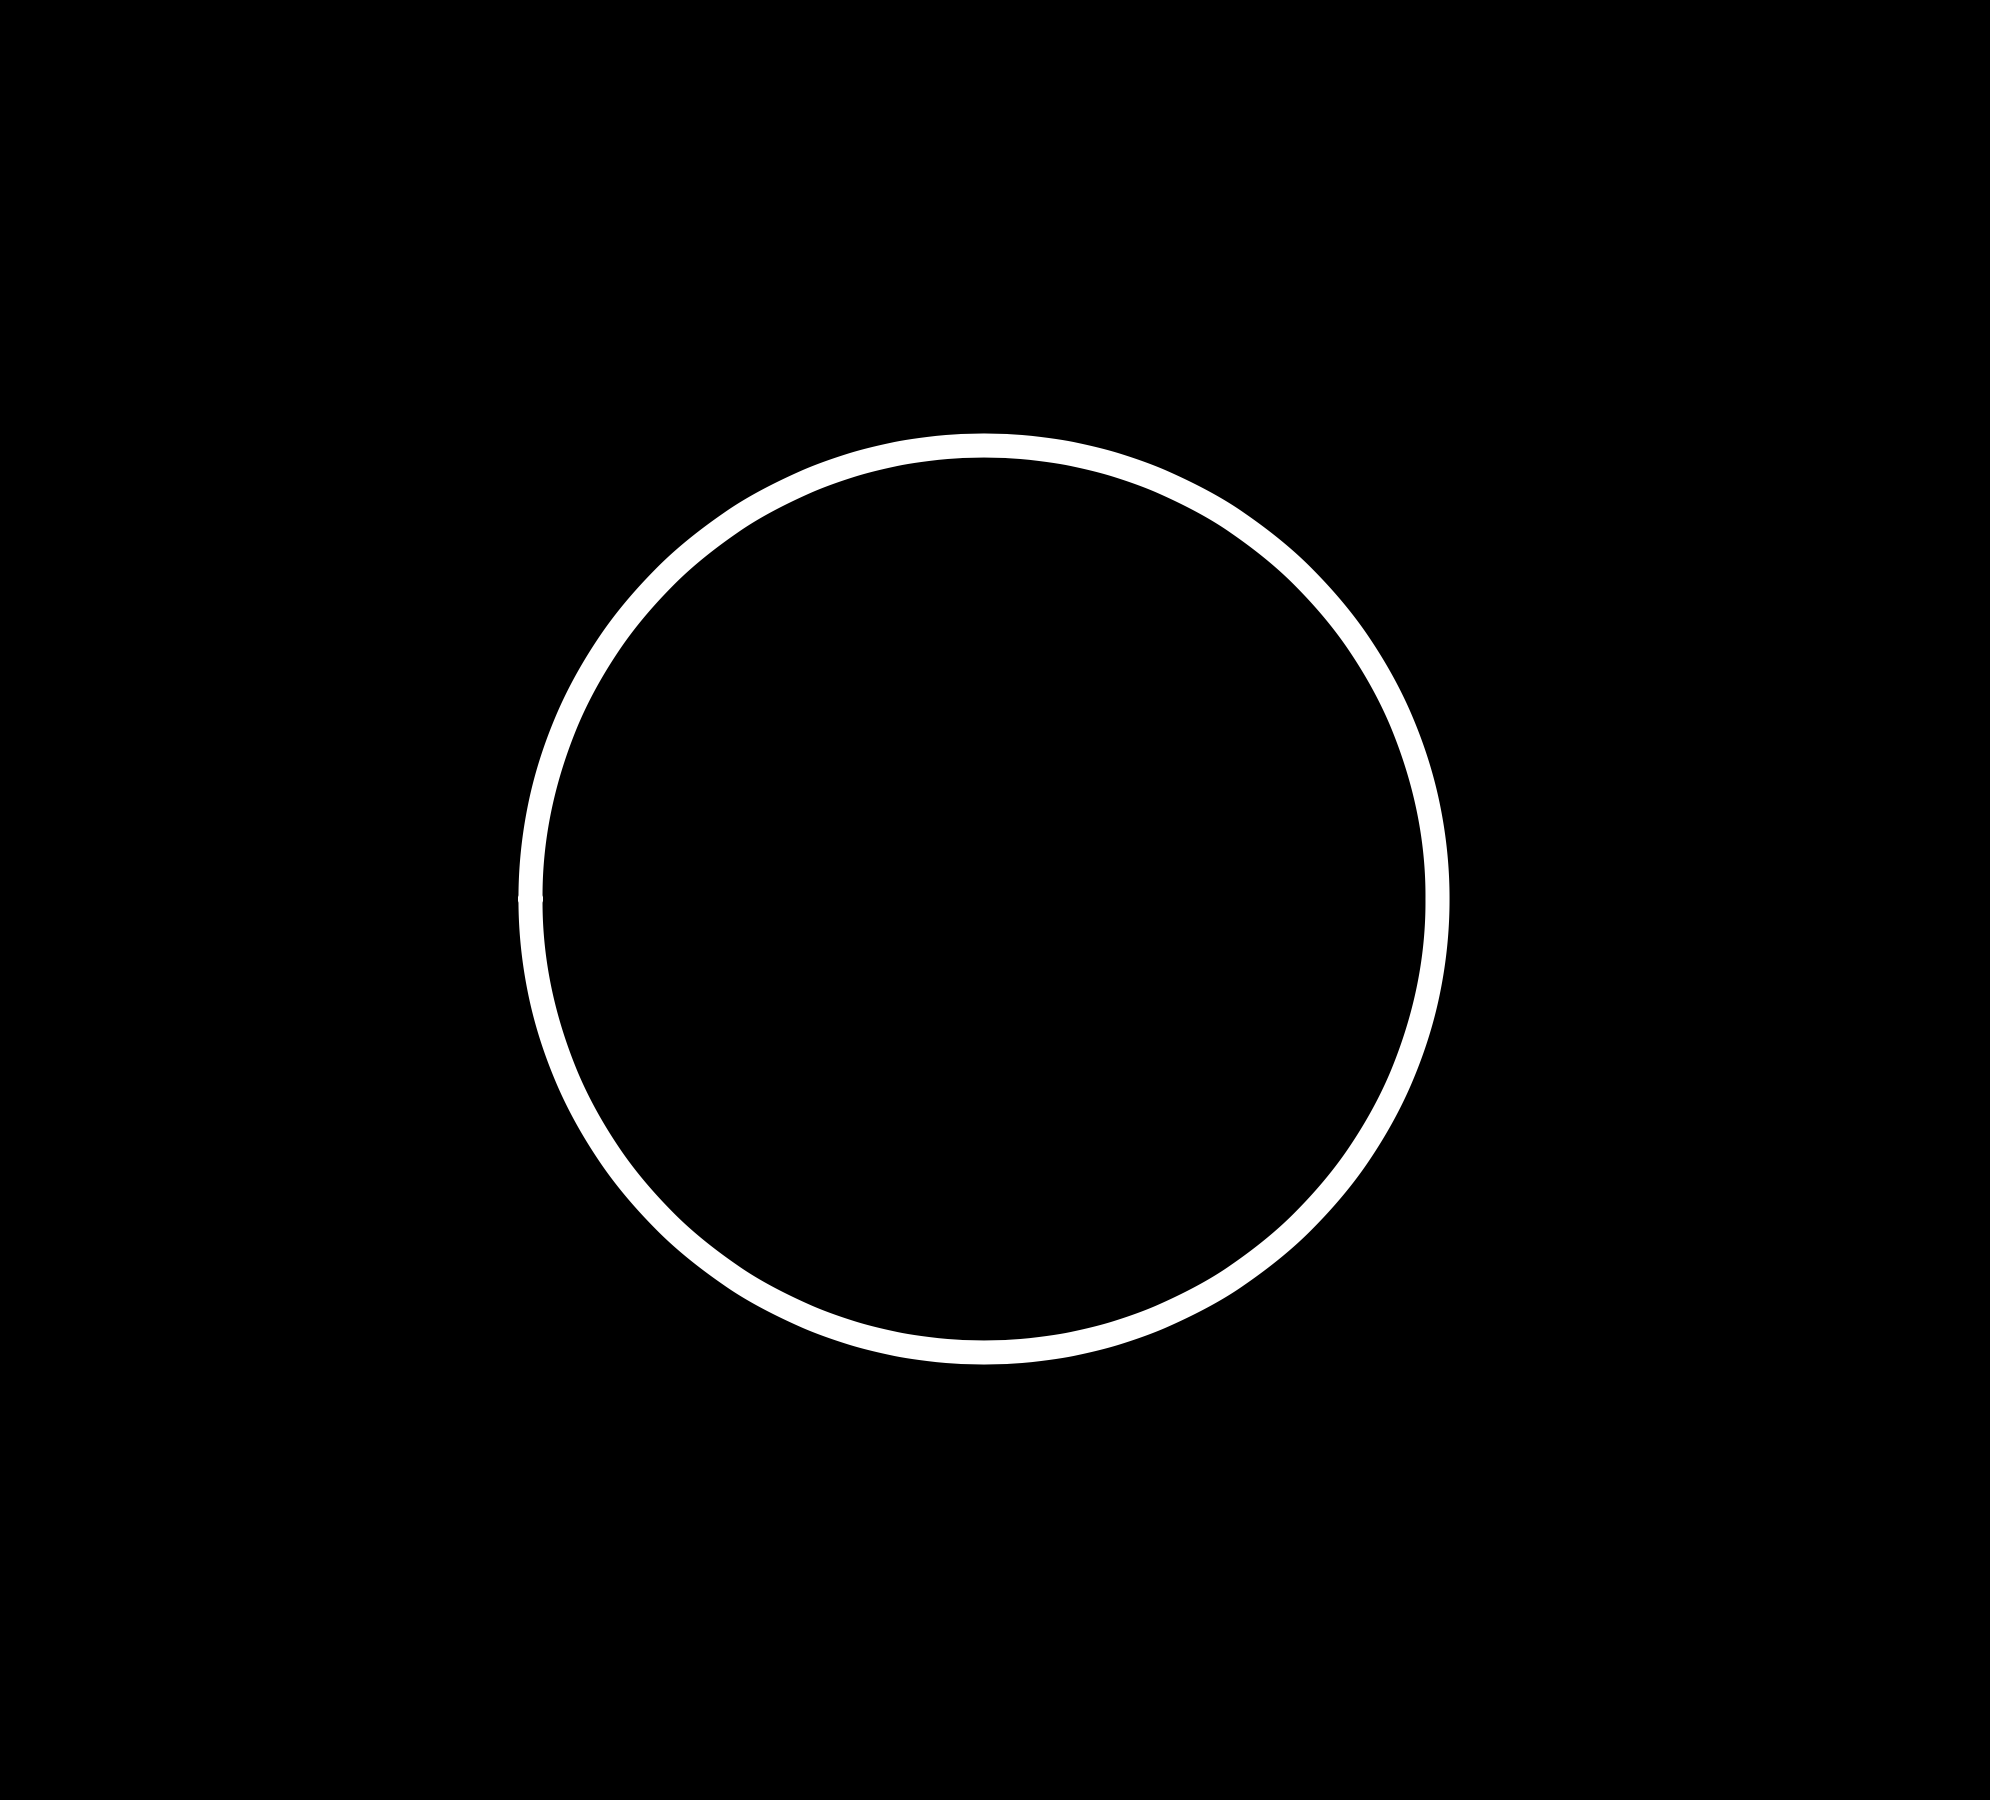
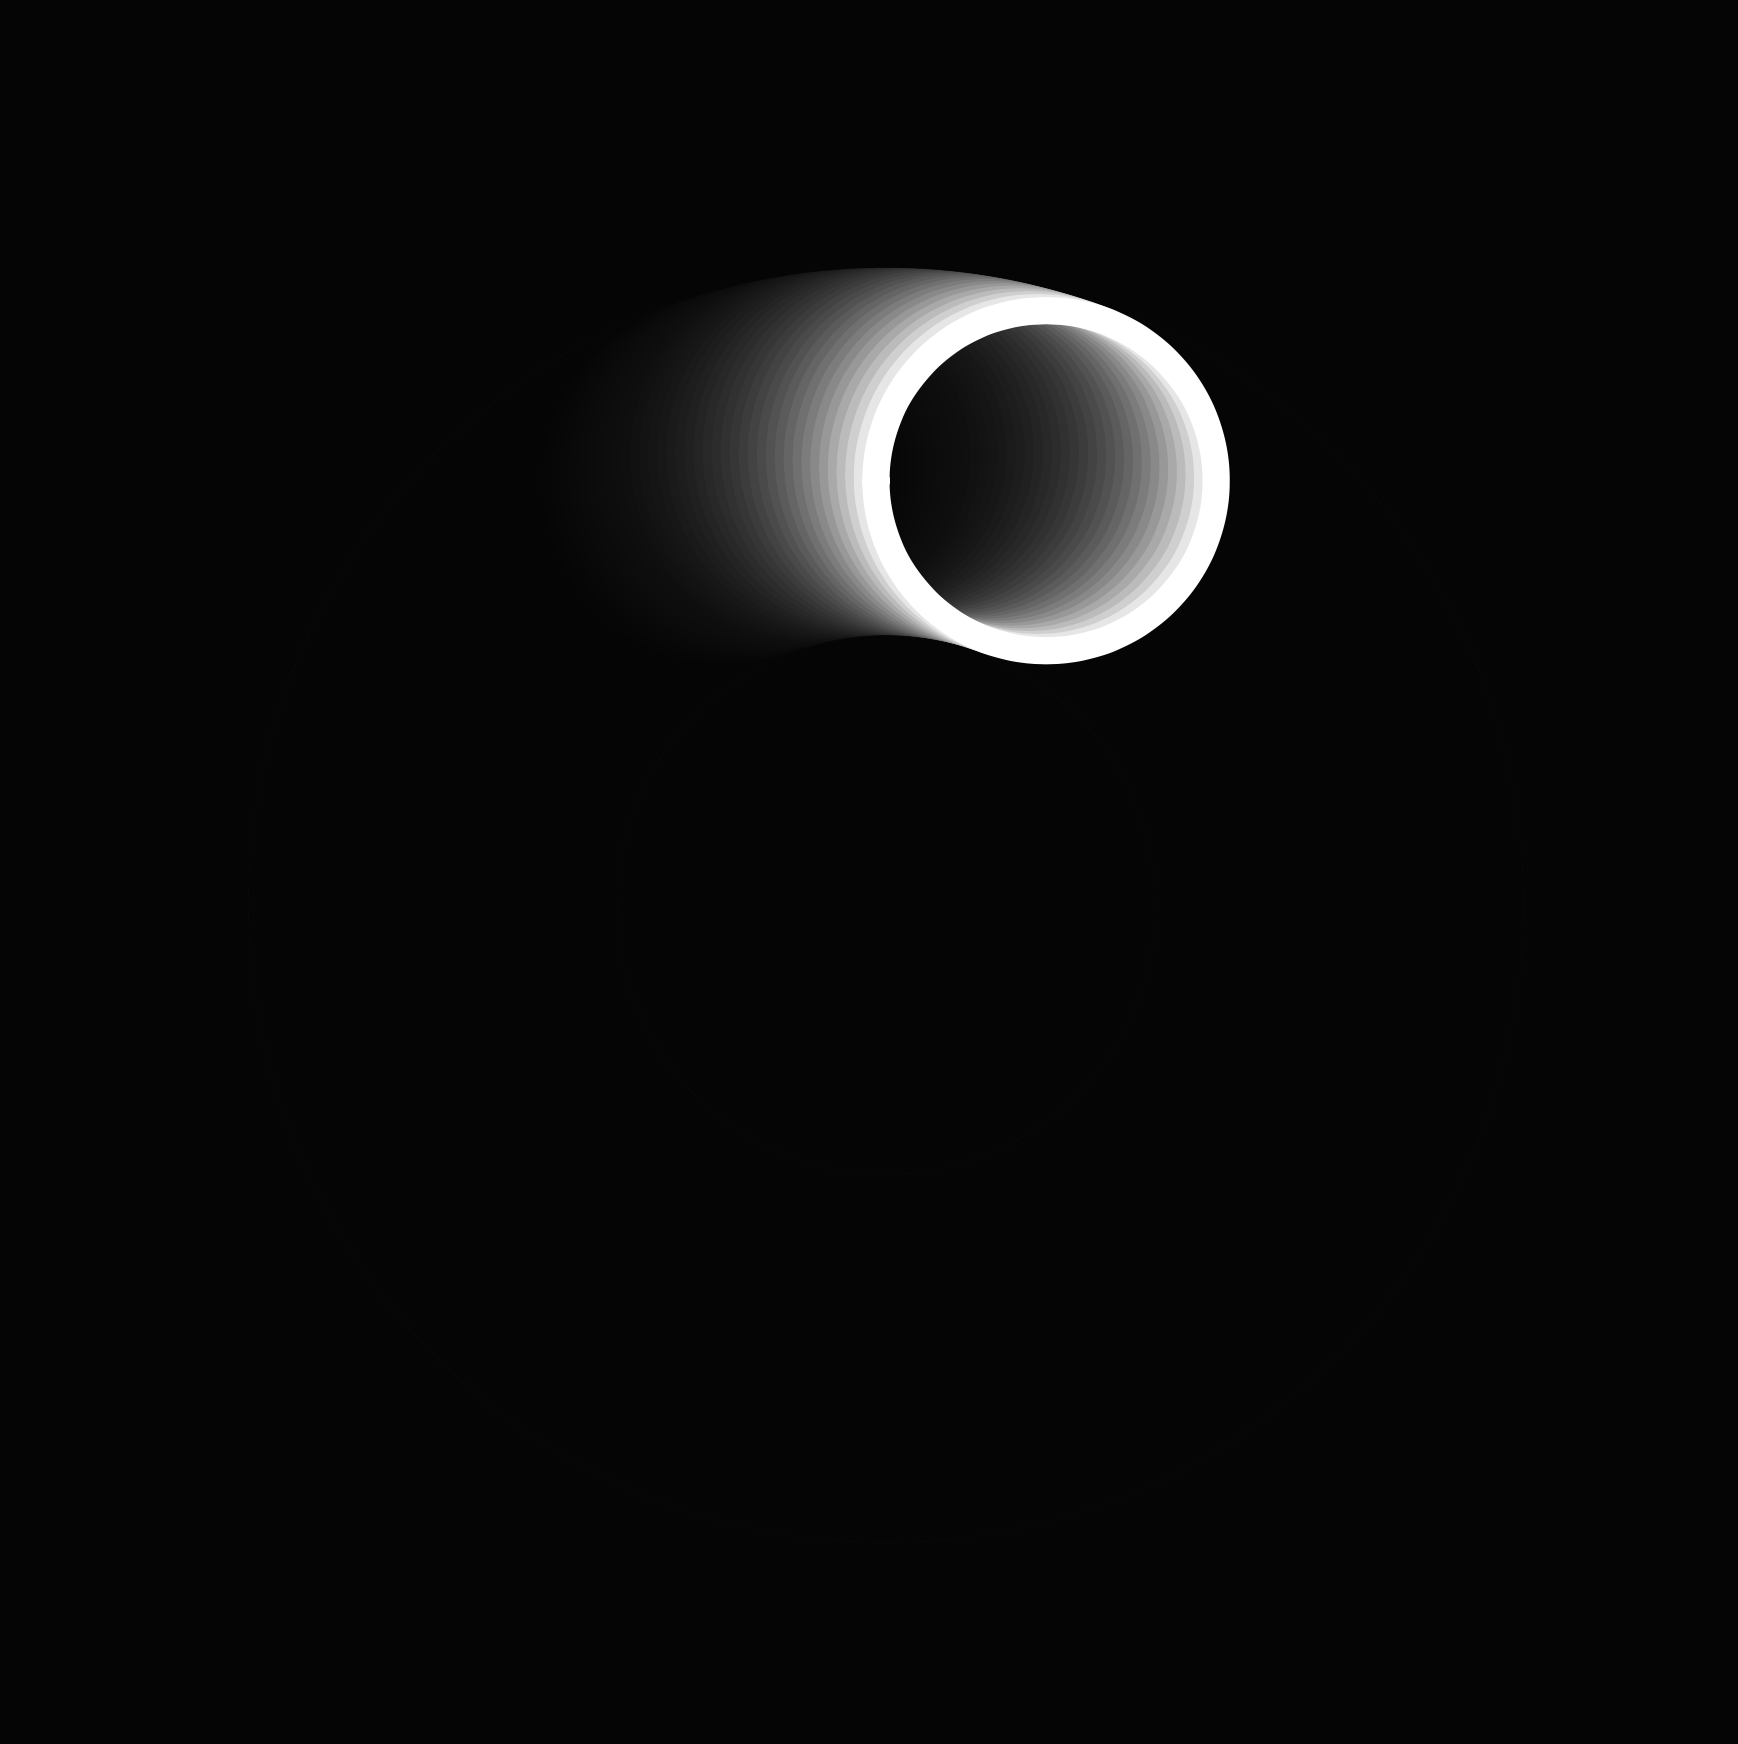
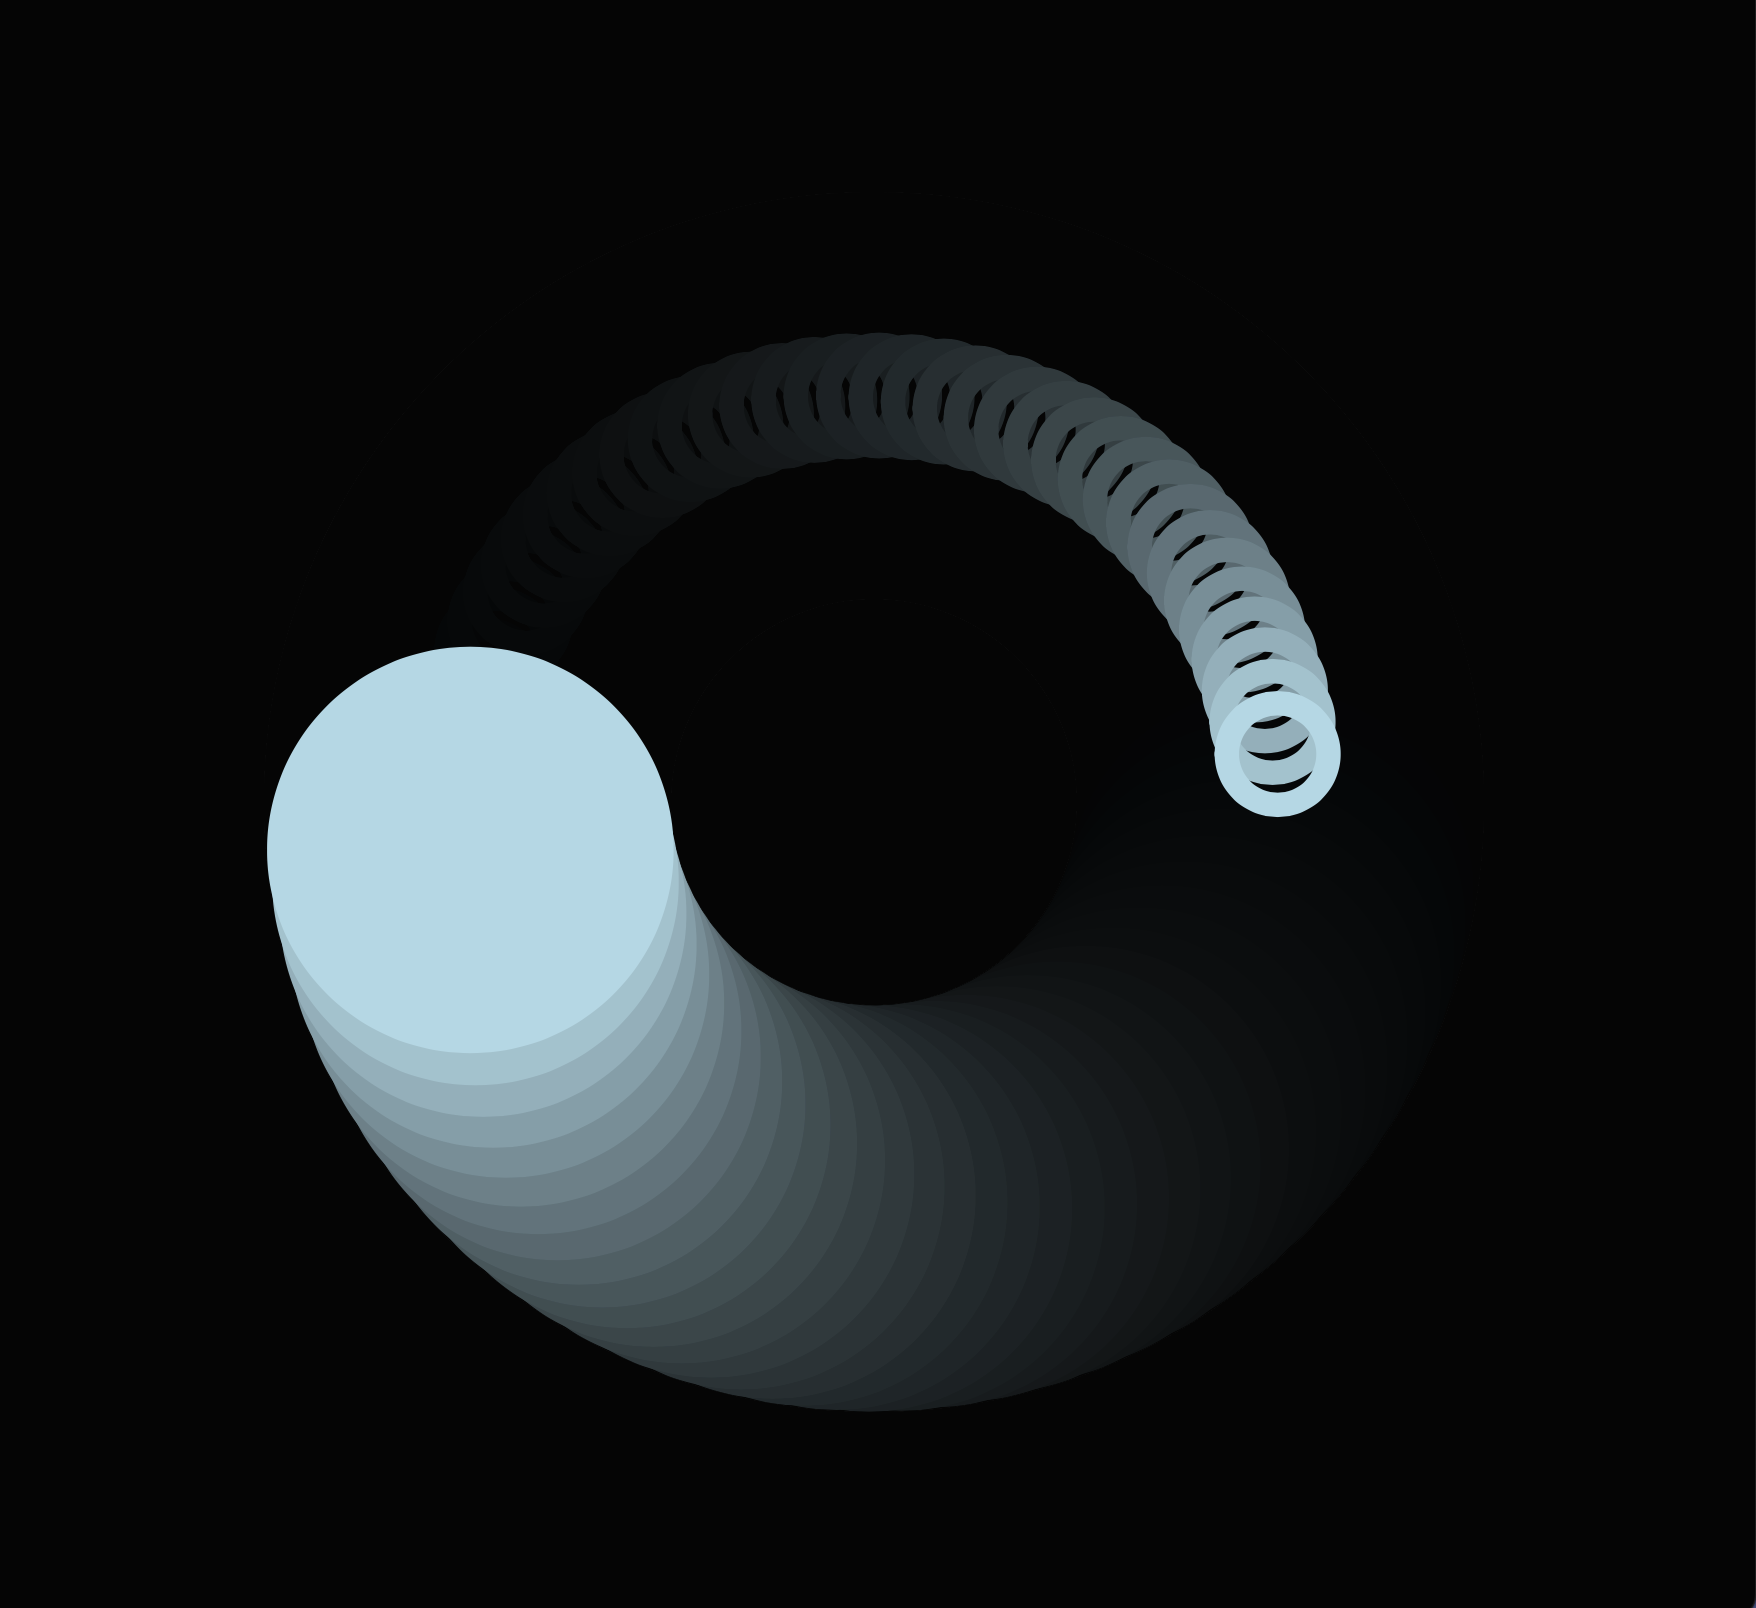
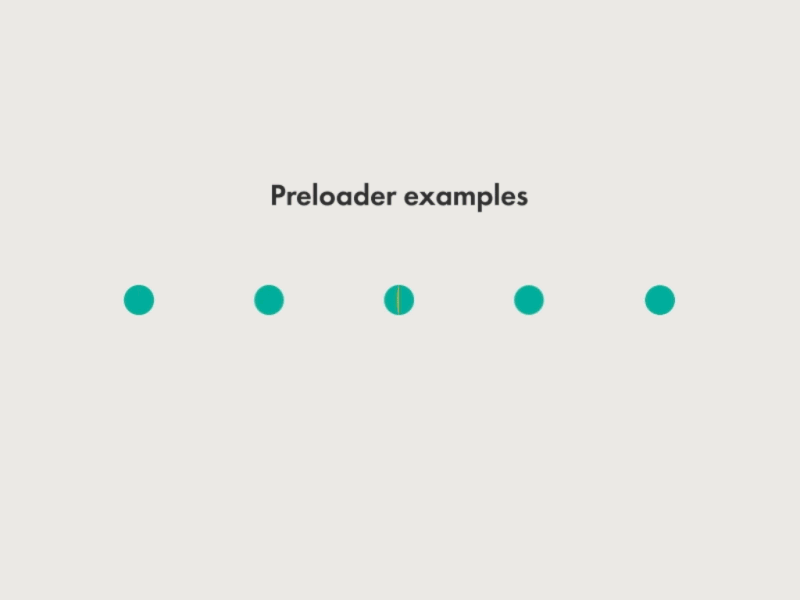
Encode 5 is an example of a preloader that most of us are familiar with. I changed it by rotating it in the opposite direction and it only covers a 180 degree area.
Click here for fullscreen!
![]()
![]()
For me, this week was all about remembering how to code. I’m upset with myself for not doing any exercises over the break :( Hoping that I’ll remember what we did during ICM as soon as possible.
PART 3 : RE/CODE
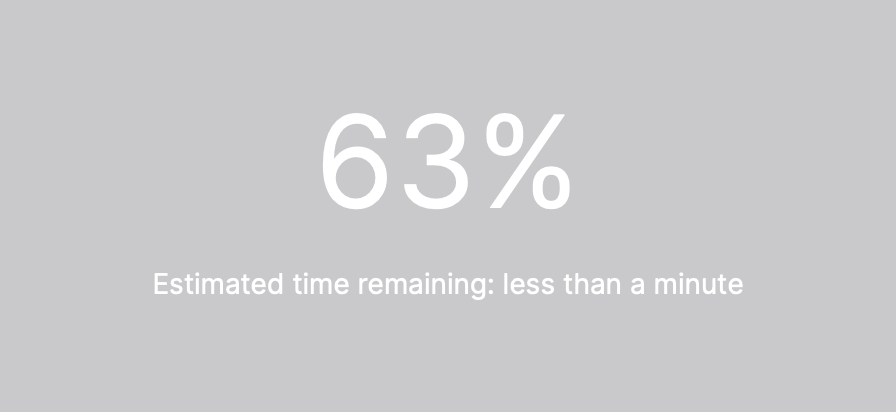
Preloader icons are like elevator music. Rather than sitting in an empty room, you’re being exposed to an audio or visual, thus, you have a more pleasing waiting experience. Personally, I love it when there is some sort of a bar that indicates an accomplishment.(example down below with a percentage is something that I see when I’m downloading something. Maybe it can be seen as a preloader) I tend to get annoy when I don’t know if my waiting time has decreased or the browser made a progress in loading the website.
After browsing through dribbble, I choose these three examples as my favorites. They are clear and fun. Not to many animation is going on and I love there visual language. I tried to exlore the animation type that’s being used in these. But I’m having a hard time creating a loop animation.
![]()
![]()
![]()
![]()
Challenges:
Click below for trials:
ex preloader 1
ex preloader 2
ex preloader 3
It’s crazy how each time I add or change something, a new problem appears︎ But overall, I’m happy that I managed to solve them all (of course with the help of Ellen). My code is way more clear than before and I organized all the booleans and functions in a way that they are orderly.
What I’ve learned this week:
- buttons should be created under setup(). I tried to put it into an if statement under draw() and the button.hide() didn’t work because the button was being creating inn each frame. Once I moved the button = createButton to setup and .hide into draw(), the problem was solved.
- my keyPress of ENTER was not working. Apparently, I should have used (keyCode == ENTER).
- I can change the style of a font using textStyle() and change the font with textFont().
one last problem:
Before my one last problem, I had this issue where I would press enter to skip the instructions but I would see img rather than img1. After adding a new boolean to this the problem was solved. Once I thought that I was done, cropping feature was causing problems. I was cropping img1 but it was showing me img. Apparently, the problem was the cropTiles function. I added my new boolean into that functions and now it’s working!
function cropTiles() {
tileWidth = width / tileCountY;
tileHeight = height / tileCountX; imgTiles = [];
for (var gridY = 0; gridY < tileCountY; gridY++) {
for (var gridX = 0; gridX < tileCountX; gridX++) {
if (randomMode) {
cropX = int(random(mouseX - tileWidth / 2, mouseX + tileWidth / 2));
cropY = int(random(mouseY - tileHeight / 2, mouseY + tileHeight / 2)); }
cropX = constrain(cropX, 0, width - tileWidth);
cropY = constrain(cropY, 0, height - tileHeight);
if (firstImage) {
imgTiles.push(img.get(cropX, cropY, tileWidth, tileHeight));
} else {
imgTiles.push(img1.get(cropX, cropY, tileWidth, tileHeight));
} }
Here’s the sketch: https://editor.p5js.org/zelifergin/full/9sk_afwhK
Week 12 - Individual Meetings
Notes from Ellen:
Try using VS Code, the browser might be making the sketch more laggy.
Processing might be more responsive ︎︎︎ go to processing.org/reference video page
Dowload the processing code of the sketch ︎︎︎ link
Use createButton(); for people to choose from two different modes/sketches/images
Office hour with Ellen:
Video feature works better when we Go Live in vs code. It’s less laggy.
SelectMode is causing problems because it’s being constantly drawn in draw. + Mousemoved is always working (unless we contrain the moves)
There’s definitely a logic problem going on.
--
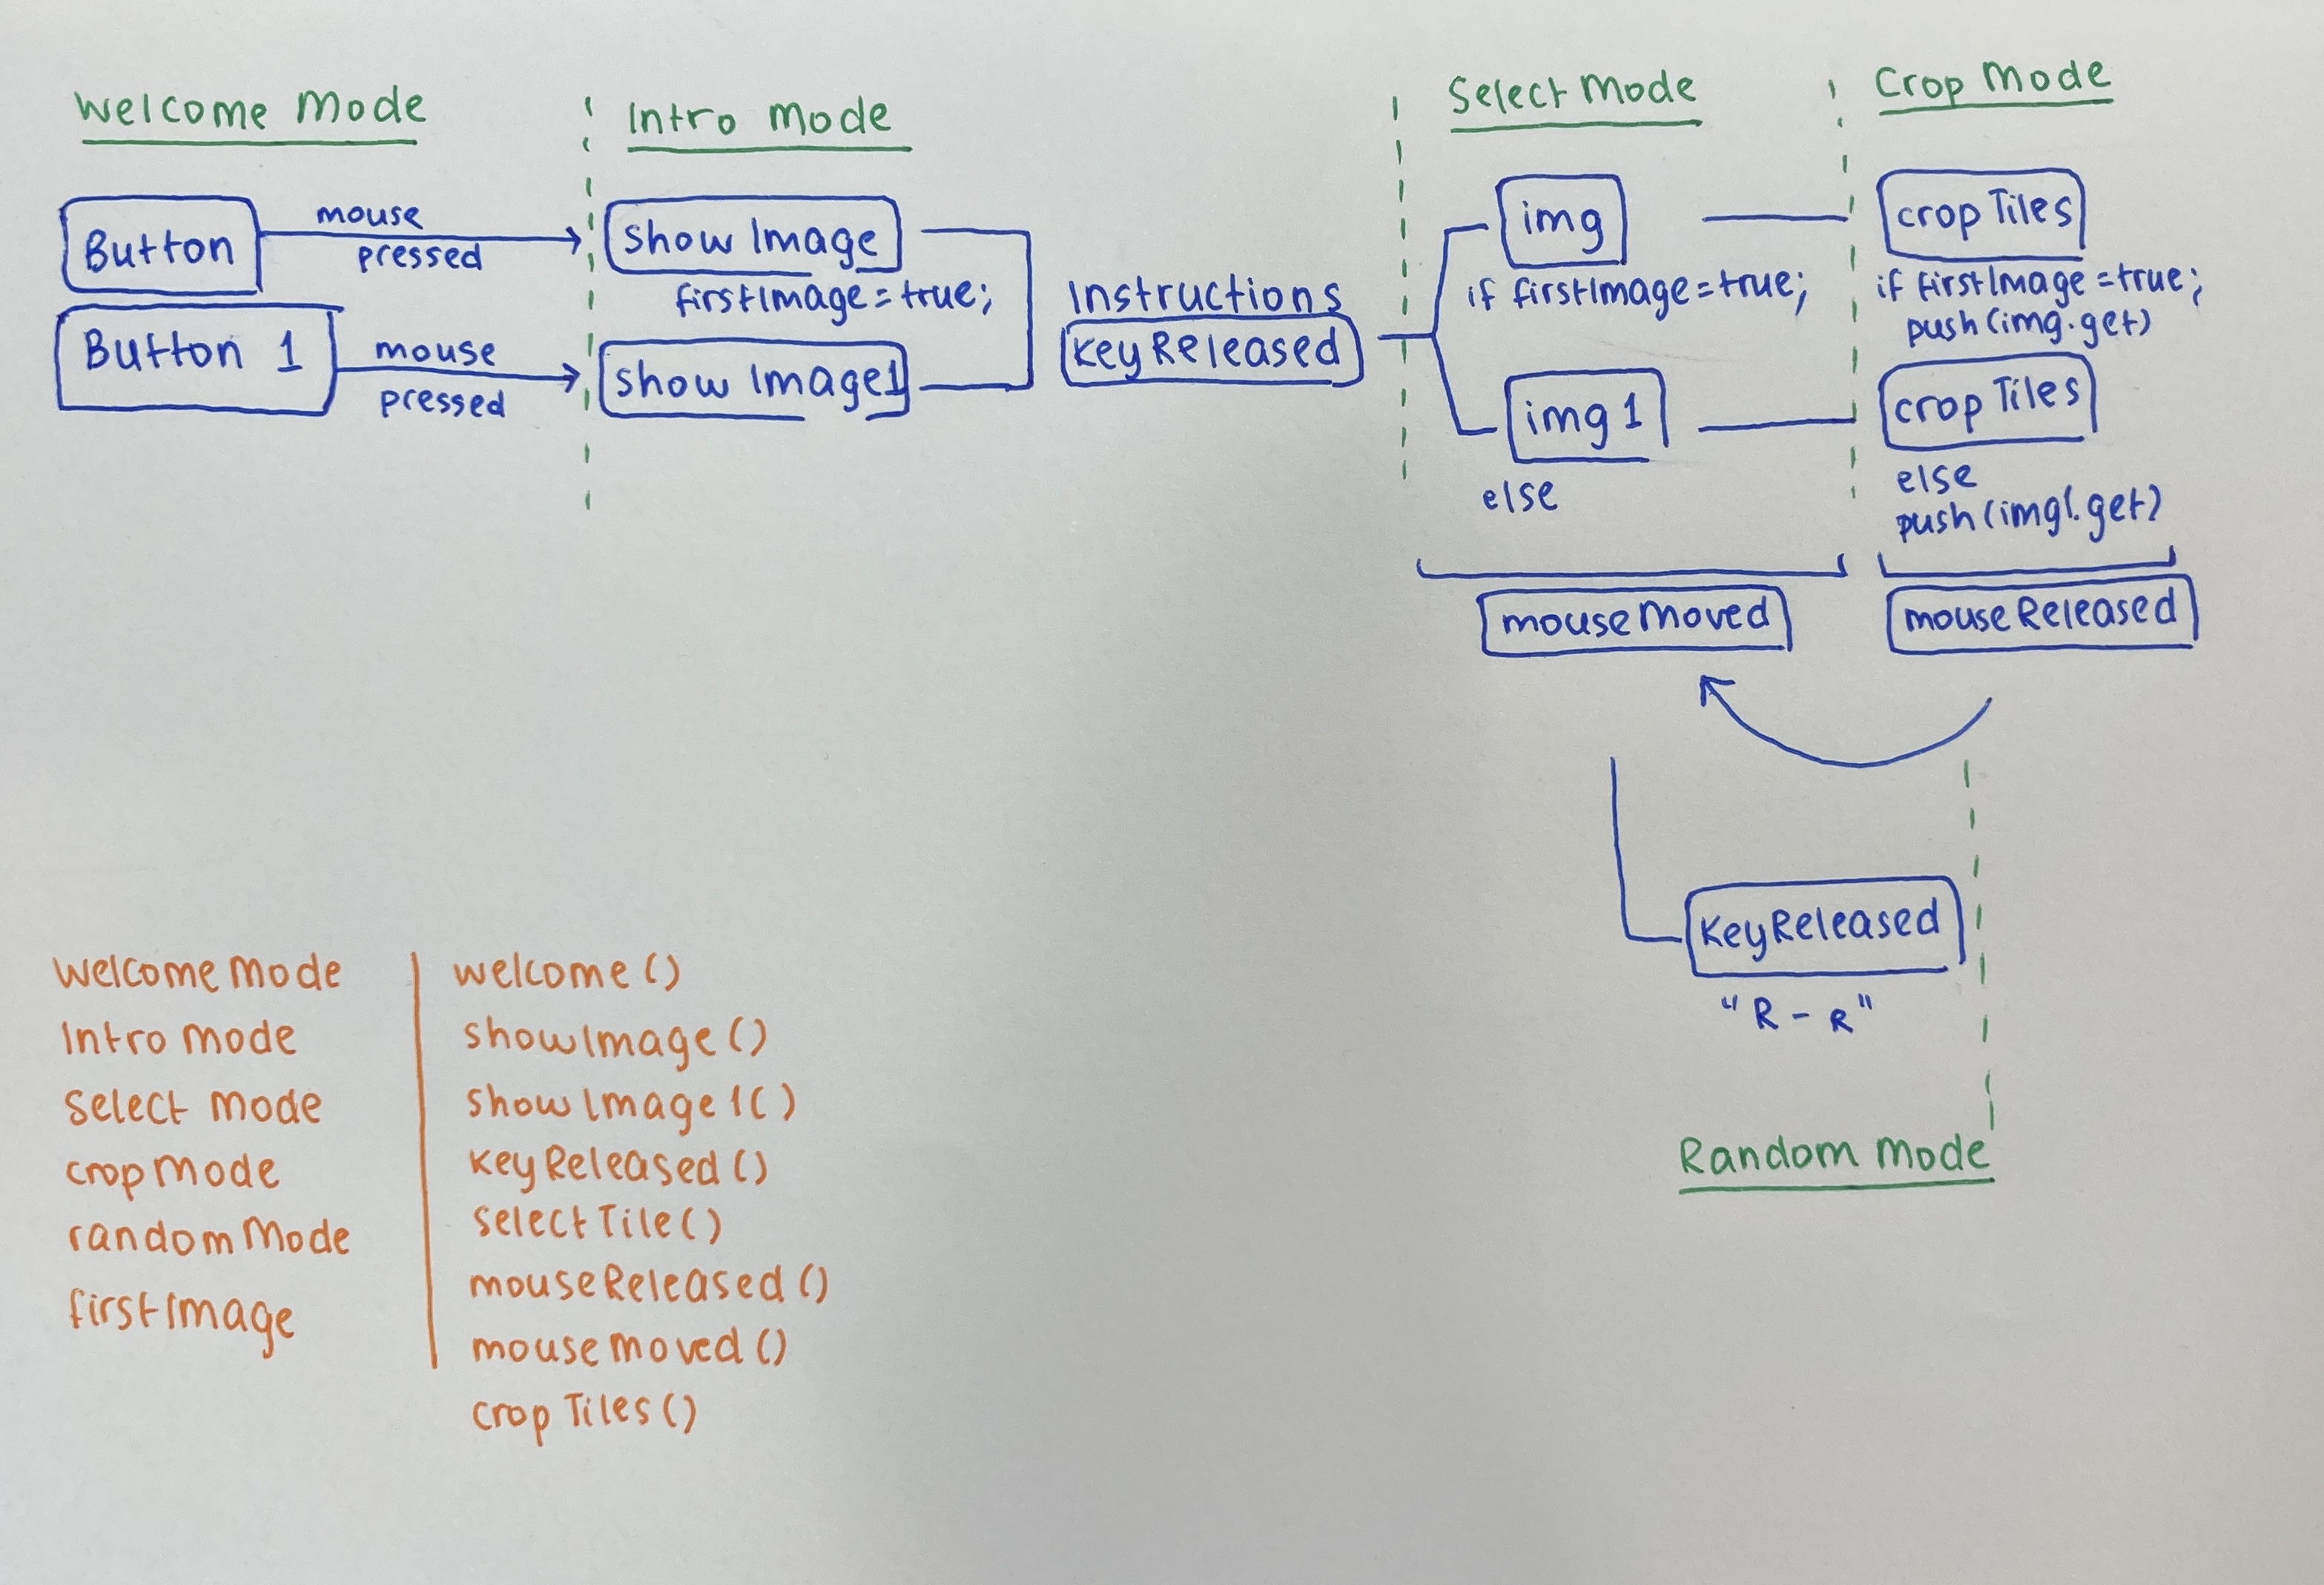
I created a problem on my own and now it’s time to solve this logic problem.
At the moment I have 3 modes:
selectMode ︎︎︎ connected to ︎︎︎ mouseMoved : rectangle is being drawn
!selectMode ︎︎︎ connected to ︎︎︎ mouseReleased: either cropTiles() or intro()
startScreen ︎︎︎ connected to ︎︎︎ mouseReleased
and I have 5 functions:
mouseMoved()
mouseReleased()
keyReleased()
cropTiles()
intro()
preload()
Ideally, I want:
welcomeMode ︎︎︎ click button to select image
I will create two buttons in this mode and when you click on either one of them, it will take you to introMode() and display clicked image in the background.
introMode ︎︎︎ read instructions and press enter to start
selectMode ︎︎︎ move your mouse around and select and area of the image
Rather than having a cursor, I’ll draw the rectangle here.
- cropMode ︎︎︎ once mouseReleased(), cropTiles() is back in business.
Hopefully, this should solve the problem. But you never know....
I created the welcome screen and by clicking the buttons, where’re moving on to introMode:
P5 sketch
Problems:
button.hide() is not working
image selection is not working
Week 11 - Two week Timeline
User Testing with live camera feature
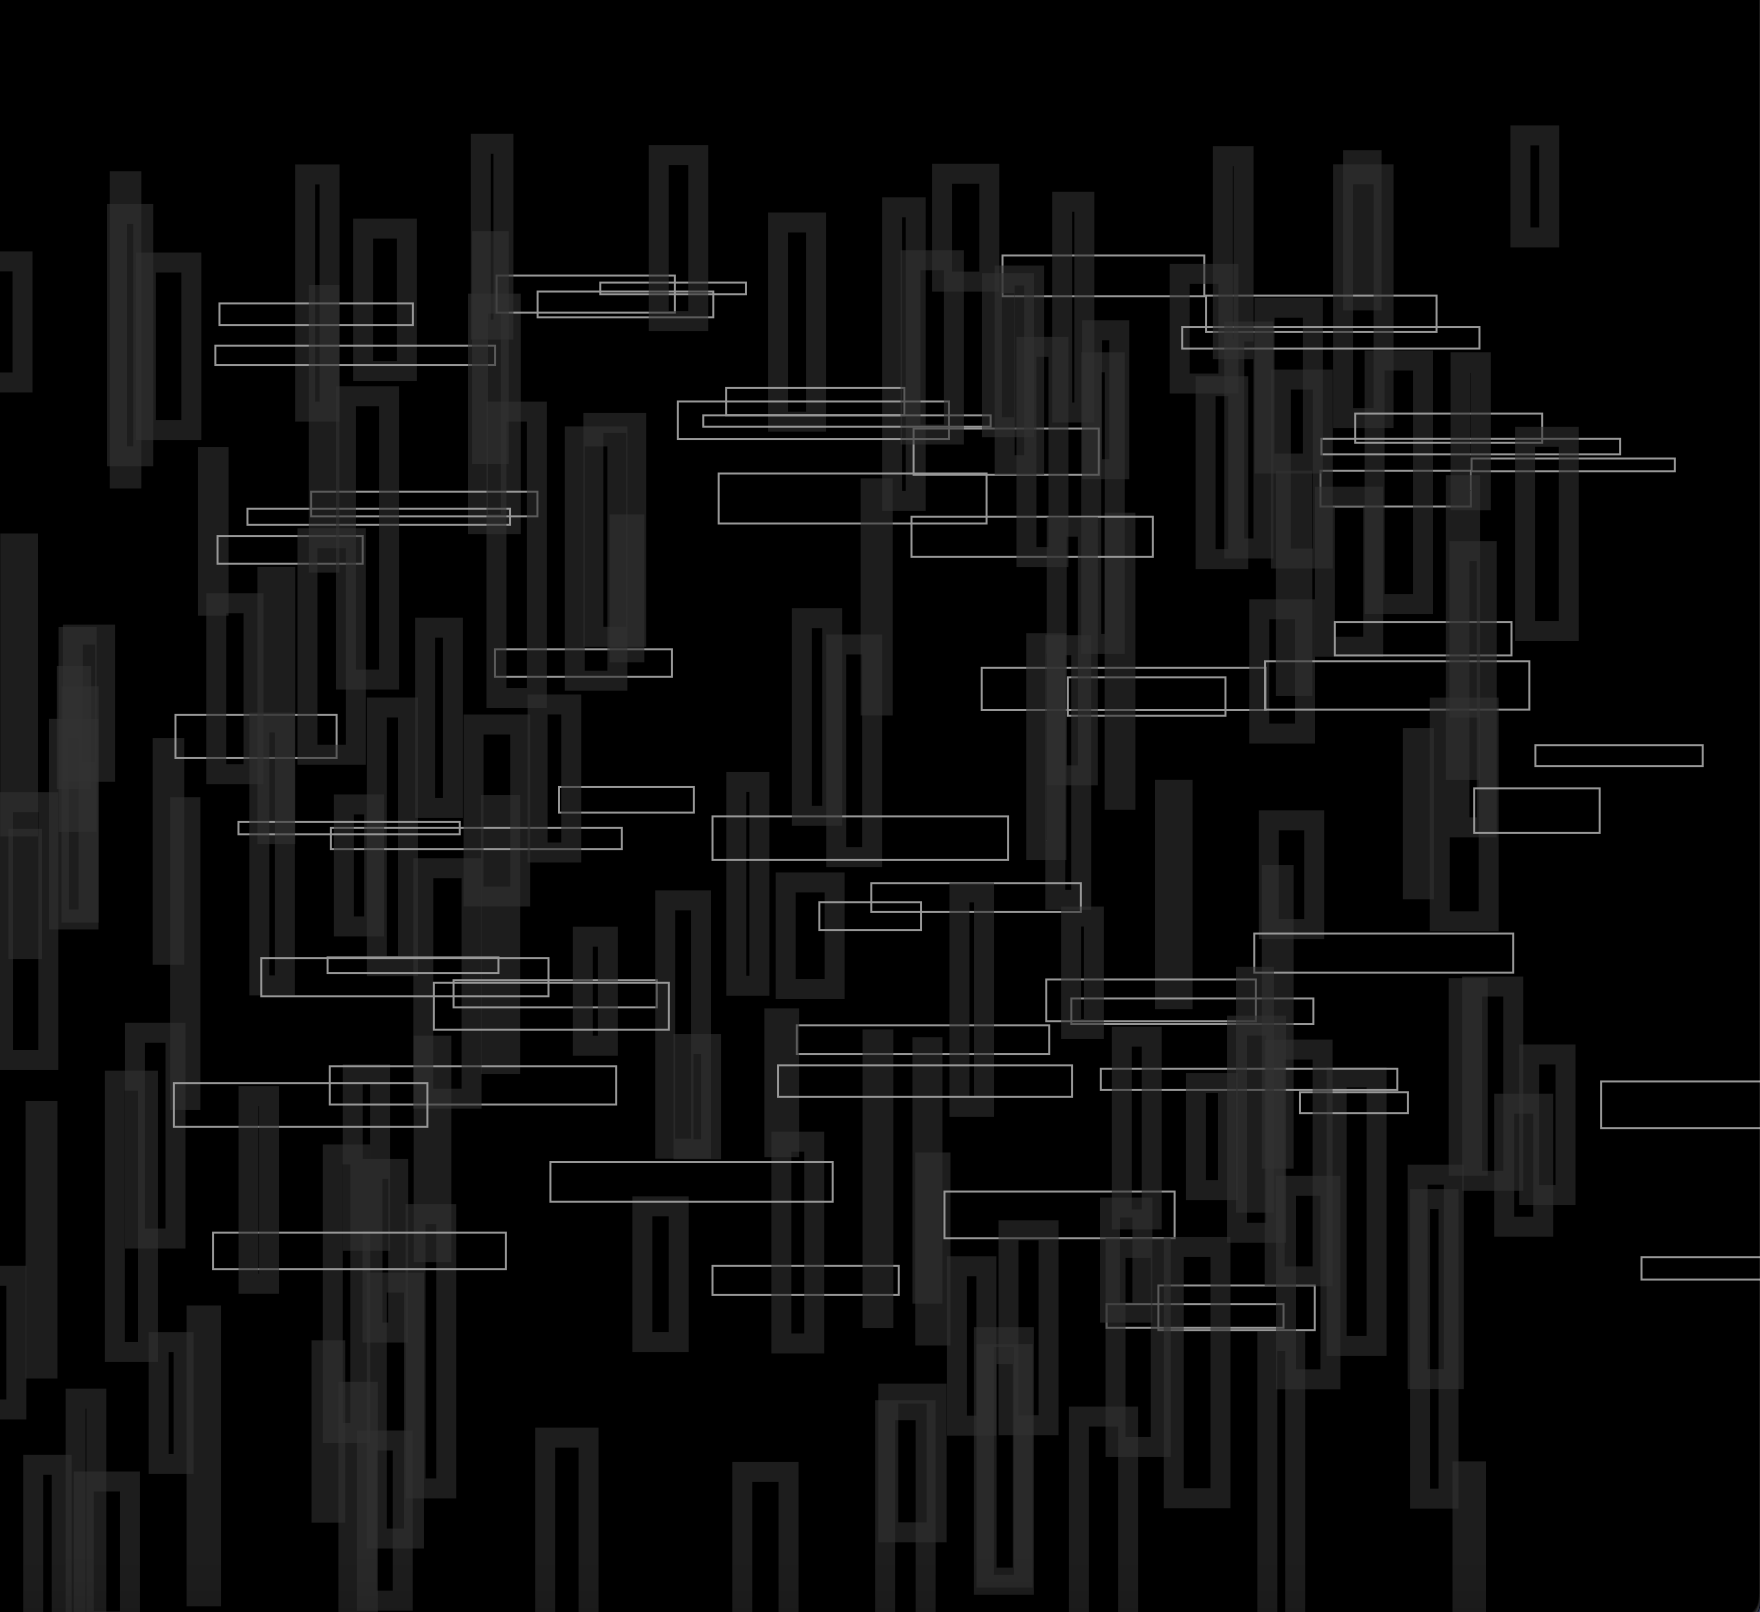
Rather than an image, I wanted to try out the sketch using a video capture. The effect is totally different than having a static image. Unfortunately, I run into issues while usertesting it.
Problem #1
mousePressed() is laggy. Without the immediate feedback of the sketch, the user doesn’t wait for the image and continues moving around.Problem #2
Once you decrease the number of tiles and reach the minimum tiles of 4x4, the image overlaps and errors occur.Problem #3
The area that you click doesn’t matter, the image always select the middle of the video feed. I’ve tried to select the door or the wall, but it didn’t work.
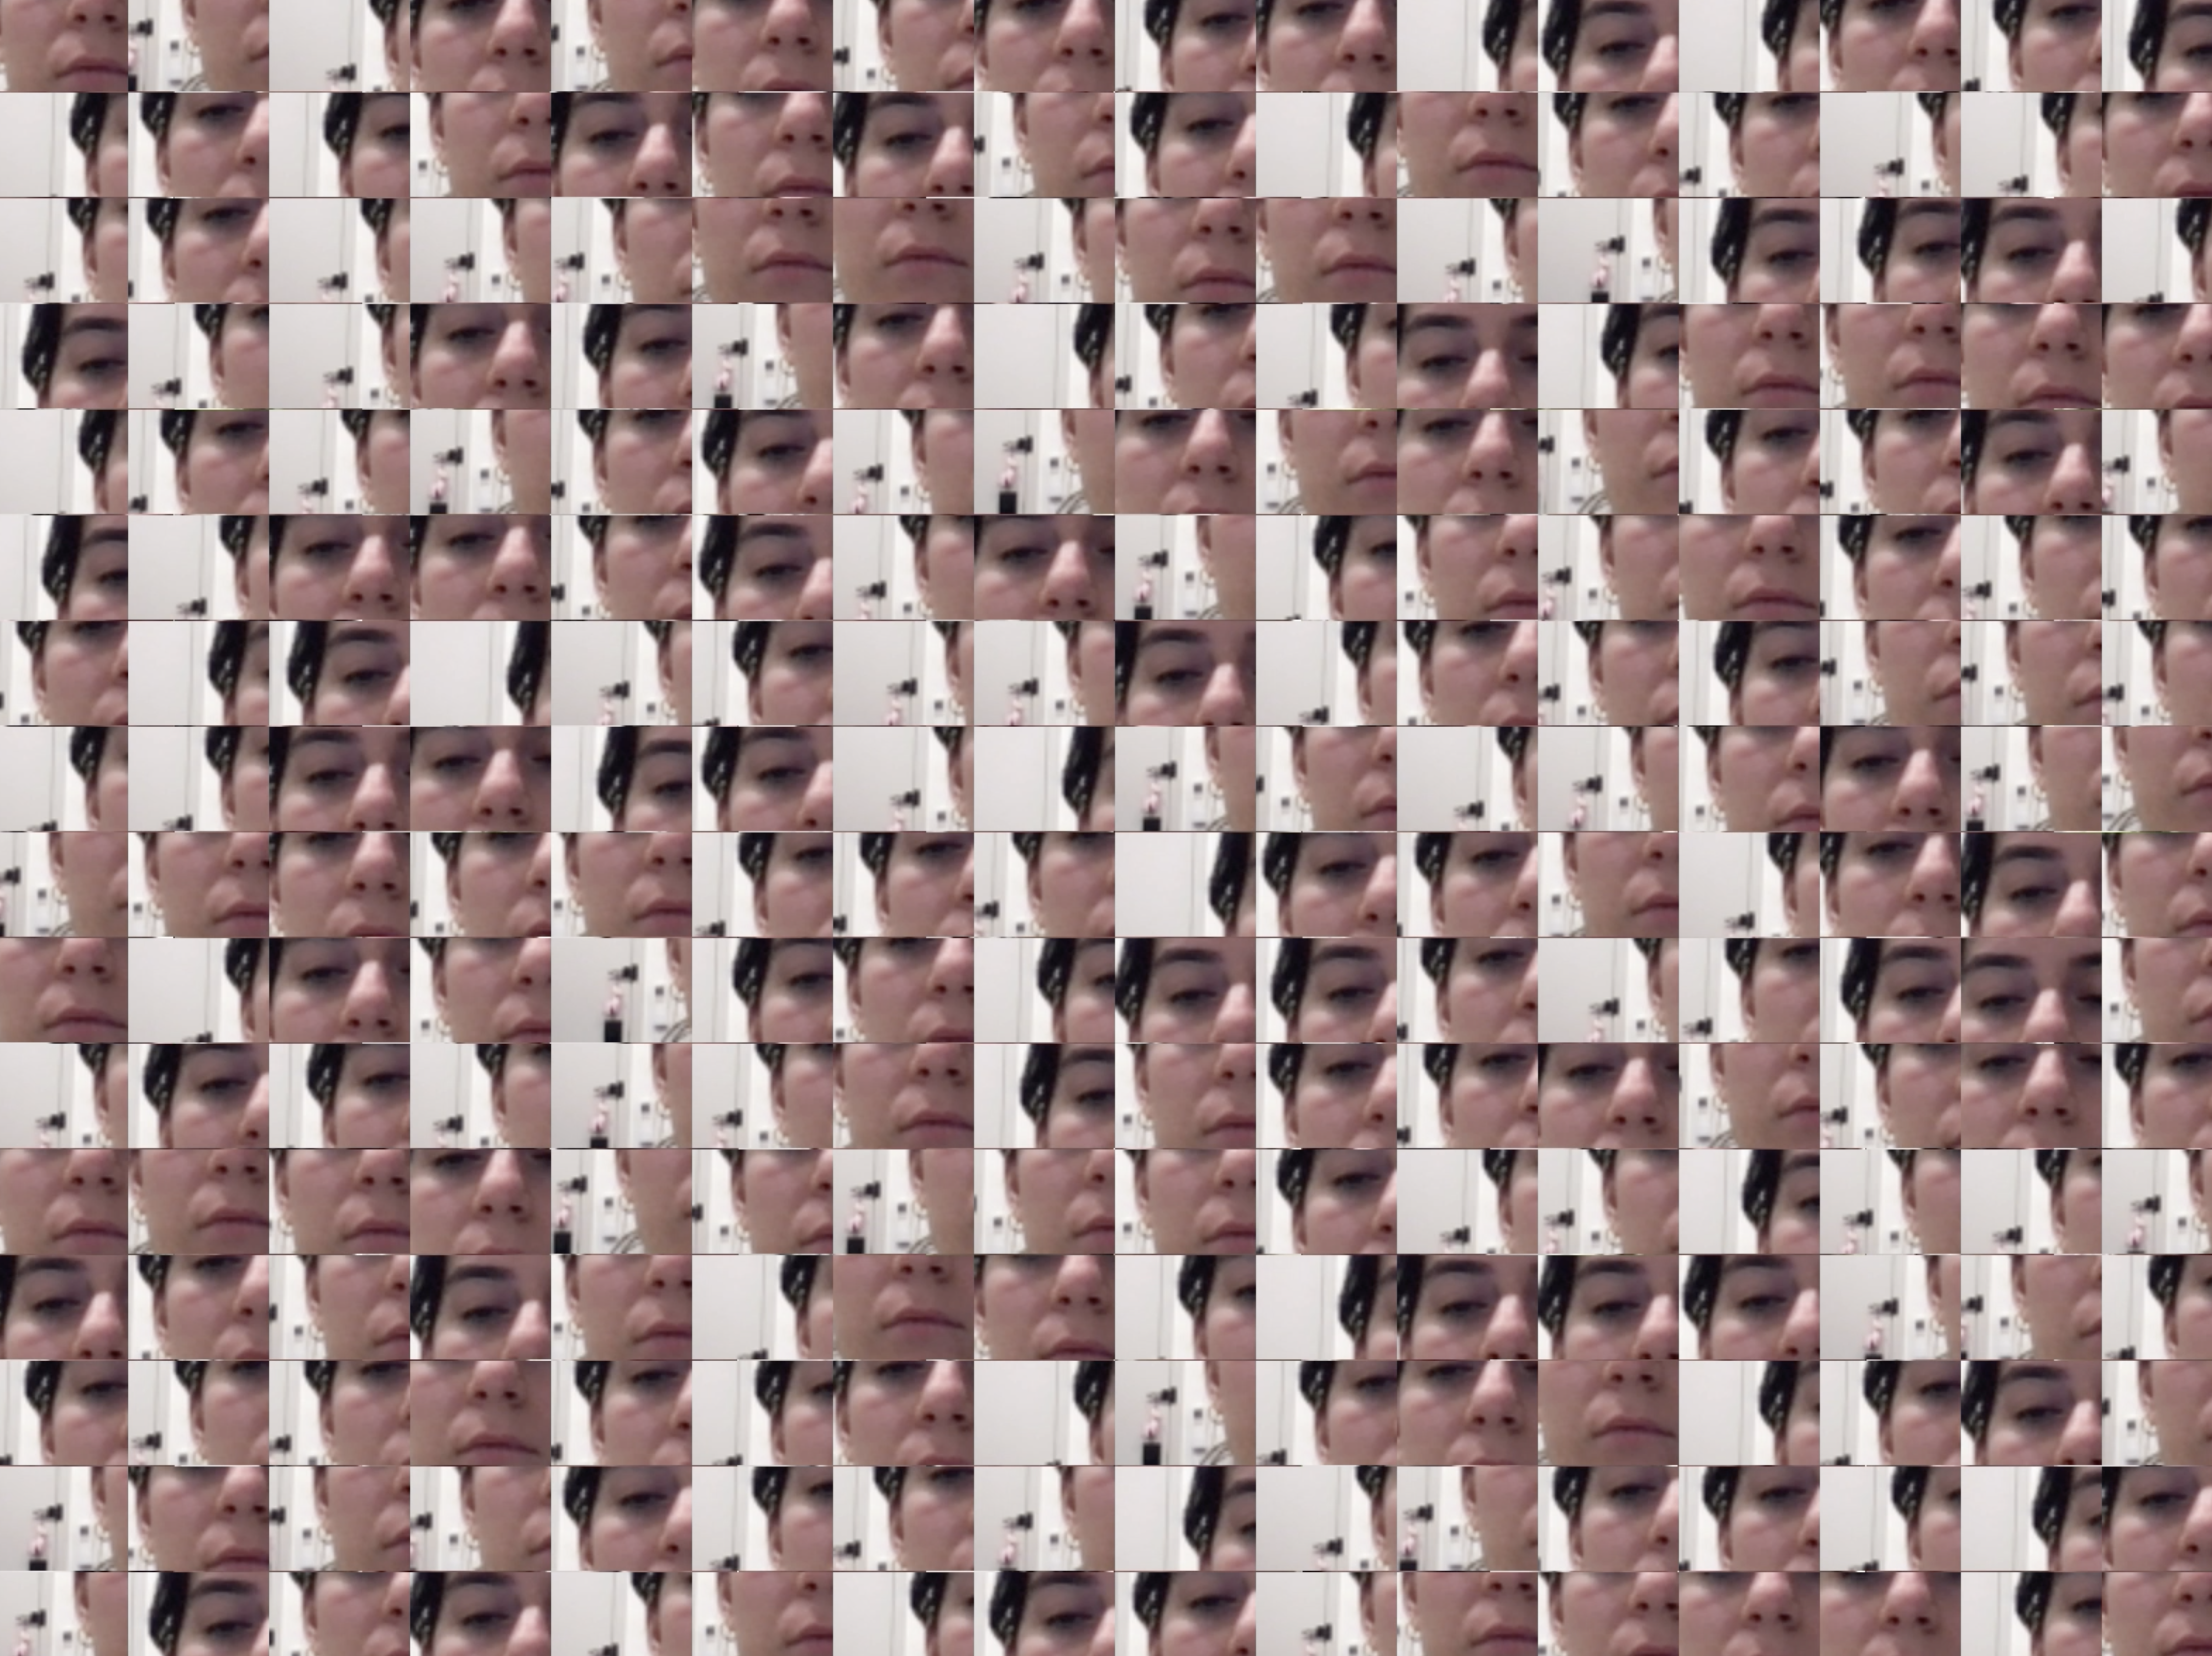
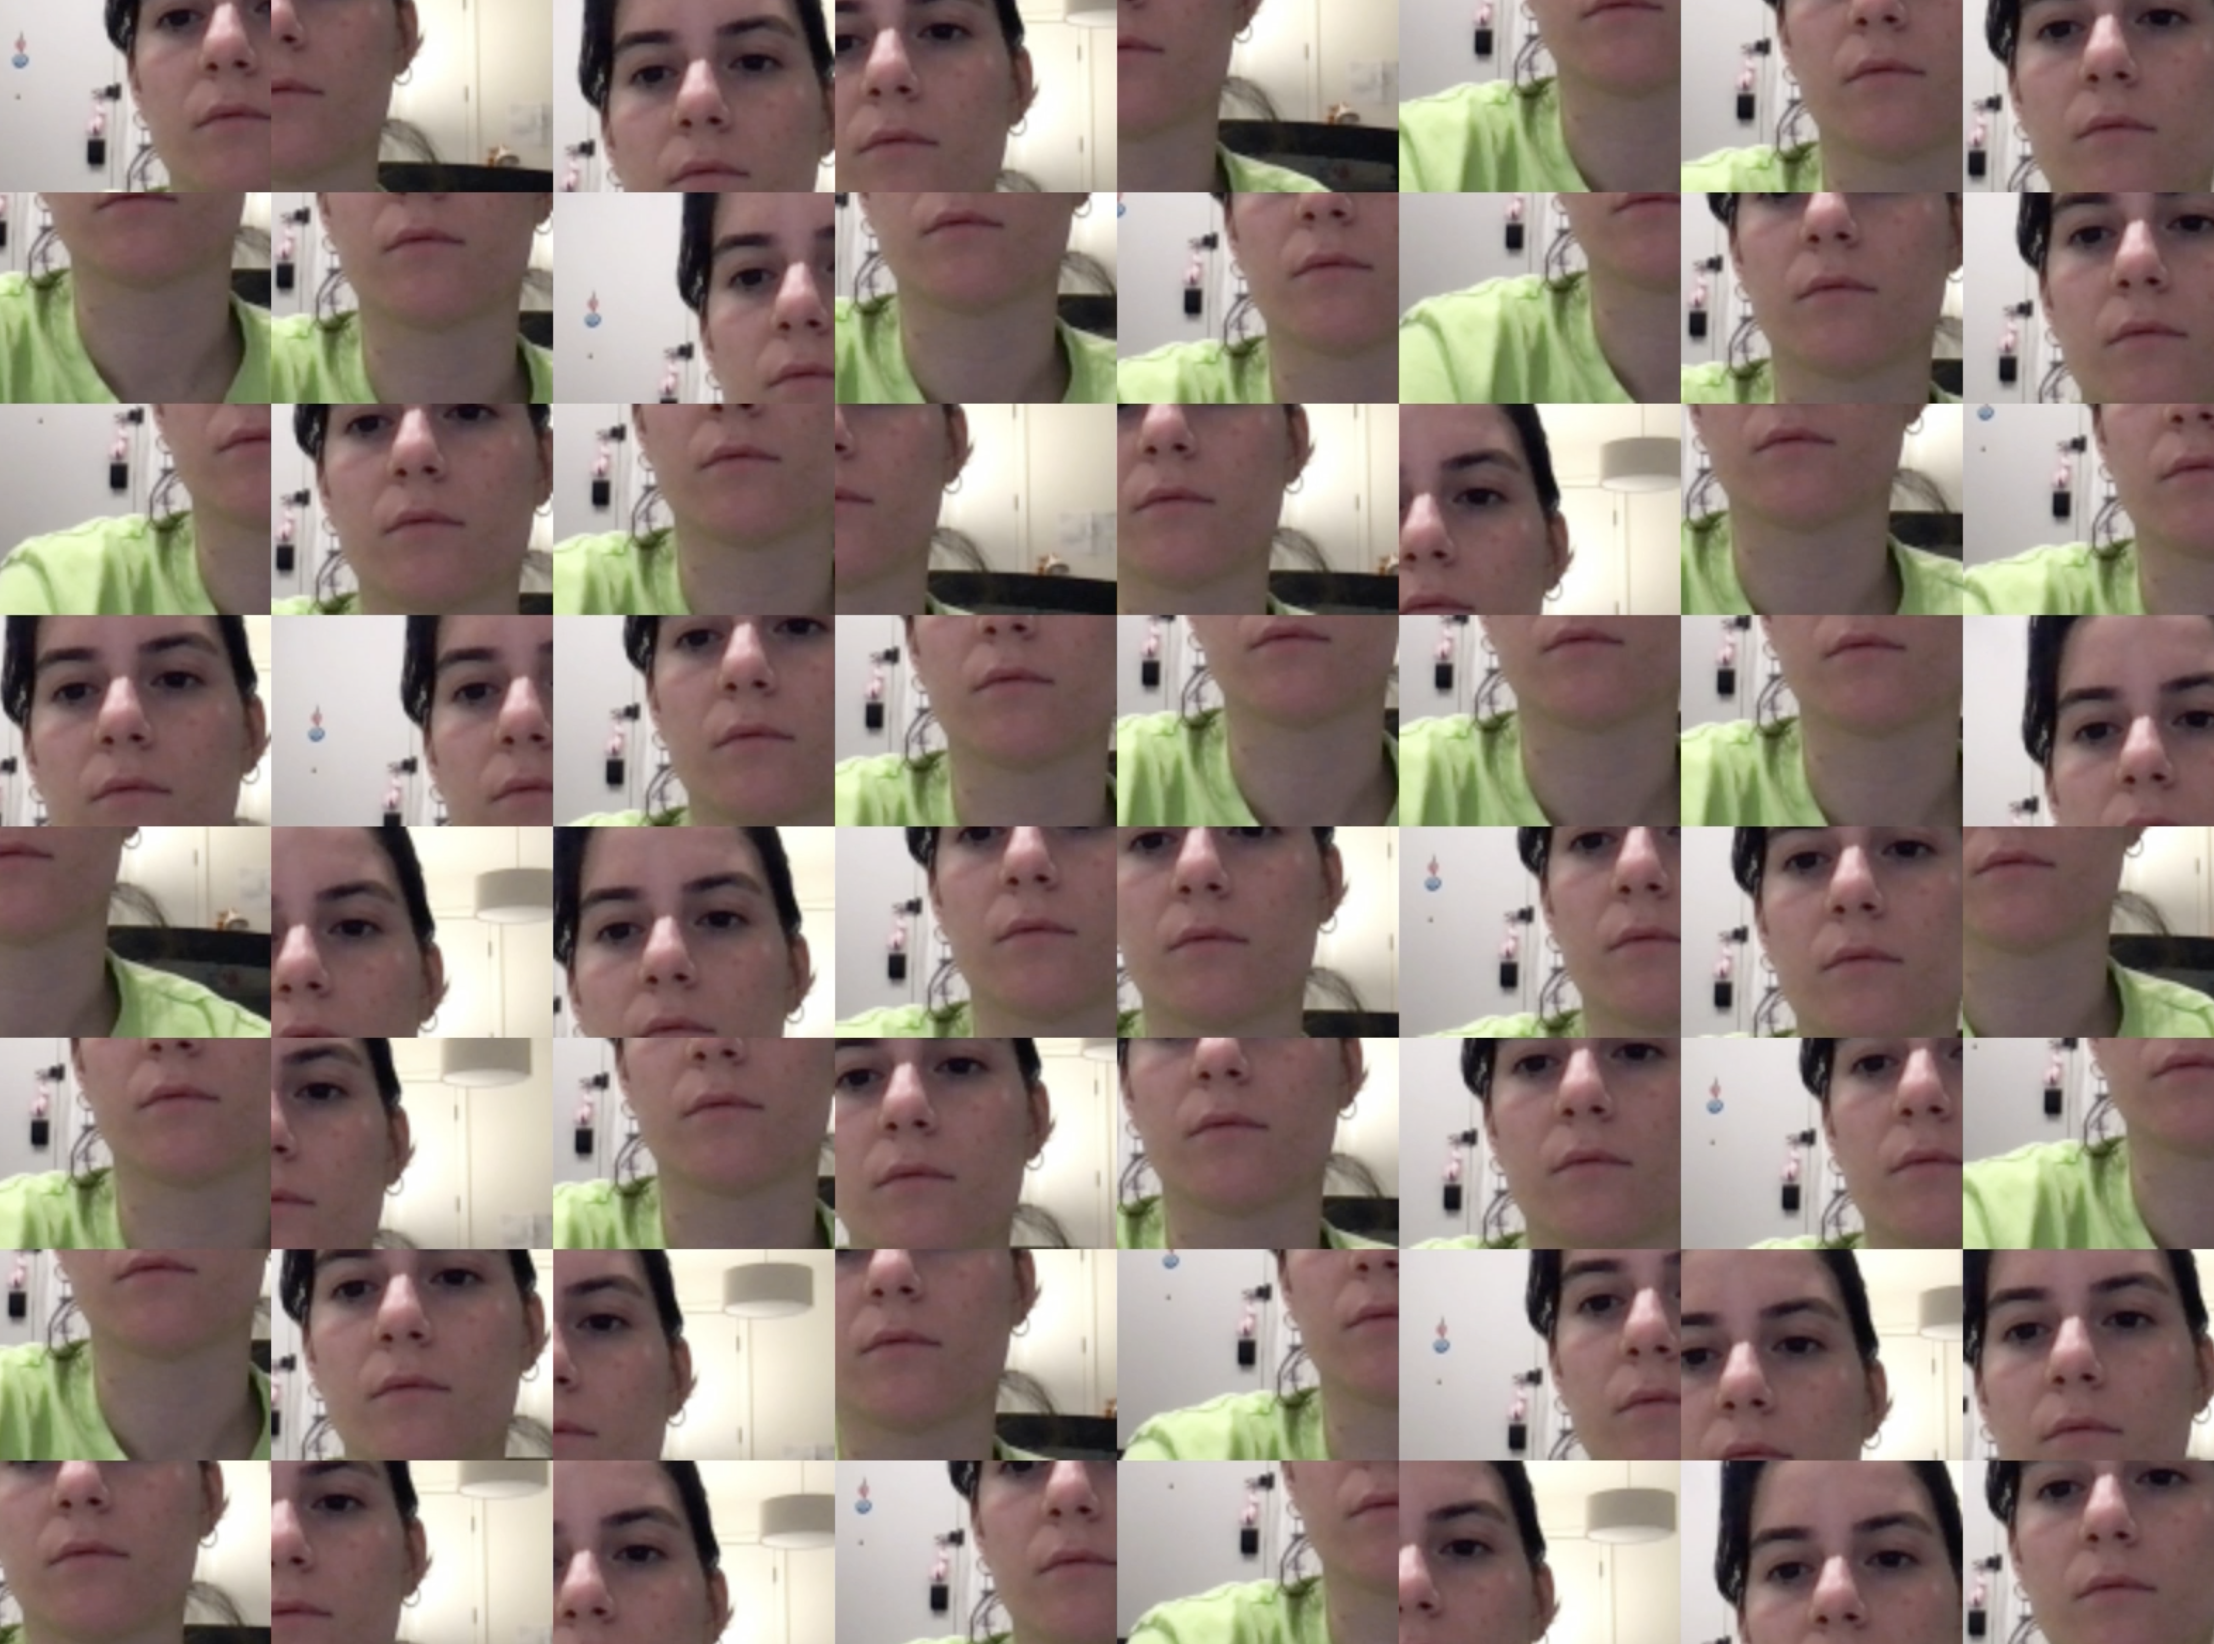

Dongsoo’s idea was to have multiple images to choose from. I’m thinking of adding a camera option as well. People can try different images or experiment with their video.
I’m definitely moving slowly than I expected. So far, I was able to specifically work on 1 sketch in detail and experiemented a bunch of others.
Two-Week Timeline
Week 1
solve the issues
chose a couple more images
add back arrow for the interface
Week 2
clean the code
be ready to present
solve last minute issues
Week 10 - User Testing
Feedback from last class:
Users need a prompt either at the beginning or after clicking an area.
The prompt should leave space for users to explore the sketch on their own.
Using a slider for the area size could be meaningful rather than clicking on different keys.
Canvas and the image should be fullscreen and should adjust when you make the page smaller/bigger. (responsive)
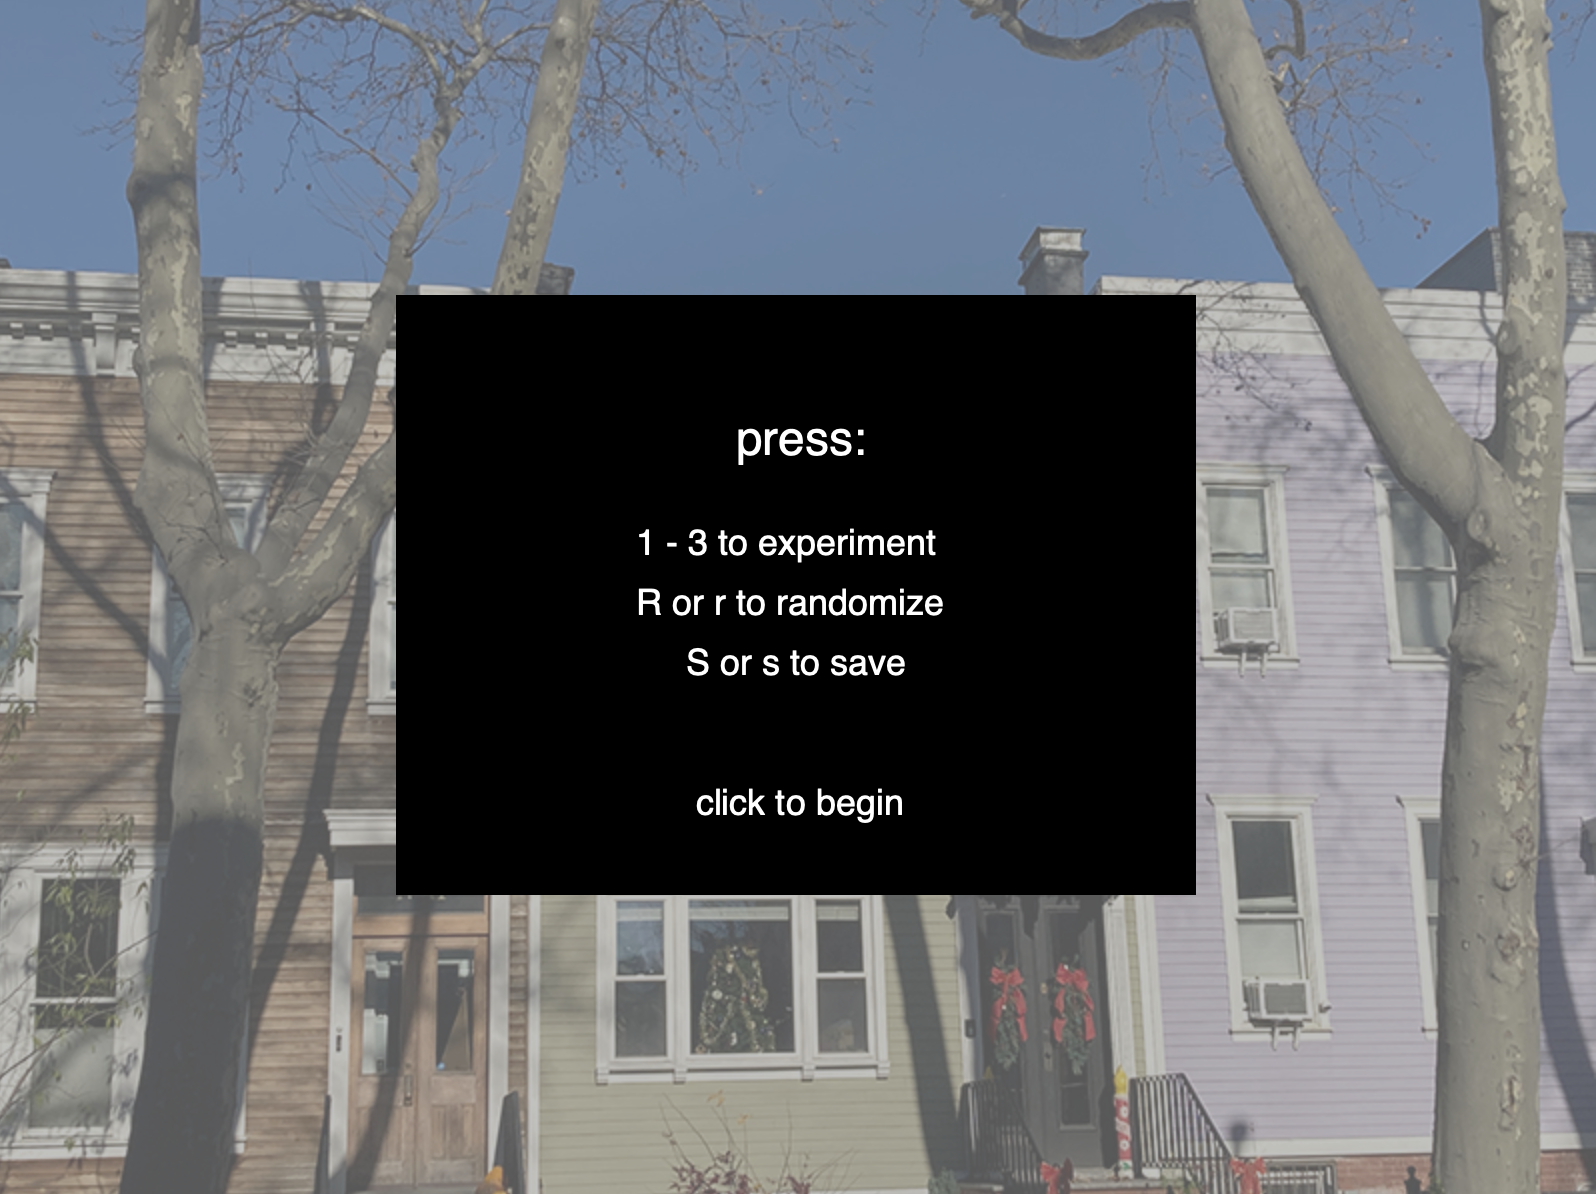
This week, I spent some time thinking about the feedback. People wanted me to have a html built in text underneath the image but visually I didn’t like that effect. I didn’t want people to see those information while moving the mouse around, thus, I built an additional screen at the beginning. People can start by reading the prompt and then explore the image.
This took me a while to logically understand and code. The order was important.
var startScreen = true;
function intro() {
if (startScreen) {
fill(150, 150);
noStroke();
rect(0, 0, width, height);
fill(0);
rect(width / 4, height / 4, width / 2, height / 2);
fill(255);
textSize(24);
text("press:", width / 4 + 170, height / 4 + 80);
}}
function mouseReleased() {
if (!startScreen) {
selectMode = false;
cropTiles(); }
else {
startScreen = false;
}}
What everybody did first was to click somewhere around the image. Since this was the case, I didn’t specify that mouse click is essential. I want the users to find that on their own. Next step for this sketch is to incorporate the video capture and give people either to move around an image or the built-in camera image.
I created an intro function and called it in draw(). This allowed me to draw it until the mouse was clicked. Now, the sketch starts with a prompt and there’s a layer blur. Once you click, you see the image with its original colors and you can move around with your mouse and explore.

Notes from this week’s class:
Remove the rectangle during the intro stage.
Add a stage for people who wants to go back and read the instructions.
Having multiple images to choose from.
Week 8 and 9 - Project Proposals / Hello World
p5 Playground is a process and also a product-oriented project.
By completing this project, I want to get better at encoding/decoding and learn about different functions of p5 library. The end goal is to make a small serie of generative design sketches.
Defining “Hello World” Goal
1. Specific
The end goal is to increase code literacy and develop a deeper understanding of creative expression through code. As the user, I will go line-by-line and learn how to code works and affects the designs.
2. Measurable
The main success is being able to explain myself what’s happening in the code. This will lead to an increase in my code literacy. In the end, a total of 5 new iterations will be created through experimentation.
3. Achievable
Compared to last semester, it’s shocking how much I’ve learned. My main motivation is realizing that I can understand a big chunk of each code. I’ll be decoding 5 sketches over this 7-week period, thus, I believe that it’s completely doable.
4. Relevant
Learning new functions, re-calling a syntax etc. will help me with my future code projects. Even in the future, when I have to work with software engineers and web developers, it’s beneficial for me to understand the language.
5. Time-bound
A week is perfect to understand a code in depth. I’ll spend the first week to learn more about the book and read important sections. The other 5 week will be about decoding and modifying. The last week would be polishing everything up and making it ready enough to present.
---
This week, I worked on this sketch from the “Image” lesson: Link to p5 sketch
I added comments to almost each line and explained what it does. Even with just one sketch, I learned about multiple p5 functions:
image(); // image(img,0,0); draw an image to the canvas, the top left corner is at 0,0 noCursor(); //hide the cursor from view
constrain(); //constrains a value between a min and a max value
int(); //converts a boolean etc into its integer value
mouseReleased(); //the next step after mousePressed, it’s when you relase the mouse
img.get(); // if no params are mentioned, the whole img is returned. otherwise, we can get a a region of pixels from an image.
This sketch contains an image. You move your mouse around and click and release the mouse whenever you want to crop the image. When you release your mouse, depending on your grid structure, you’ll see the image clicked area about 16 times. If you press the key “r”, a random selection will be made. With this, rather than seeing the same image multiple times, you’ll get random images that are +- to the selected area. Whenever you move your mouse around, you’ll get back to the initial mode where you move your cursor around.
Understanding the code took quite some time. First, I thought that modifying the sketch would be easier. But, I was wrong, I need to think more creatively and come up with ideas to proceed with the second part. I decided to spend half of my week to creative exploration and the other half to decoding the new sketch.
Thus, this upcoming week, I’ll continue experimenting with the first sketch during the first days of the week and move on to a new sketch.
Week 7 - Project Planning / Software Metaphors
Link for the book Generative Design.
Generative Design: Visualize, Program, and create with p5.js. is teaching how to code was to empower designers and artists through simple but satisfying incremental successes. In four simple lessons, Color, Shape, Type, and Image, users learn to influence their results and to improve them by either varying parameters or by changing entire algorithms.
FINAL PROJECT: “Generative -p5- Playground” or “Code as Canvas” tbd.
End goal: Increase code literacy and develop a deeper understanding of creative expression through code
This project aims to increase code literacy by experimenting with the concepts in the book Generative Design: Visualize, Program, and create with p5.js. The project will explore the four simple lessons of Color, Shape, Type, and Image, and at least one concept from each lesson will be experimented with. The Image section, in particular, will be explored by using personal photography or the video camera feature with the code. The encoding and decoding technique will be used to create visual designs. This project will enable the development of programming skills and creative expression through code experimentation.
The user of this project is myself, as well as anyone interested in increasing their code literacy through experimentation and creative expression. My experience will involve exploring the four lessons in an immersive and engaging way to create unique visual designs, with an emphasis on creative expression through code. At the end of 7 weeks, new visual designs/assets will be created through experimentation.
01. Color
02. Shape
03. Type
![]()
04. Image


Week 6 - Version Control 3 / Refactoring
GITHUB AND TERMINAL

Wohoo! I have a repository in GitHub (finally)! I was saving some code in my notes app in case I lose documents so pushing code into my account will definitely save my life. But, it requires some practice. I still can’t remember the order of things I need to write in order to save-commit the changes.
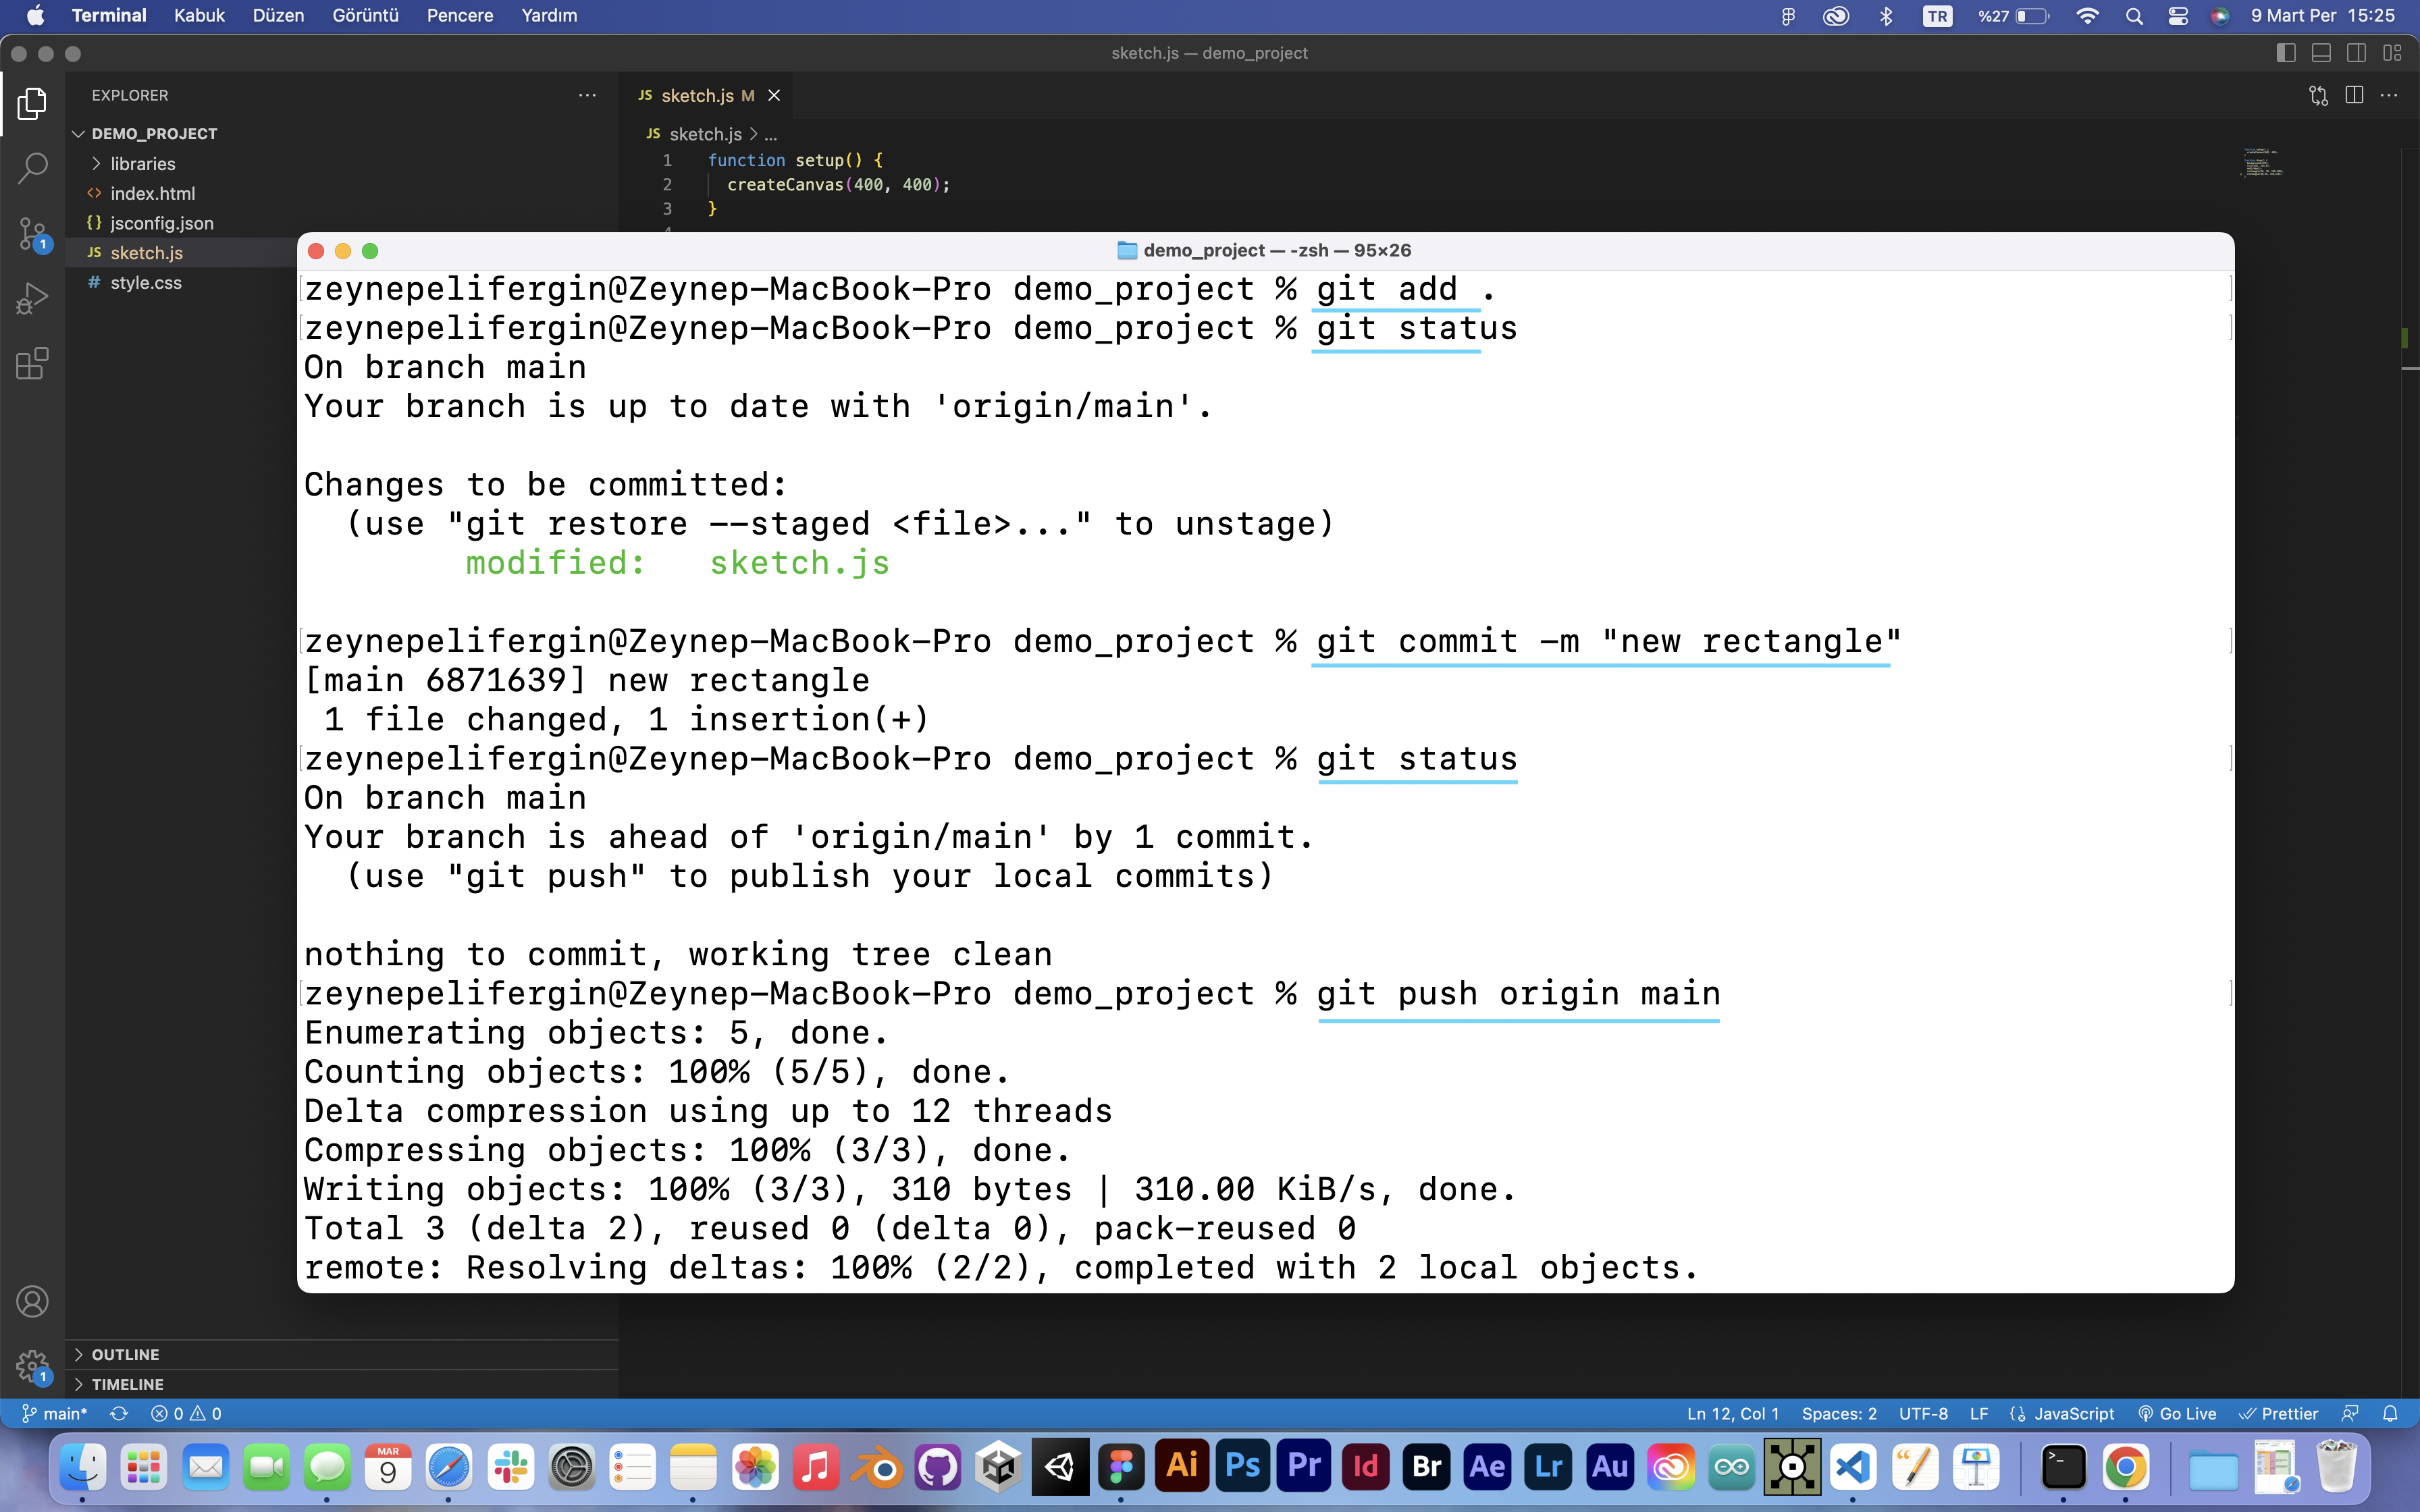
- (git add .) The git add command adds a change in the working directory to the staging area. It tells Git that you want to include updates to a particular file in the next commit. However, git add doesn't really affect the repository in any significant way—changes are not actually recorded until you run git commit . After you connect your local repository to a remote repository, local commits are not automatically "saved" in the remote repository. You'll need to
push those commits to the remote repository on GitHub with this command: - (git push origin main) Then, after refreshing the page, I can see the changes in Github.
- (git commit -m “xyz”) I used this so write add a message to my change. This way, I can track the changes and it’s easier to locate a code that you’re searching for. Inside the brackets, I can write whatever I want to name the change.
- (git status) This is helpful for me to see the status. The green text signifies that my sketch is modified. This helps me visualize the changes, since everything is happening on a cloud, it’s hard to see what is different etc. I can use this in between committing and pushing the changes/code into GitHub, to see whether everything is successful.
Thank you Ellen for helping me about with everythign related to Github. ︎ I was affraid I would delete/change something that is not supposed to be touched.
A question: What happens if I want to change the name of a repository? What if I changed the name of the document on my computer to something else, can I commit and push a code to a repository with a different name?
--
I tried to create a new repository by following the steps on our class GitHub page. I also have a p5 sketch that is already saved in my desktop folder with the same name as my repository.
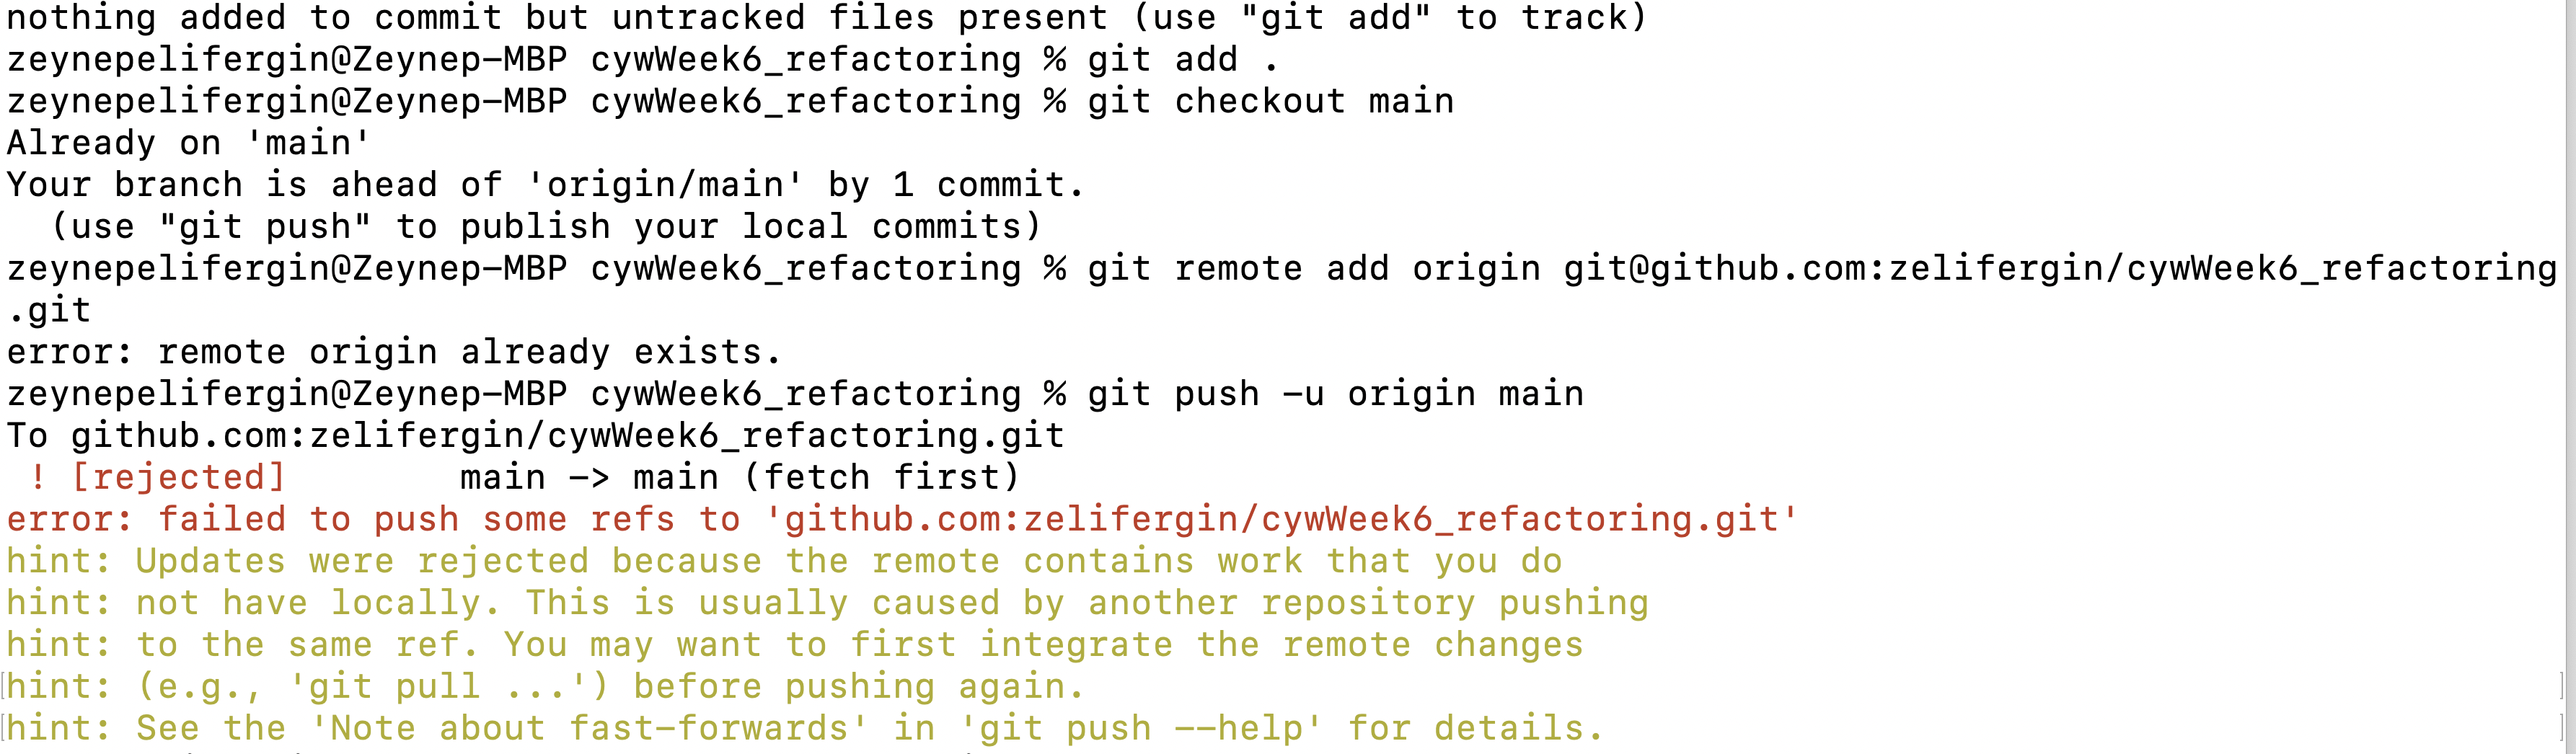
What is happening :( I think I still need guidance over how to do this :( Can this be a problem bcz all two repositories are in the same folder “codeyourway” but they do have their each separate folder?
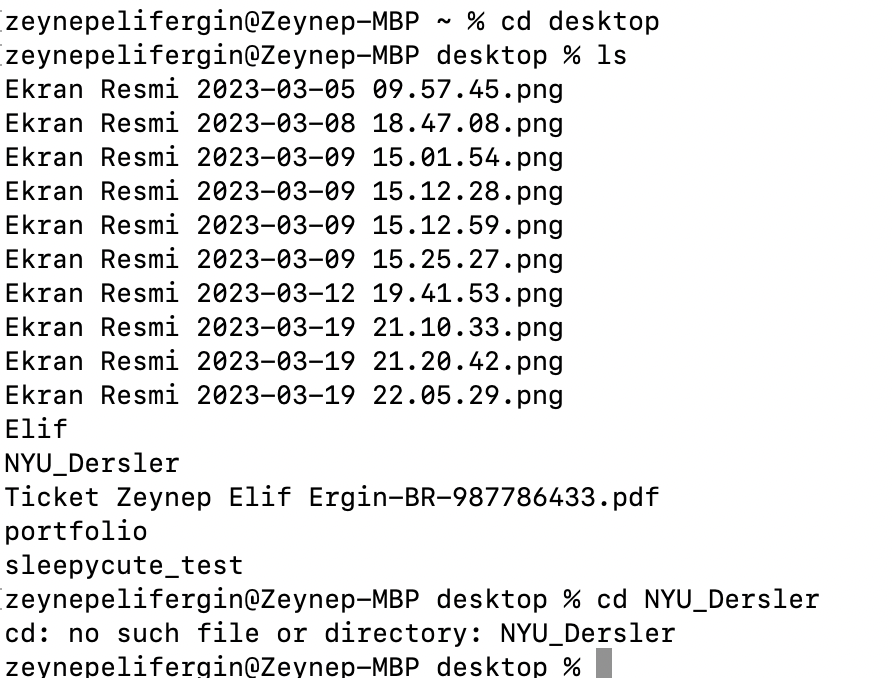
I can’t change the directory into my NYU folder :( What am I doing wrong :( Okay, I figured it out, apparently, there was a space after the Dersler. Now I can locate the folders. ︎
A SEPA
createGraphics() is so fun! Ellen’s paper metaphor made everything more clear in my mind. It’s an additional layer just like the ones I have in Illustrator.
With this, I can create dynamic and more interactive sketches with or without using the webcam. (Note to myself: I need to work in Chrome to be able to use the webcam)
It might work with createGraphics for my project. It would be fun to explore :)
--
REFACTORING AN EXISTING SKETCH
I worked on CYW - W5 - Example 3.The code looks messy and it took me a while to understand, there are quite a few repetition.
I used the demo_project repository to add my code since I couldn’t work the new repository. I successfully commited the changes and it’s visable in GitHub as well.

By clicking this link, you can reach the github repository. (changes can be seen through history)
Week 5 - Version Control 2 / Parametric Geometries
The “castle” example of this weeks in-class exercise was really fun. Terminal looks really confusing and scary but, the example made it more fun and easy-looking.
Before modifying the sketches in Part 1: Explore and Experiment, I watched Miller’s video to recall parametric equations. Then, I also watched Coding Train videos about polar coordinates. Once I had a better understanding of how those equations were affecting the lines etc, I started experiencing and modiftying the sketches.
PART 1: EXPLORE AND EXPERIMENT
It was interesting to see that once you leave your sketch run at the background, they might turn into a geometric pattern that repeats. They are really soothing, I got hypnotized by watching them change.


Example 2
Example 3
Example 4
Example 5
PART 2: RE/CODE
I’m still having issues downloading git. Apparently, I only have 2 GB space in my 500GB laptop???
Update on that issue: Apparently, desktop version of Google Drive takes an increadibly huge amount of space. After cleaning up my Mac, not I have approx 200 GB space.
My github account: github.com/zelifergin
Q: I’m using my personal gmail account for p5, but my github account it linked with my nyu gmail. Does it matter which gmail I’m using while trying to commit smtg etc?
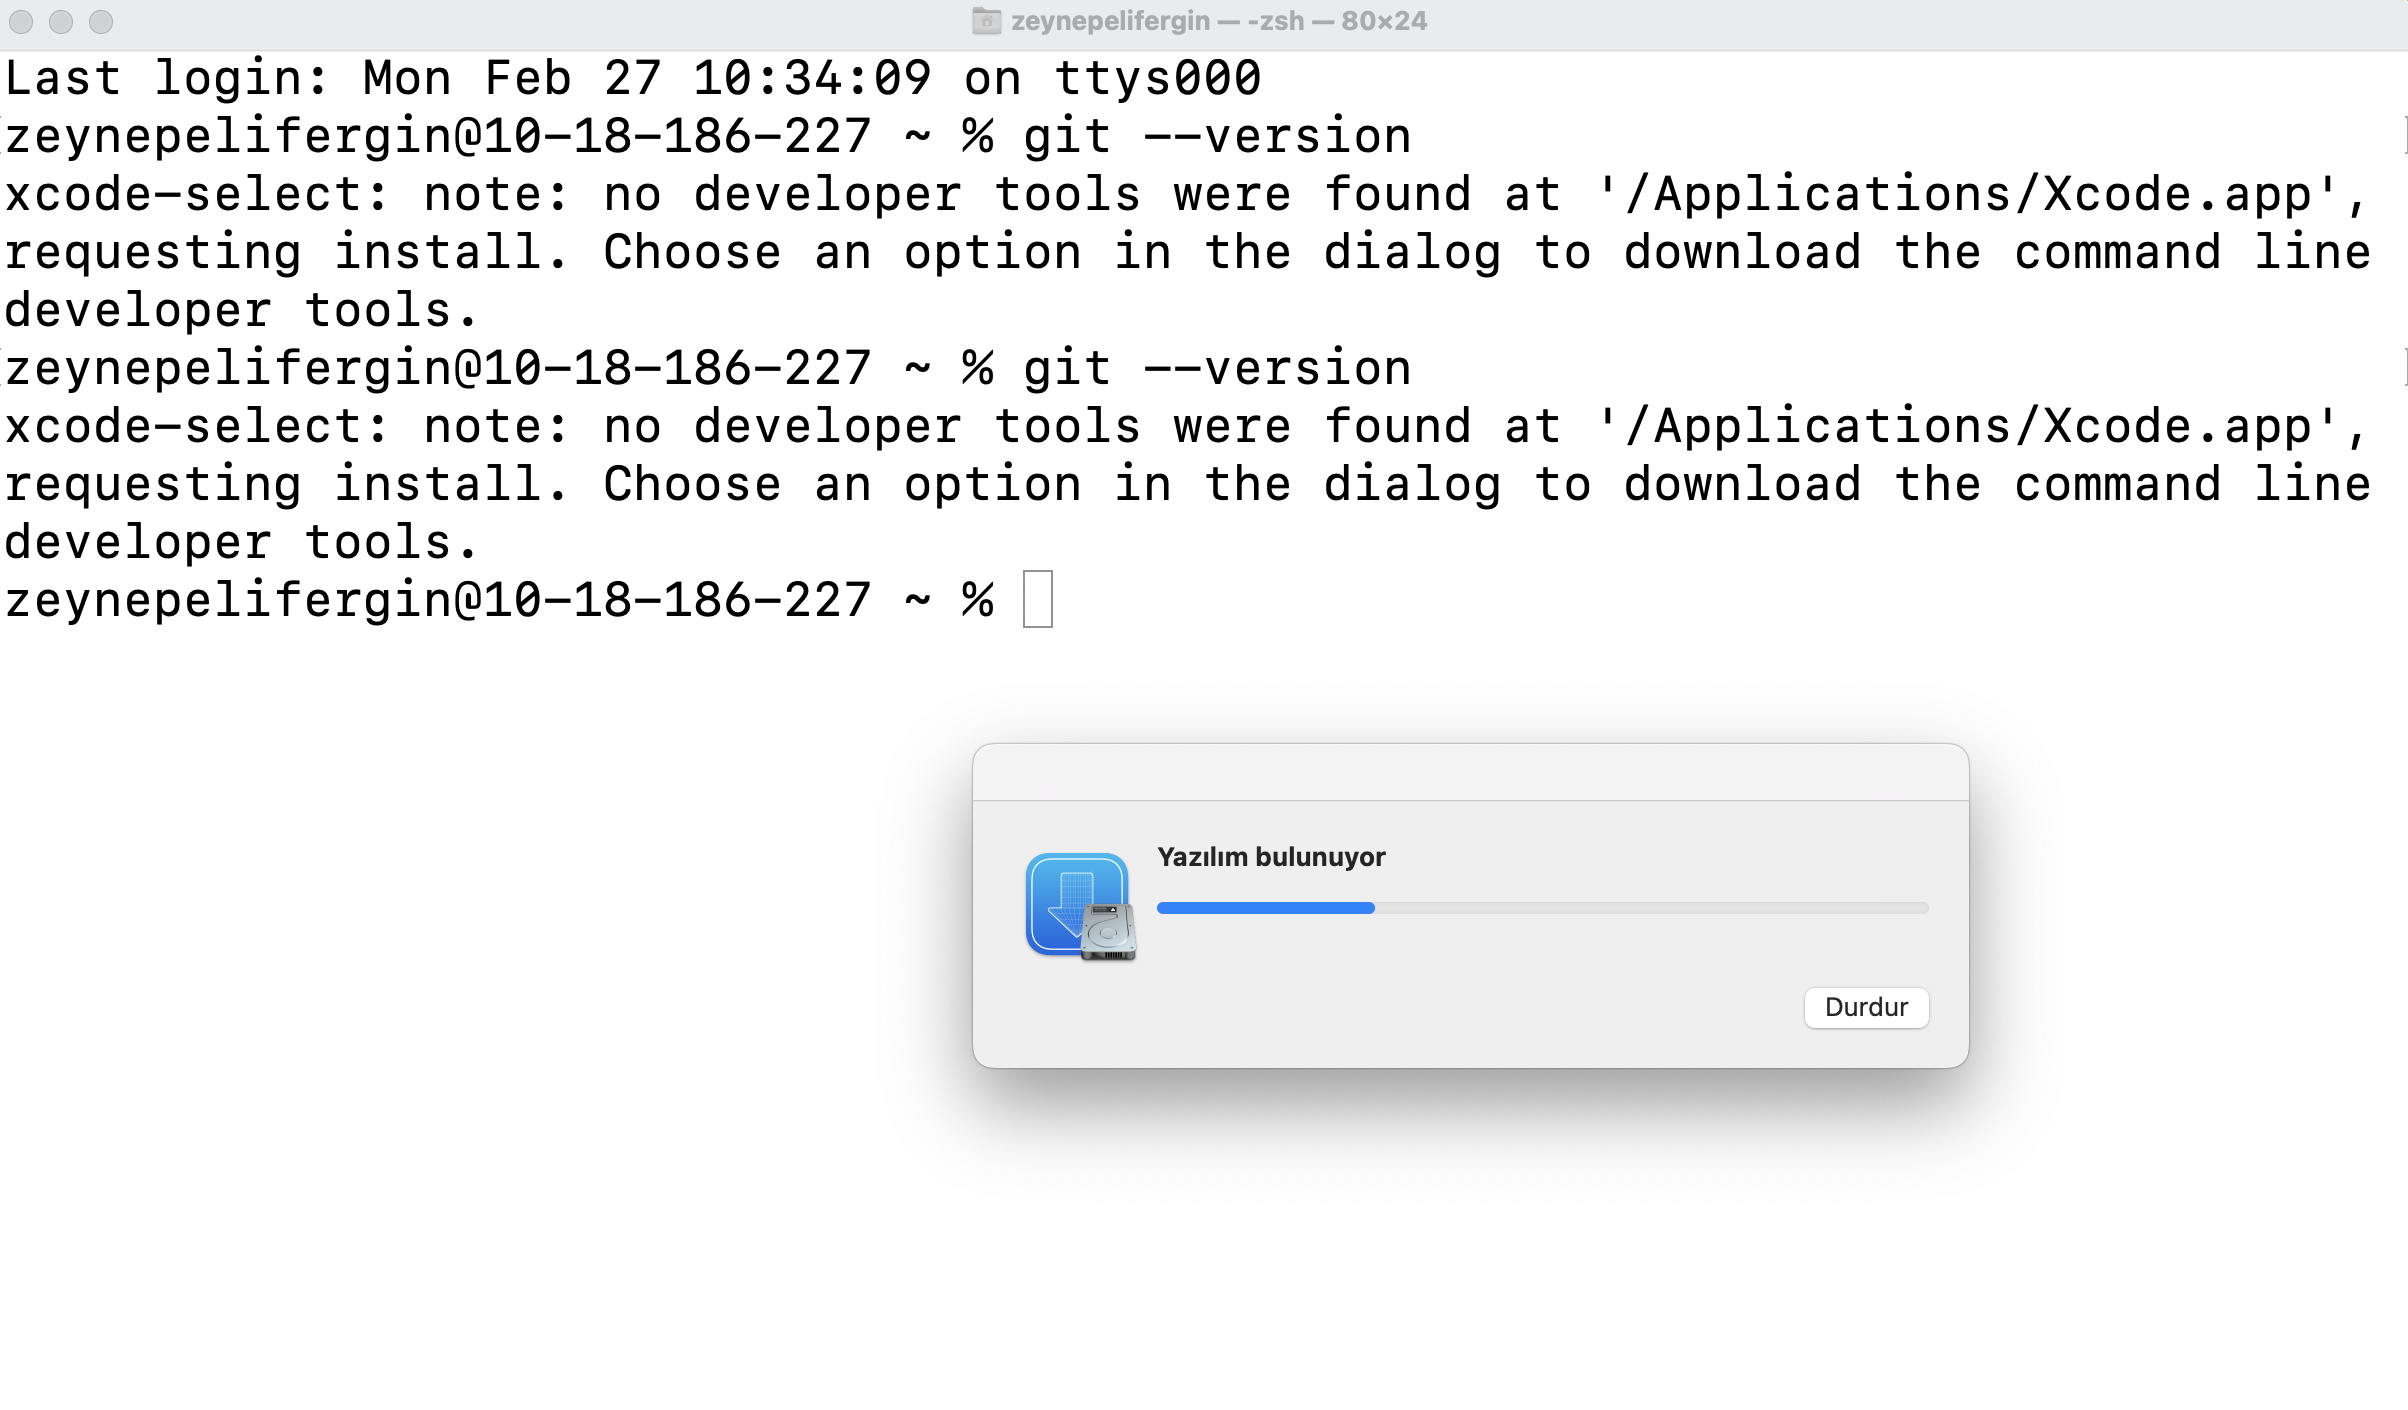
Wow wait almost there! After cleaning up some space, I didn’t need to download git or the Xcode. Git was already uploaded?
Week 4 - Version Control 1 / Iterative Patterns 2
PART 1: PRACTISE
I started using VS code last week for my other class, Real-Time Social Spaces. Until now, I’m still a bit confused about how it works. Do I need to have a folder for each project I create?
Exercise 1 : Encode
The angle of rotation for the squares increase in the y-axis. It ressembles to a noise motion because I feel like the angle and position of a square is related to the others around itself. There’s a nested loop to create the grid system.
Well, apparently it’s not noise() but random() is being used for the changes in angle.
Click here for fullscreen!
---
Exercise 2 : Encode
Okay, there’s a grid system. Each square have 5 more squares inside. Their size decreases with each new square and their x,y position change. But there’s a relationship with their position because all of them are inclined to the same corner. None of the rectangles overlap. I’m assuming nested loops?
Yes, nested loop indeed. The code had its own mathematical logic, I got the logic but the math itself is hard to visualize. I turned the sketch into a gingham pattern.
Click here for fullscreen!
---
Exercise 3 : Decode
It’s hard to predict how the sketch will look like, but once I saw translate I knew that the drawing will be at the center of the canvas. Since there’s noise(), I imagined a flowy pattern with circles.
Here’s the modified version, Click here for fullscreen!
---
Exercise 4 : Decode
I especially didn’t understand this part of the code. How does to translate work in the same function?
function drawLine(_x, _y, _step, positions) {
push();
translate(_x + _step / 2, _y + _step / 2);
rotate(random(10));
translate(-_step / 2, -_step / 2);
for (let i = 0; i <= positions.length; i++) {
line(positions[i] * _step, 0, positions[i] * _step, _step);
}
pop();
}
And also, how does this work? drawLine(x, y, step, [0.1, 0.5, 0.9]);
Click here for fullscreen!
---
The recursion video from Coding Train was interesting. Calling the same function inside its own function is a quite interesting idea, and I wasn’t sure if that was something that is doable.
After watching the video, I think that the rectangles are made with the same logic.
---
PART 2: RECODE
Well, I created something but I don’t know how it happened. I guess is there’s some sort of a progression here because the rotation angle increases. You can manipulate the lenght of the line with mouseX and mouseY.
Click here for fullscreen!
Week 3 - Pair Programming / Iterative Patterns 1
The in-class exercise of pair programming was quite fun. I was the driver and Elyana was the navigator. I was happy to see myself write code with a fast pace. After we unscrambled the code, we both remembered the exercise we did in ICM, where the mouse position changed the fill of each rectangle.
Then, we added some random variation to our code. Now, once you’re within the rectangles and you move along the x-axis, the color changes to red. But, to color the first rextangle your mouse should be at the very end and vica versa for the last rectangle. We’re still not quite sure why is that the case.
Here’s the in-class exercise: Colorful rectangles
PART 1: PRACTISE
Review Loops
I think the code was pretty straightforward. Without even looking at the example, I managed to create the grid system. What surprised me was the canvas resized itself even though we didn't call the windowResizes function. I commented out the function and realized that the canvas size doesn’t resize. How is that possible?
I added a random fill to make it more dynamic.
Click here for fullscreen!
---
Encode 1
For this example, I’m guessing that there’s a for loop within a for loop to create the grid system. Some of them are white and others are black, assuming that there might be a random function for fill of the grids.
I was partly right with my predictions.
Why can’t I see 3 different colors? (I changed the if statement)
Why does adding a multiplication to the sell size doesn't make any difference?
if (chance < 0.3) {
fill(150); } else if (0.3 < chance < 0.8) {
fill(255); } else {
fill(10);
}
Click here for fullscreen!
---
Encode 2
I’m still guessing that there’s a nested loop for this example. The y position of the rectangles change when my mouse is pressed. So, there might be a random fucntion or a range that the y-position can differ. How did we get the gap between rectangles? (is it because columnWidth * 0.7?)
I changed the column width and row height values, now they look more like rectangles that are entangled.
Click here for fullscreen!
---
Decode 1
By looking at the code, I assumed that there would be rectangles that are placed within a square by square grid. Since there was translate and angle in between push-pop, I thought that their angles would change.
Warning, flashing lights!
Click here for fullscreen!
---
Decode 2
I truly don’t know what to expect from this code. After seeing imageMode and image(), I thought that we’re going to see an image but I guess not. Apparently, createGraphics() is a function in p5. I’m not sure how it works.
Click here for fullscreen!
PART 2: RECODE
I loved Raphaël de Courville’s work. I especially loved this example: (Link)
First, I analyzed the sketch- I encoded the sketch! There’s a center point of widht/2, height/2. It’s better to translate the center point to here. There’re approximately >100 lines, and their lenght changes with respect to t with a random variation. I’m also assuming some wort of a rotation around the center too. angleMode() could have been used.

I lowered the frameRate() to better see the movement. I used translate() and a forLoop to draw lines that rotates around the center. I guess, one of the differences is that the one on the top has a range of min and max values for the length. It seems that the lines move more coherantly. I tried to do that with changing the random fuction and giving it a more smallar range. I don’t know how to make it more similar to the example. :(
Click here for fullscreen!
Week 2 - Debugging/Unpredictability
PART 1: DECODE
My predictions

Decode 1
In the example, everything was inside the setup() function. I used my mouse position for x and y position of the square. This allowed me to produce a different effect by drawing squares on top of each other.
Click here for fullscreen!
I changed the strokeweights and the their color do give a different appearace.
How does seed variable work in this example? Also, does the following statement mean: if a random number between 0 and 10 is smaller than 8, then execute the code?
if (random(10) < 8) {
Click here for fullscreen!

Decode 3
My predictions were partially right for this example. I changed the I stil don’t understand how seed works. I consoled log’ed seed and each time I pressed I got these numbers. The numbers makes sense since they have to be a random value between 0 and 1000 but what do we do with these numbers?
Click here for fullscreen!
Decode 4
I mixed the start and end numbers so that the points did not touch each other. By doing this, I got individual lines.
Click here for fullscreen!

Decode 5
What I learned from the videos:
noise() always give us back the same value for the same argument! (values between 0 and 1)
noise() is not uniformly distribute, unlike random(), the numbers are clustered around 0.5
For this example, I used noise() for the color. It kinda gave a gradient feeling since the color changes are so subtle.
Click here for fullscreen!
PART 2: RE/CODE
It took me a while to understand that we have to give a time value to noise, so that we won’t get back the same value. Coding Train videos uses a variable xoff and increase with a value. “Perlin Noise with p5.js by Gene Kogan” uses t as a variable and it increases with small increments.
I used that method and created ellipses. Then, I added rectangles with rounded corners. Their time variable increases with different increments, one is slower than the other and it creates a different visual effect. The image on the left is the example of when there is only ellipses. Both the origin and the radius is determited with noise.
for (var q = 0; q < 10; q++) {
var x1 = width * noise(time + 10);
var y1 = height * noise(time + 50); var r1 = 255 * noise(time + 10);
var g1 = 255 * noise(time + 15);
var b1 = 255 * noise(time + 20);
noStroke();
fill(r1, g1, b1, 30);
ellipse(x1, y1, x1 - y1);
time += 0.05;
}
Click here for fullscreen!
Week 1 - Pseudocoding / Looping Animation
PART 2 : ENCODE
Encode 1 consists of a circle, a triangle, and a square. While the square is turning around its center, the other elements stay still. When the square intersects with the other elements, the color of the intersection is reversed (black in this case).
Q: What’s the purpose of the minDimension variable?
let minDimension = min(width, height);
let spacing = minDimension / 8;
To change the appearance, I got rid of the triangle and the circle. Then, by only using the blendMode(DIFFERENCE), the rectangle created a circular shape at the center.
Click here for fullscreen!


In Encode 2 a circle is moving from left-to-right (and right-to-left) within a border.I’m not sure if it’s my internet connection or my eyes, but the circle creates an illusion. If I look at it long enough, it seems that it’s slowing down and my eyes can see other circles.
I added the following code, and the circle seems to have an orbital trajectory.
let yStart = height * 0.2;
let yEnd = height * 0.8;
let y = map(sin(angle), -1, 1, yStart, yEnd);
Watching the “Simple Harmonic Motion” reference video helped me a lot to remember sin wave patterns and it’s calculation.
Click here for fullscreen!
Encode 3 consists of one circle. The stroke weight increases while the inner black circle gets smaller slowly. The animation is pretty subtle and calming.
To modifty the sketch, I added the frameCount affect and the animation starts with a small circle and it gets bigger proportionally to frameCount.
Q: why does the circle stops getting bigger after reaching a certain point?
Click here for fullscreen!

A circle is rotating clockwise in Encode 4. I think because the frameCount() is low, we can see the code drawing the previous circles and those have a lower opacity level. To change the appearance, I’ve added one more circle. It creates this anomation where they are chasing each other.
Click here for fullscreen!


For me, this week was all about remembering how to code. I’m upset with myself for not doing any exercises over the break :( Hoping that I’ll remember what we did during ICM as soon as possible.
PART 3 : RE/CODE
Preloader icons are like elevator music. Rather than sitting in an empty room, you’re being exposed to an audio or visual, thus, you have a more pleasing waiting experience. Personally, I love it when there is some sort of a bar that indicates an accomplishment.(example down below with a percentage is something that I see when I’m downloading something. Maybe it can be seen as a preloader) I tend to get annoy when I don’t know if my waiting time has decreased or the browser made a progress in loading the website.
After browsing through dribbble, I choose these three examples as my favorites. They are clear and fun. Not to many animation is going on and I love there visual language. I tried to exlore the animation type that’s being used in these. But I’m having a hard time creating a loop animation.


Challenges:
I can’t figure out how to turn something into a loop. My examples tend to end when the elements are outside the canvas.
I would love to learn more about turning my code into a looping animation.
How to use the rotation and angle to make something dynamic.
Discoveries:
Click below for trials:
ex preloader 1
ex preloader 2
ex preloader 3
Lipsum™
Integer turpis massa, varius ultricies est sed, aliquet feugiat enim. Nulla facilisi. Ut in justo in ex faucibus ultricies. Proin id erat quis lorem vehicula commodo. Phasellus pharetra libero pretium ultricies aliquam. Vivamus eleifend, ligula ut venenatis aliquet, massa elit efficitur lorem, fermentum molestie elit ligula in ex. Duis mauris tellus, pharetra et orci a, aliquam imperdiet augue. Pellentesque elit neque, tincidunt sit amet imperdiet eget, porta ut metus. Nulla id leo tortor. Donec elementum ac sapien eget feugiat. Donec lorem dui, vestibulum quis nisl et, feugiat mattis massa.
Phasellus Rez
Praese
Praese
Suspendía
©MMXXI
Integer turpis massa varius